In MSV, a zebra crossing visually represents a pedestrian crossing at junctions and on roads. Pedestrian movement follows the walk-streams set up on corresponding way-objects. Pedestrians respond (wait or move) based on priority control or signal control. Therefore, a zebra crossing is used solely for visual presentation.
Creating a zebra crossing in MSV is simple. It requires just two control points and one input (width). The program then automatically generates a set of white strips.
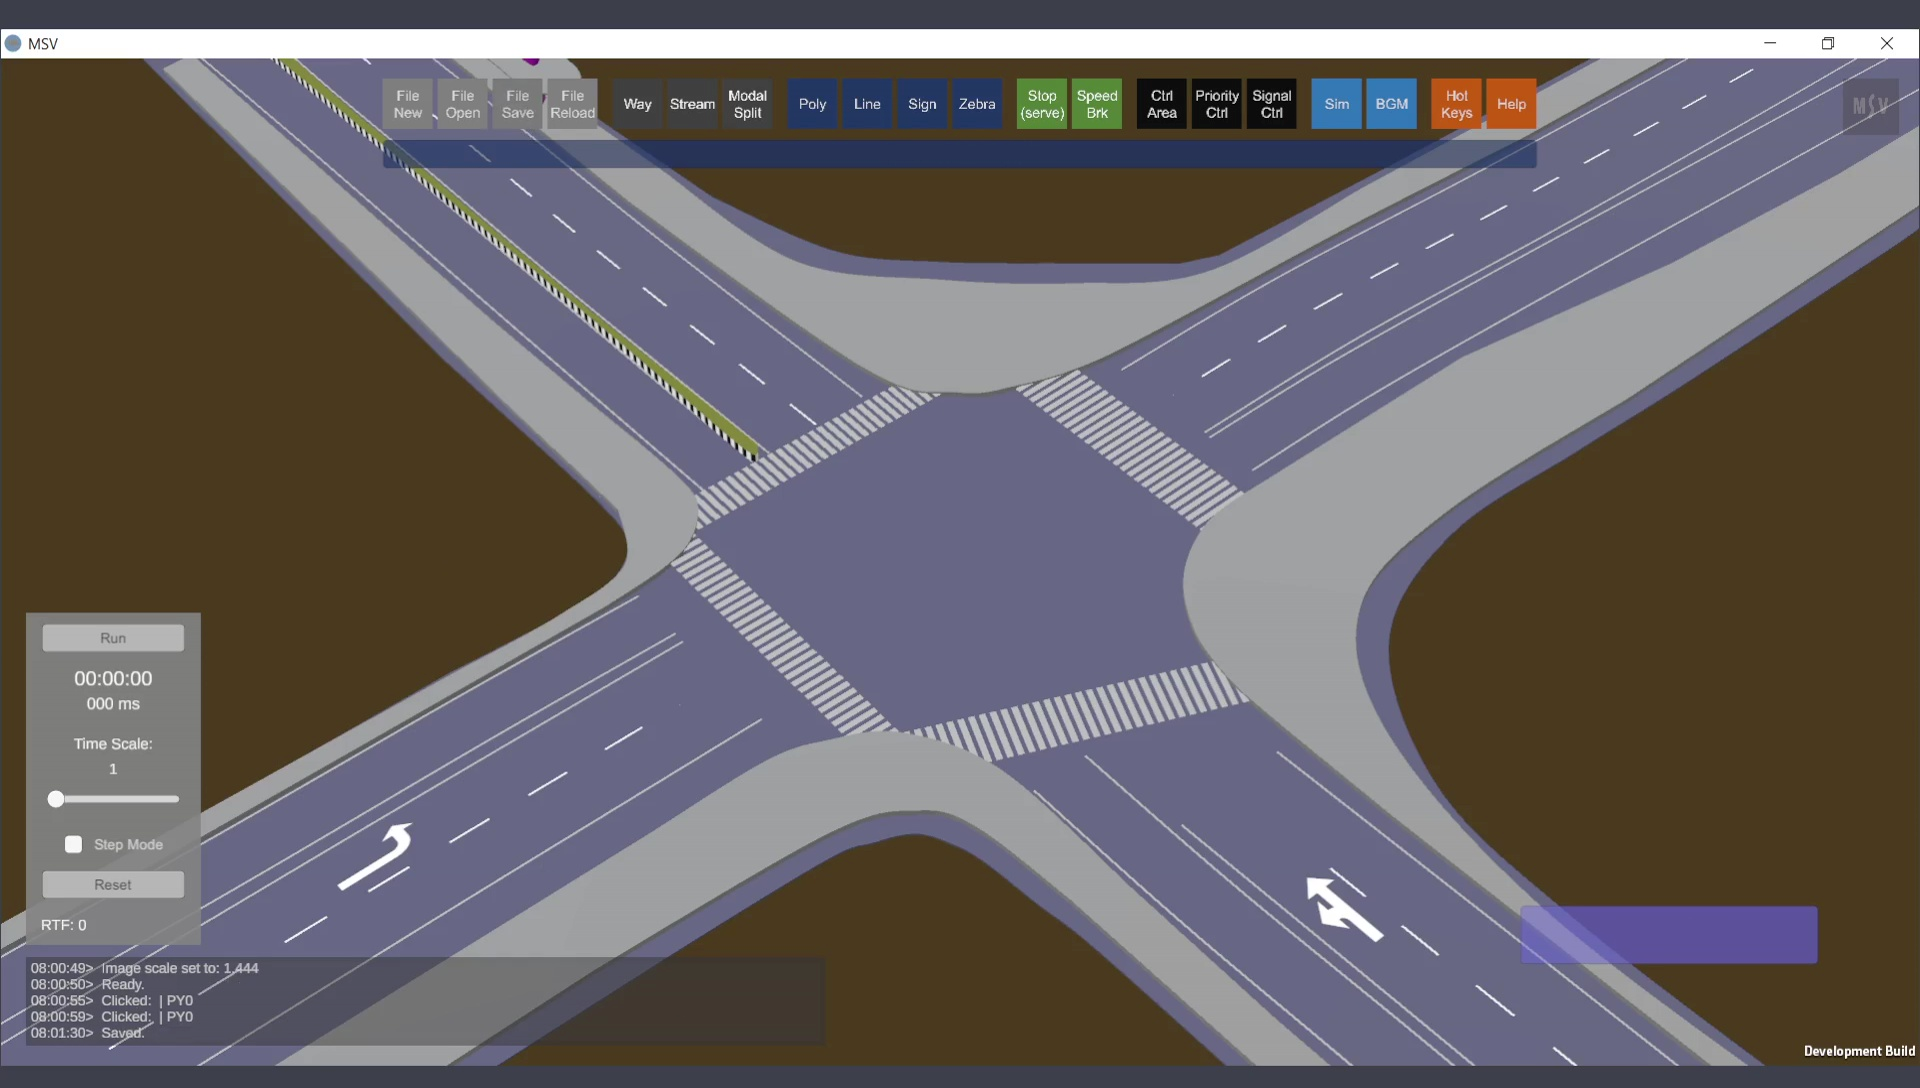
The procedure to create zebra crossings, as shown on the map below, is described here:
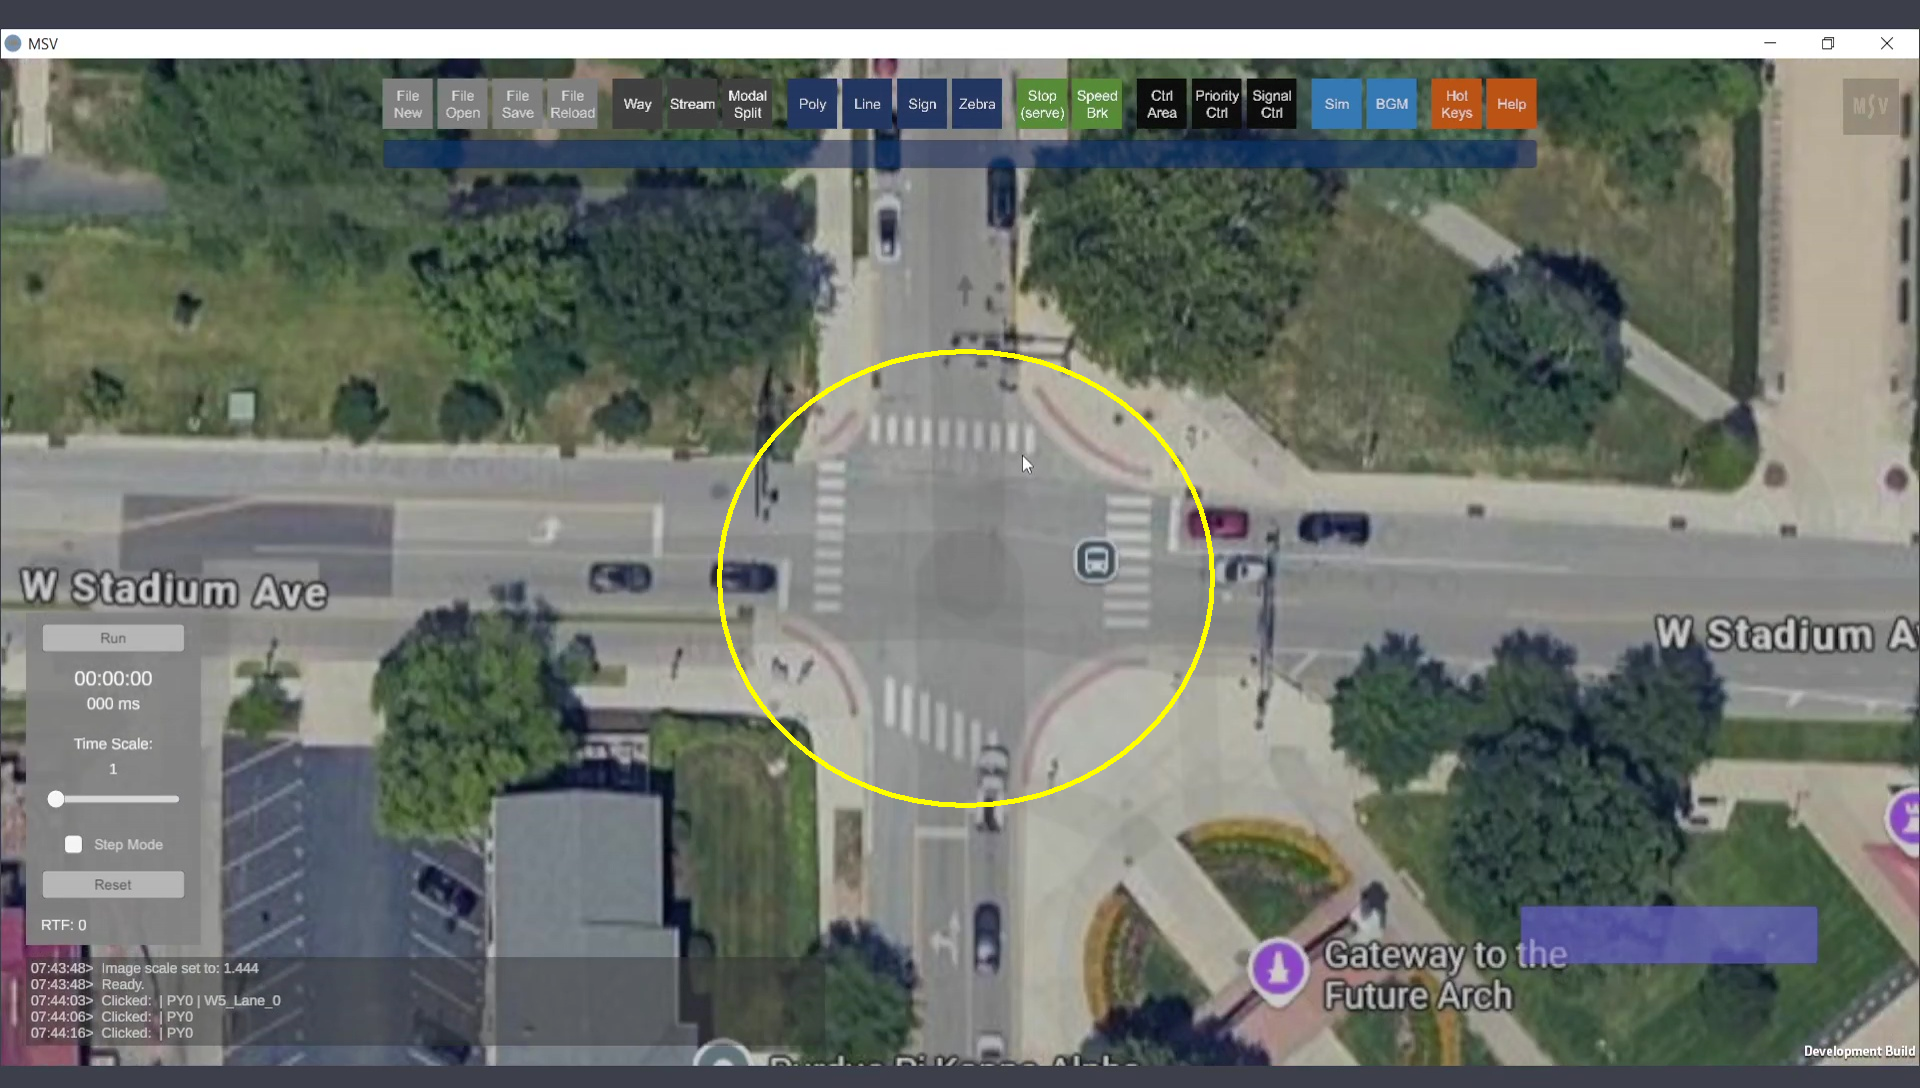
Zebra crossings on the map, to be created in the model.
To create a zebra crossing, open the editor by clicking on the ‘Zebra’ button. The editor includes just one input field: width (in meters).
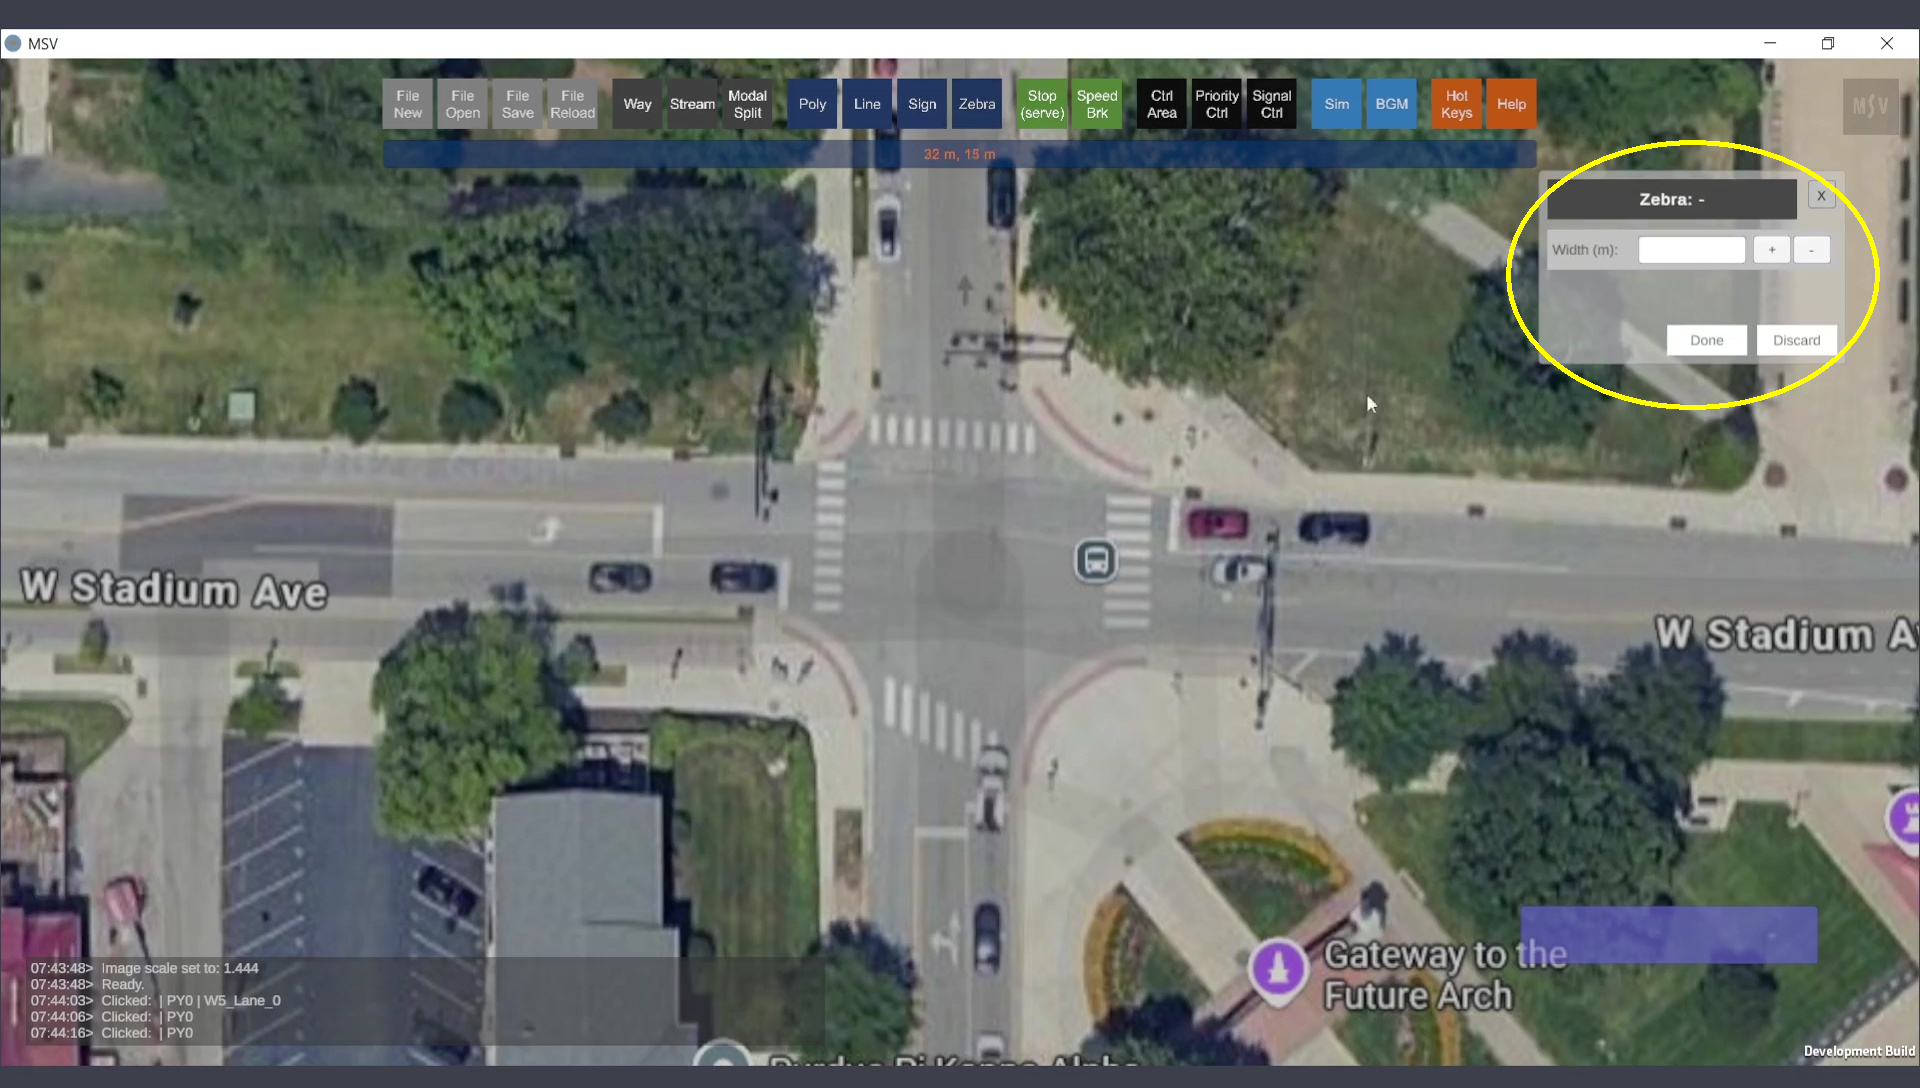
Zebra Editor.
Two control points are needed, one at each end of the zebra crossing. Unlike other shape editors in MSV, where control points are created using Ctrl + Left Clicks only, the zebra crossing requires:
The shape is drawn automatically after these two clicks. Then, press the Done button to complete the process.
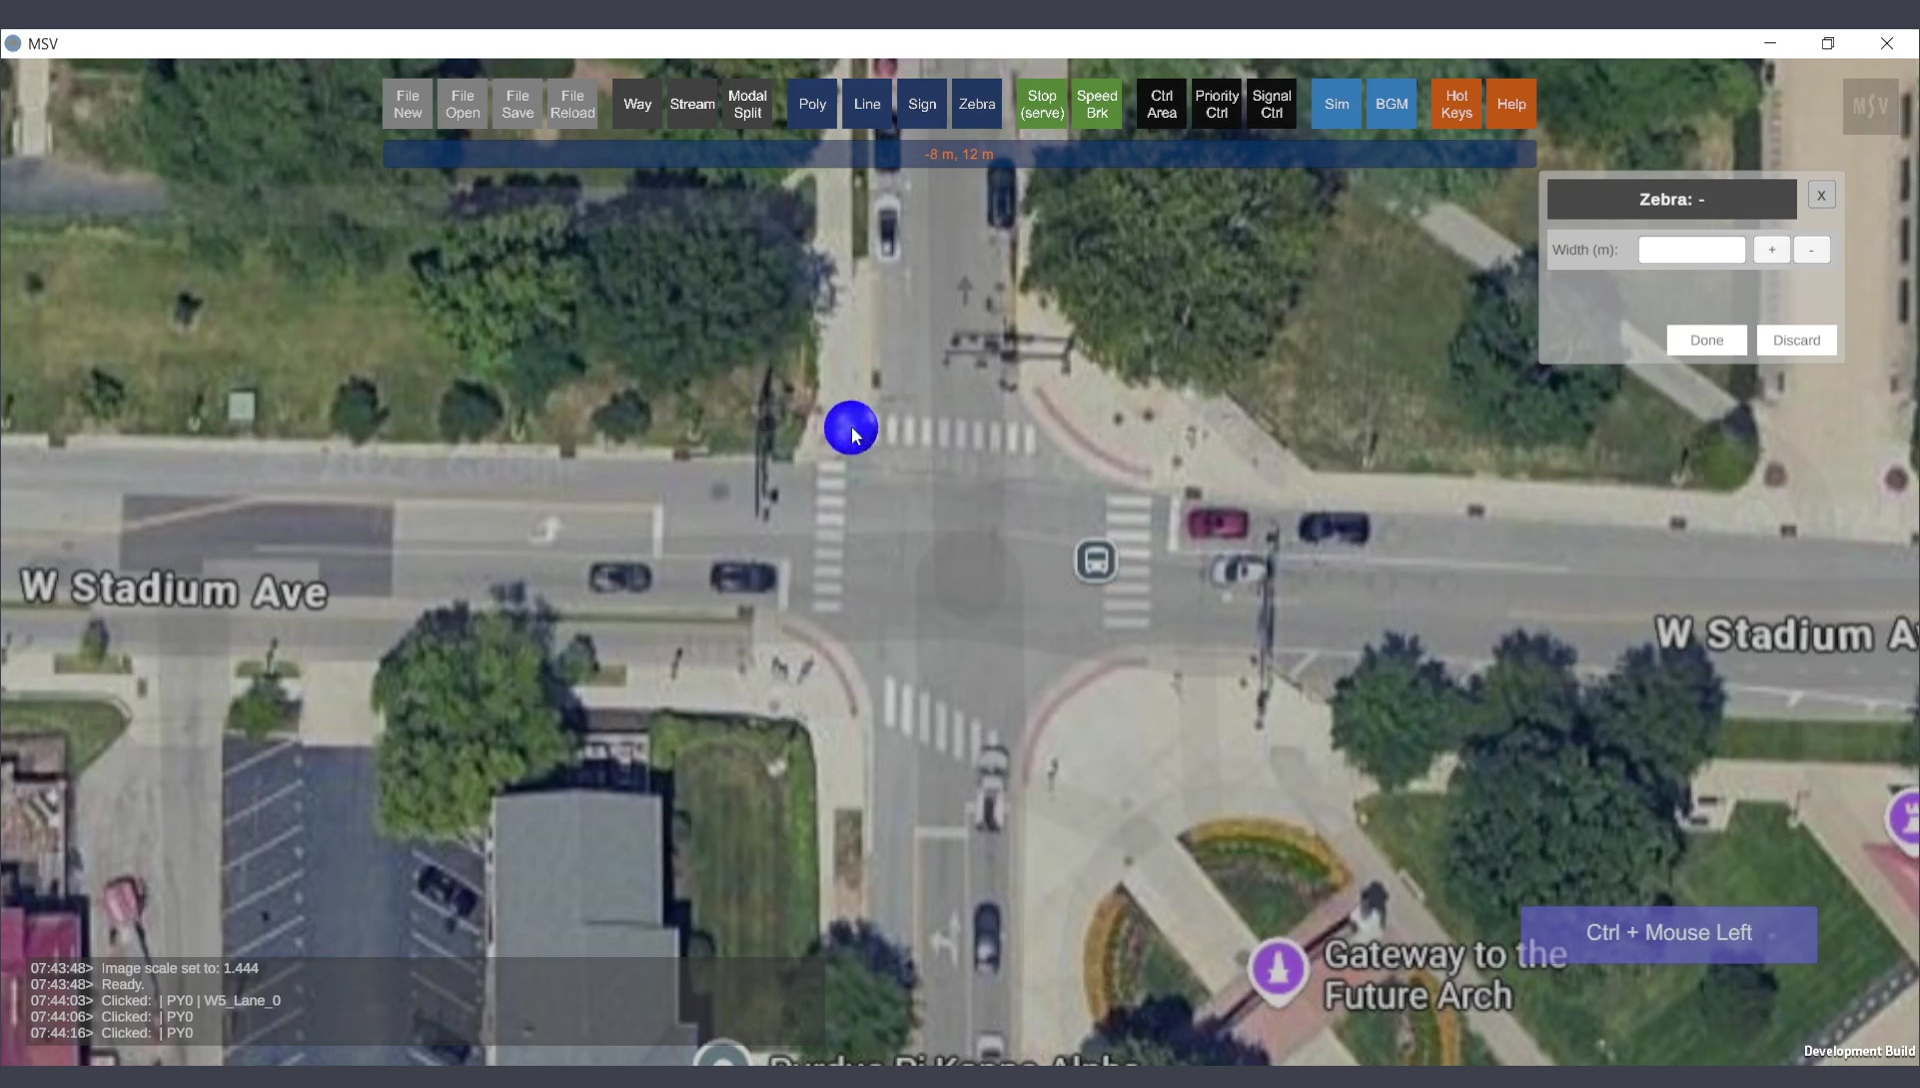
Ctrl + Left Click to set the starting point of the zebra crossing.
As soon as you perform Ctrl + Right Click at the other end, the zebra crossing is drawn:
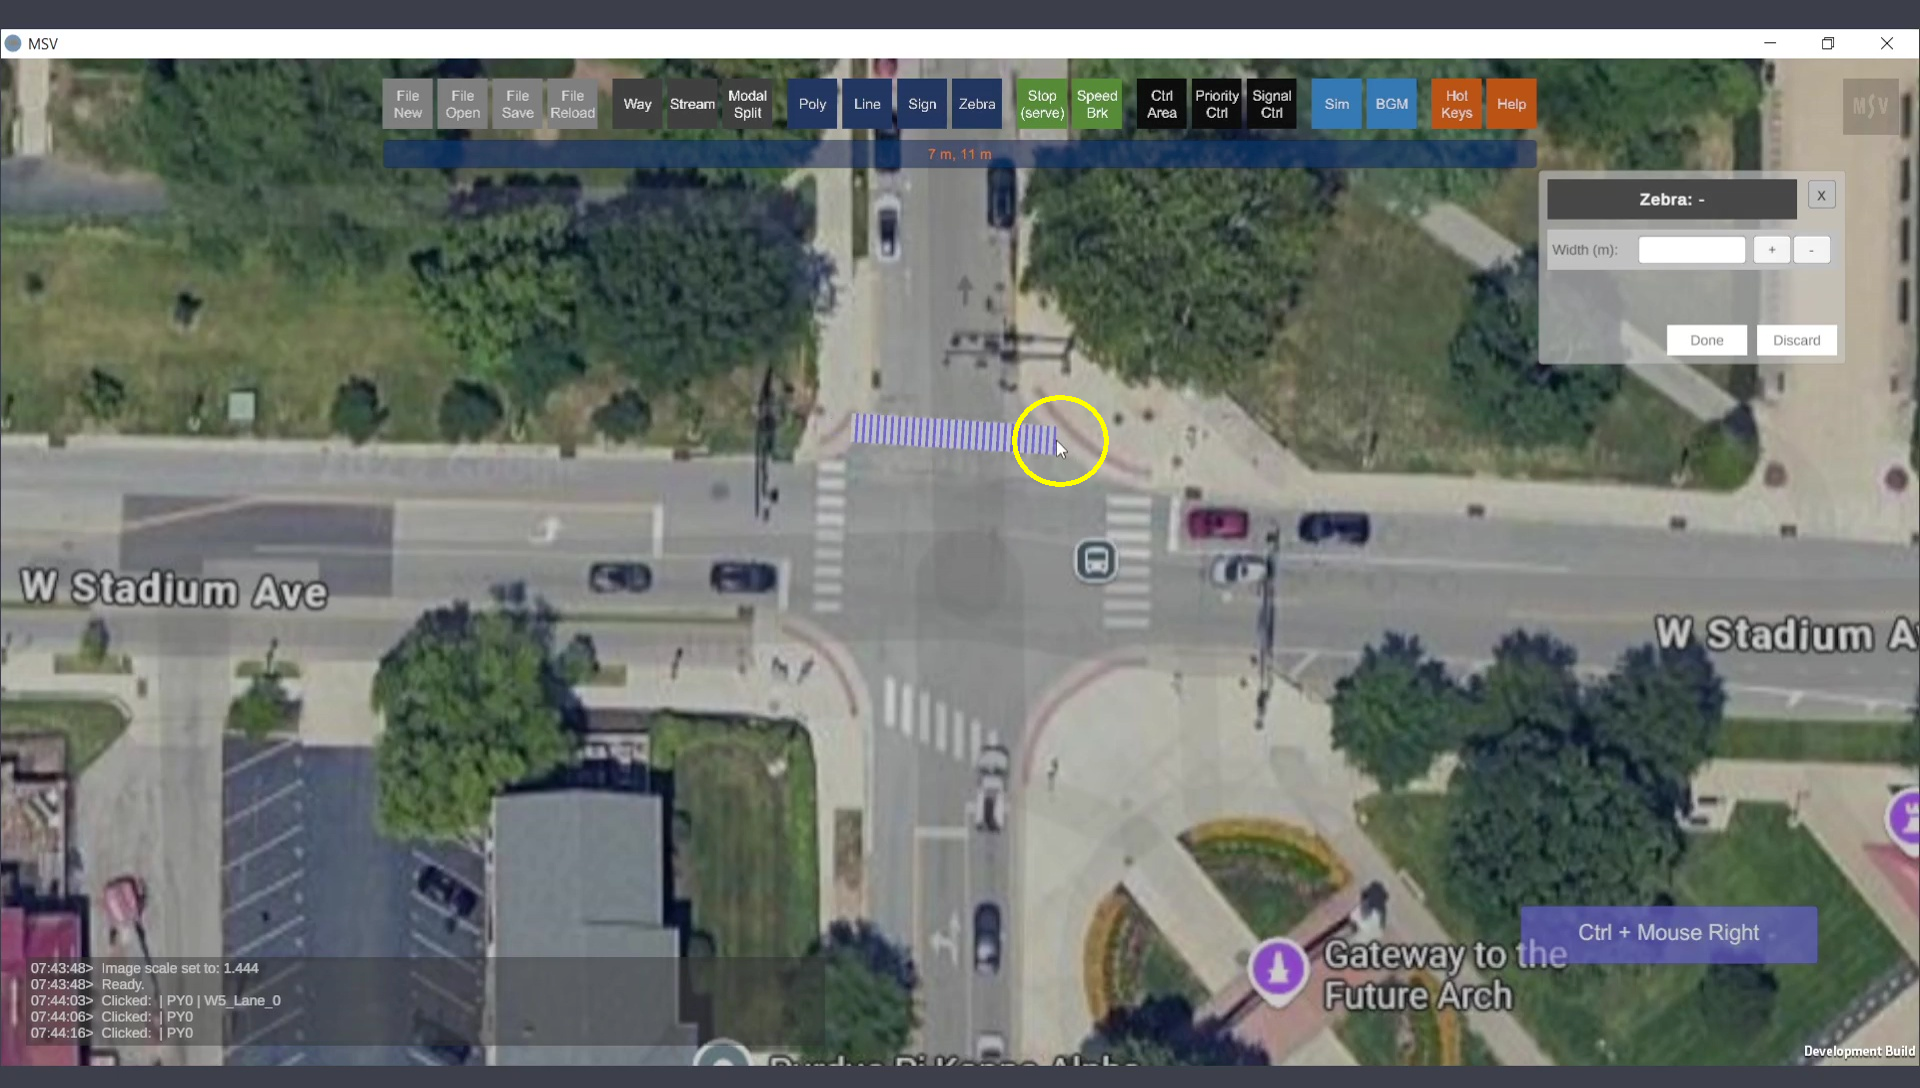
Ctrl + Right Click to set the ending point of the zebra crossing.
Press Done and select the zebra crossing again to fine-tune its position. You can adjust the width using the Zebra Editor. Below is an example of a second zebra crossing created and adjusted:

Adjusting the width of the zebra crossing.
Two more zebra crossings were created in a similar way. Their elevations can be adjusted using Shift + Page Up or Shift + Page Down keys on the keyboard. This adjustment ensures the zebras fit properly beneath poly shapes or walkways.
Final zebra crossings for the modeled junction.