Way objects can have elevation either for the entire stretch or for specific portions. A Way is drawn using the nodal points clicked during its creation. These nodal points have 3D space coordinates, allowing modification of the Y coordinate (which represents the vertical axis in the MSV environment). This functionality is not available in the fields of the Way Editor but can be achieved using keyboard keys. As elevation data is changed, the Reporter will display the current elevation of the post (control point) for verification.
Select a Way after opening the Way Editor, then Ctrl-Click any post. Previously, we learned that Shift + Arrow Keys can move a point in any direction, and Shift + Mouse Click can quickly relocate it. To move the point vertically, we have the following methods:
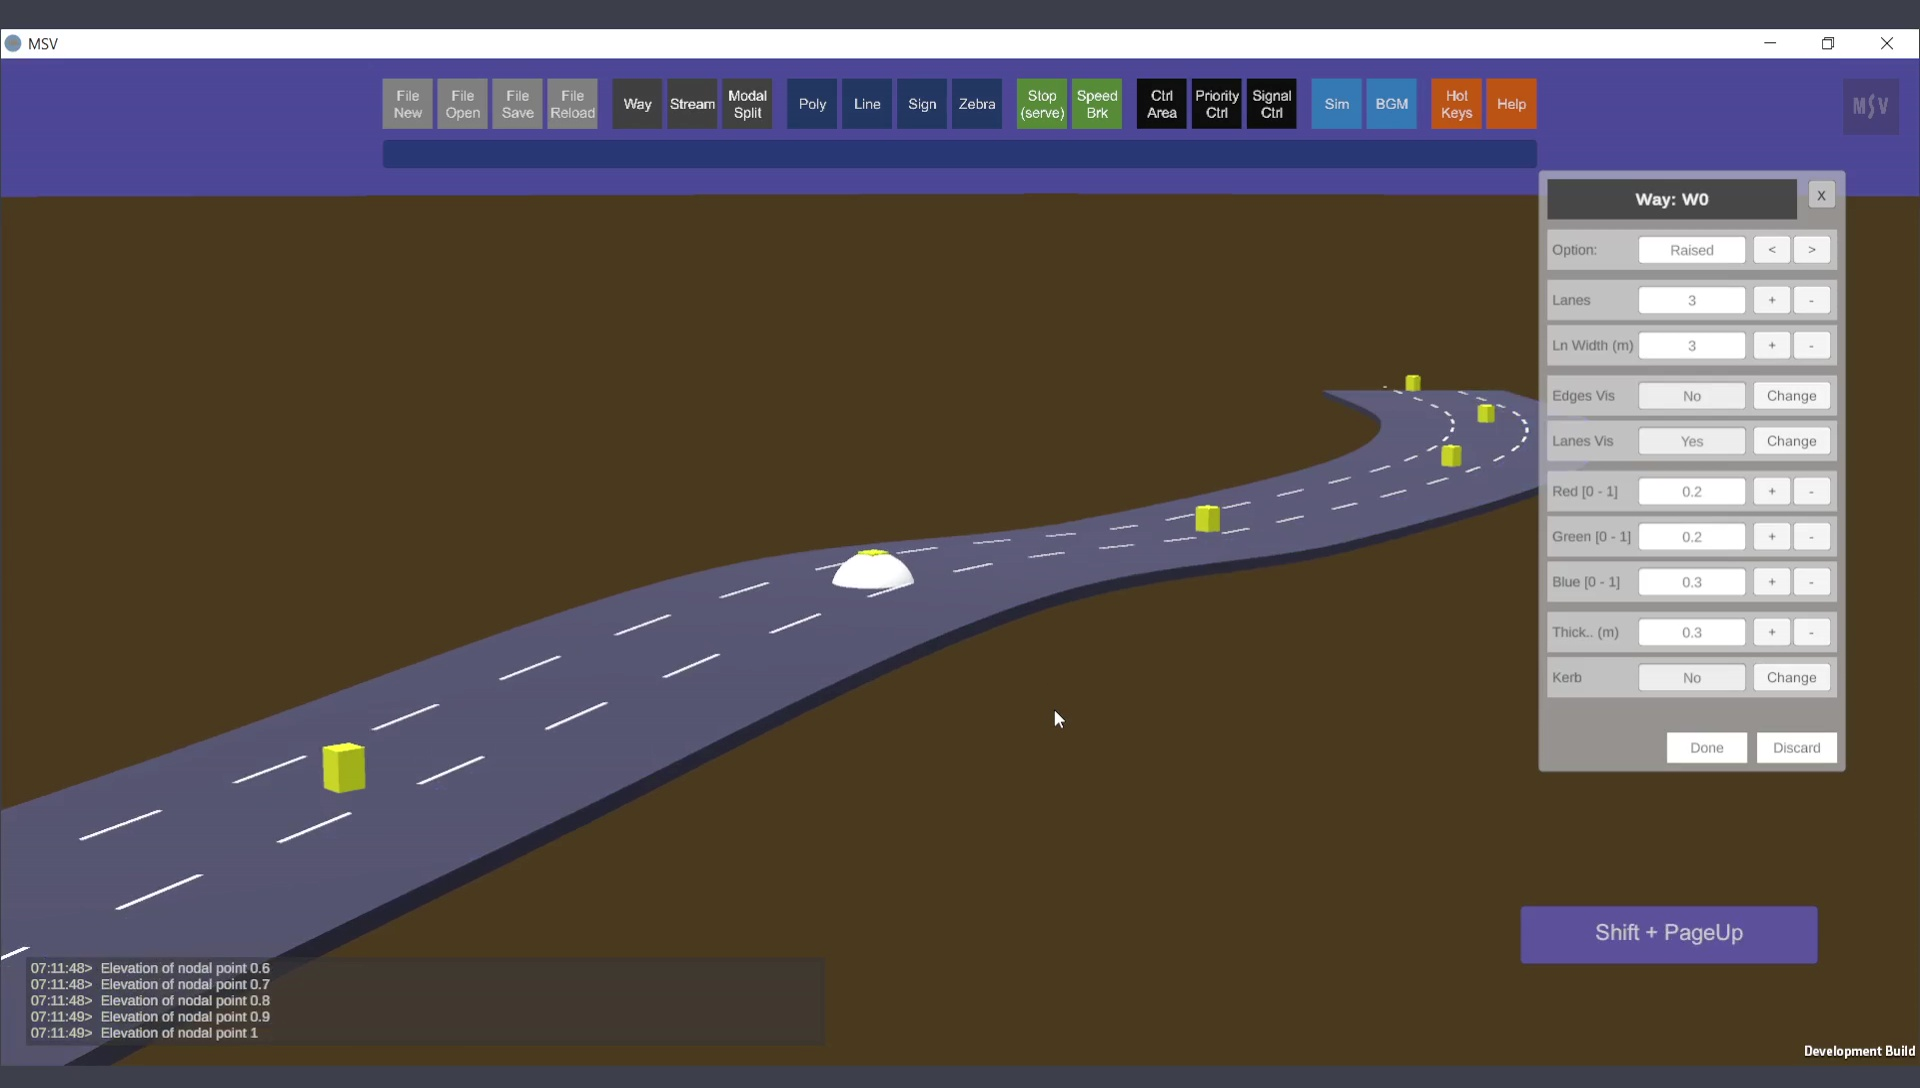
A point is moved up in steps of 0.1m
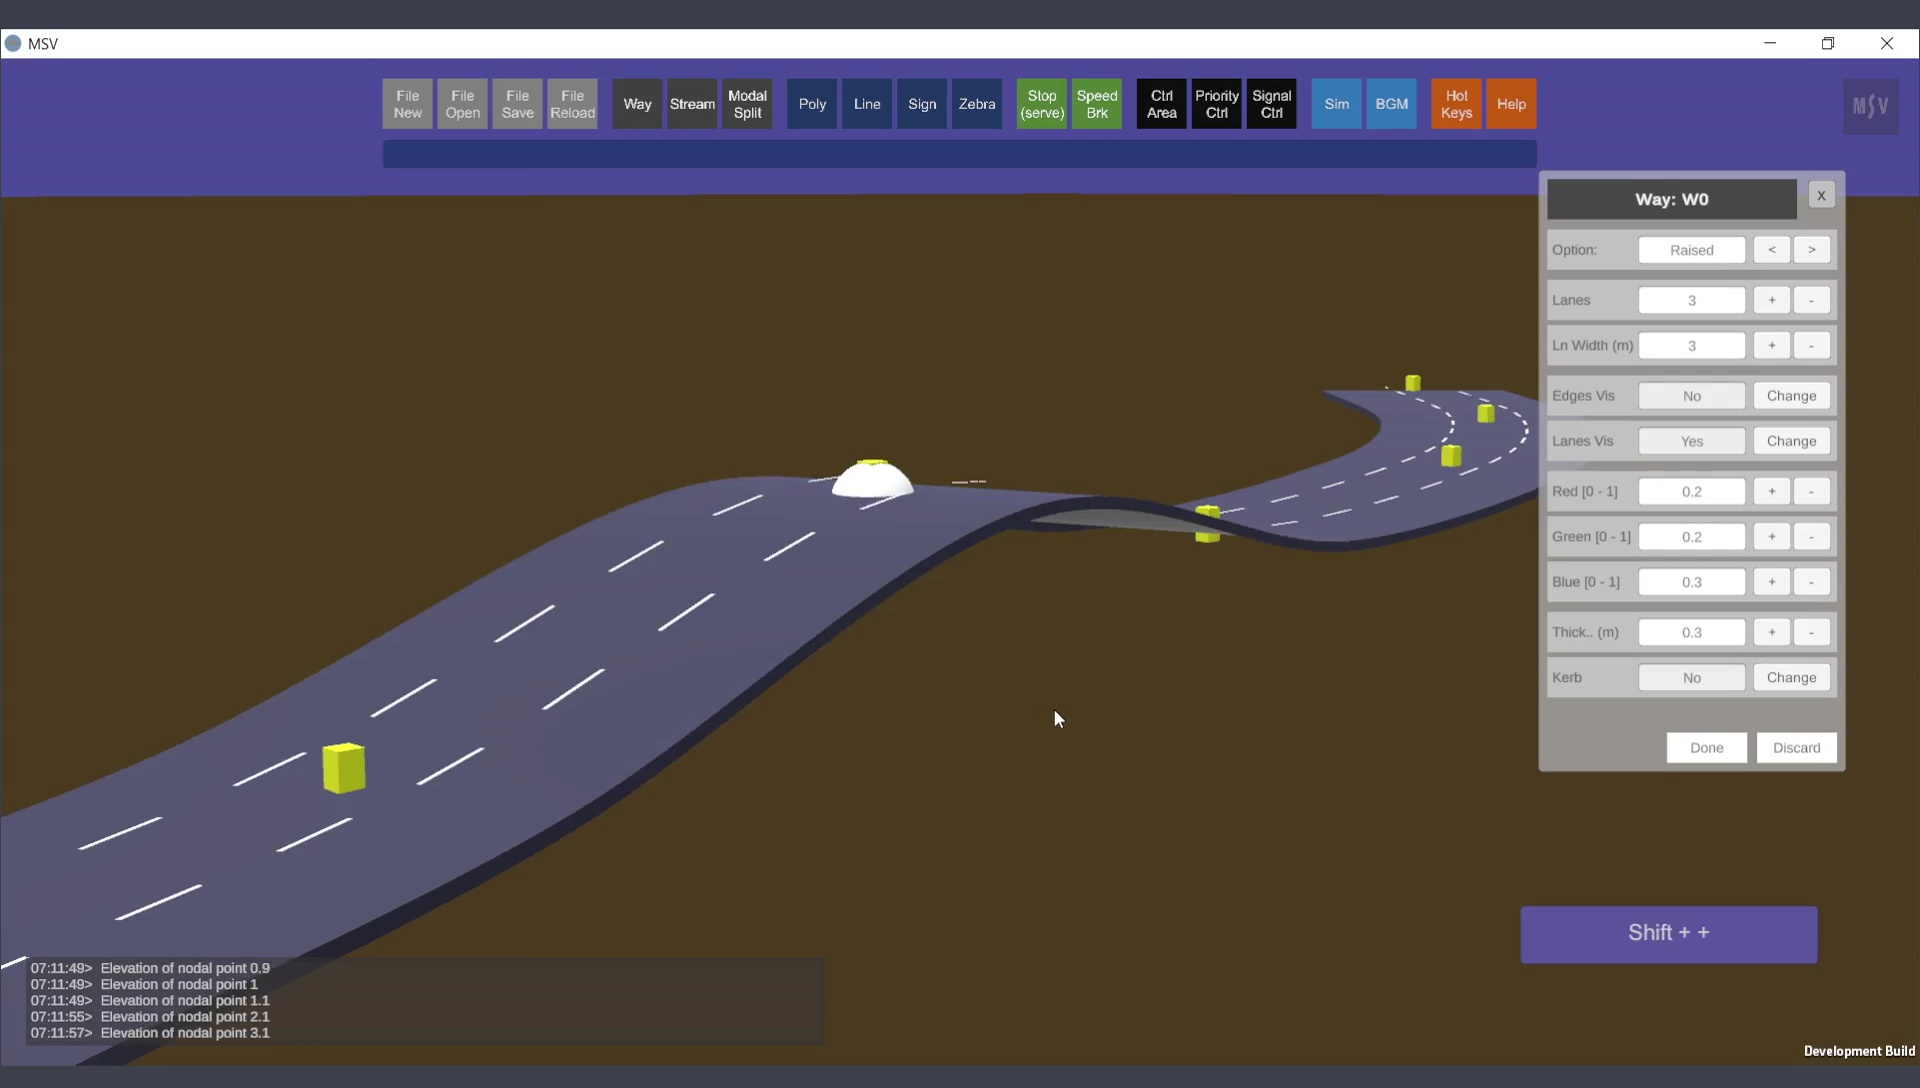
Here the point is moved in steps of 1m.

Use left or right arrow key to move to the next nearby point and repeat the same procedure to create a gentle slope.
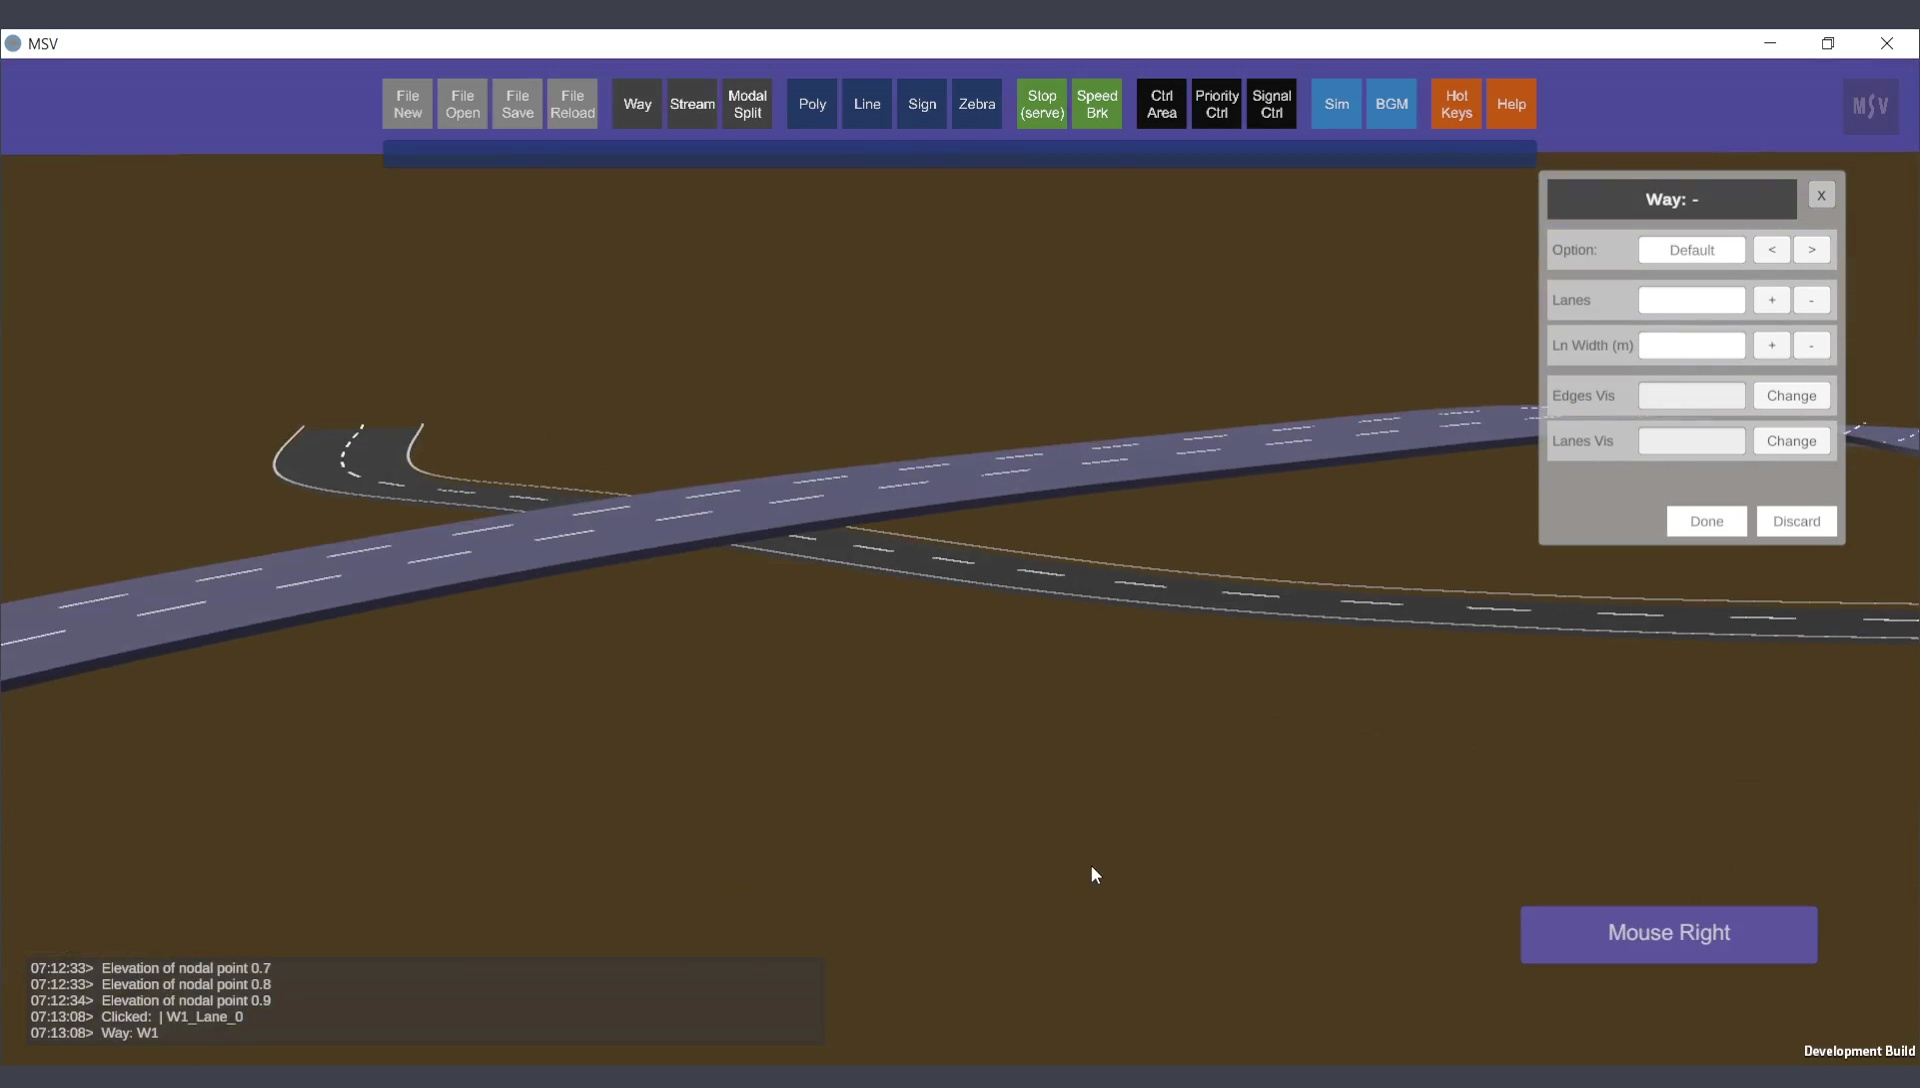
Two Way objects are there, one elevated and one placed below it.
For gradual grade separation, as in entry or exit ramps or flyovers, you can set major elevations for certain points and make minor changes at entry and exit locations to achieve a smooth slope.
Here is an example of a flyover model from a real-world scenario:
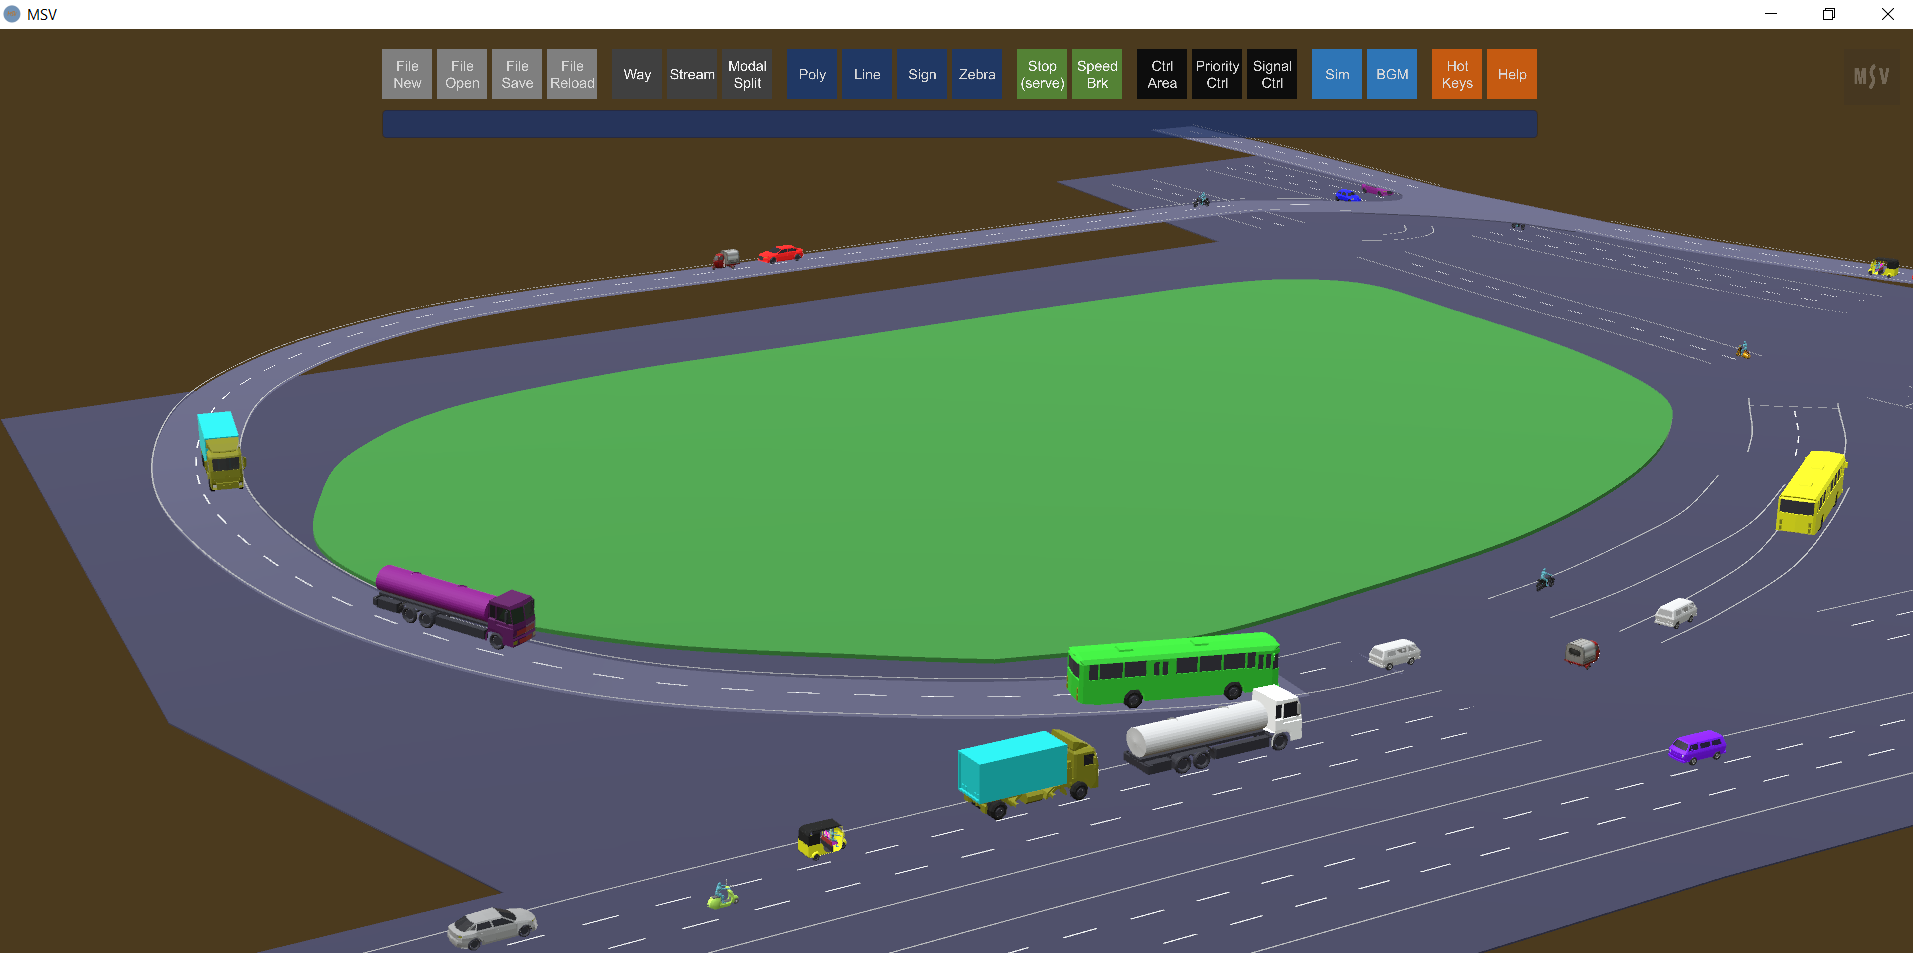
In this case, the flyover portion was modeled as a surfaced Way, while other road portions were created using the default surface-less option, as there is a polygon base for the entire area.
Note that everything mentioned for vehicles also applies to pedestrian movements. The lane width will be smaller in the case of Way objects created for pedestrian movement.