With the Way editor opened (by pressing the Way button in the top row of buttons), move the mouse over the way that needs to be edited. Whichever Way the mouse is on (without clicking), the way will be highlighted as shown below:
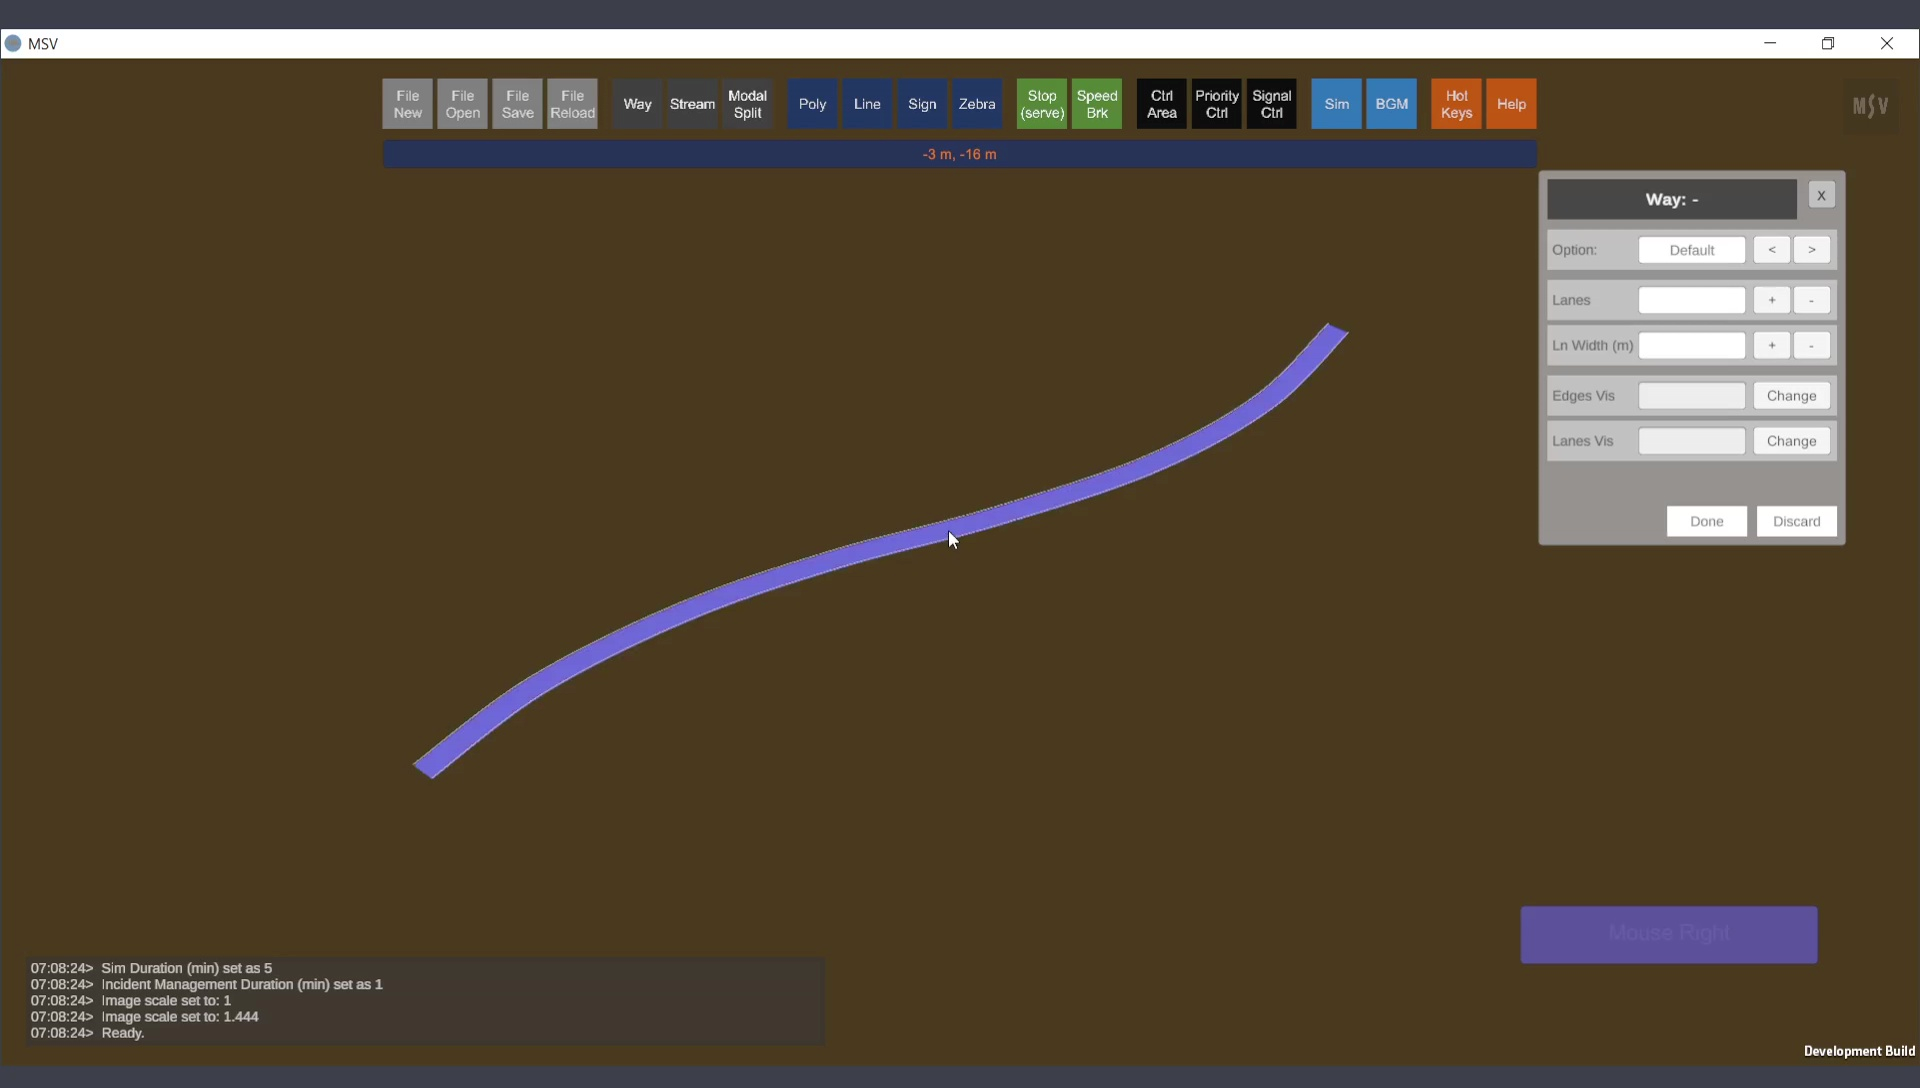
When mouse goes over a Way, its color changes.
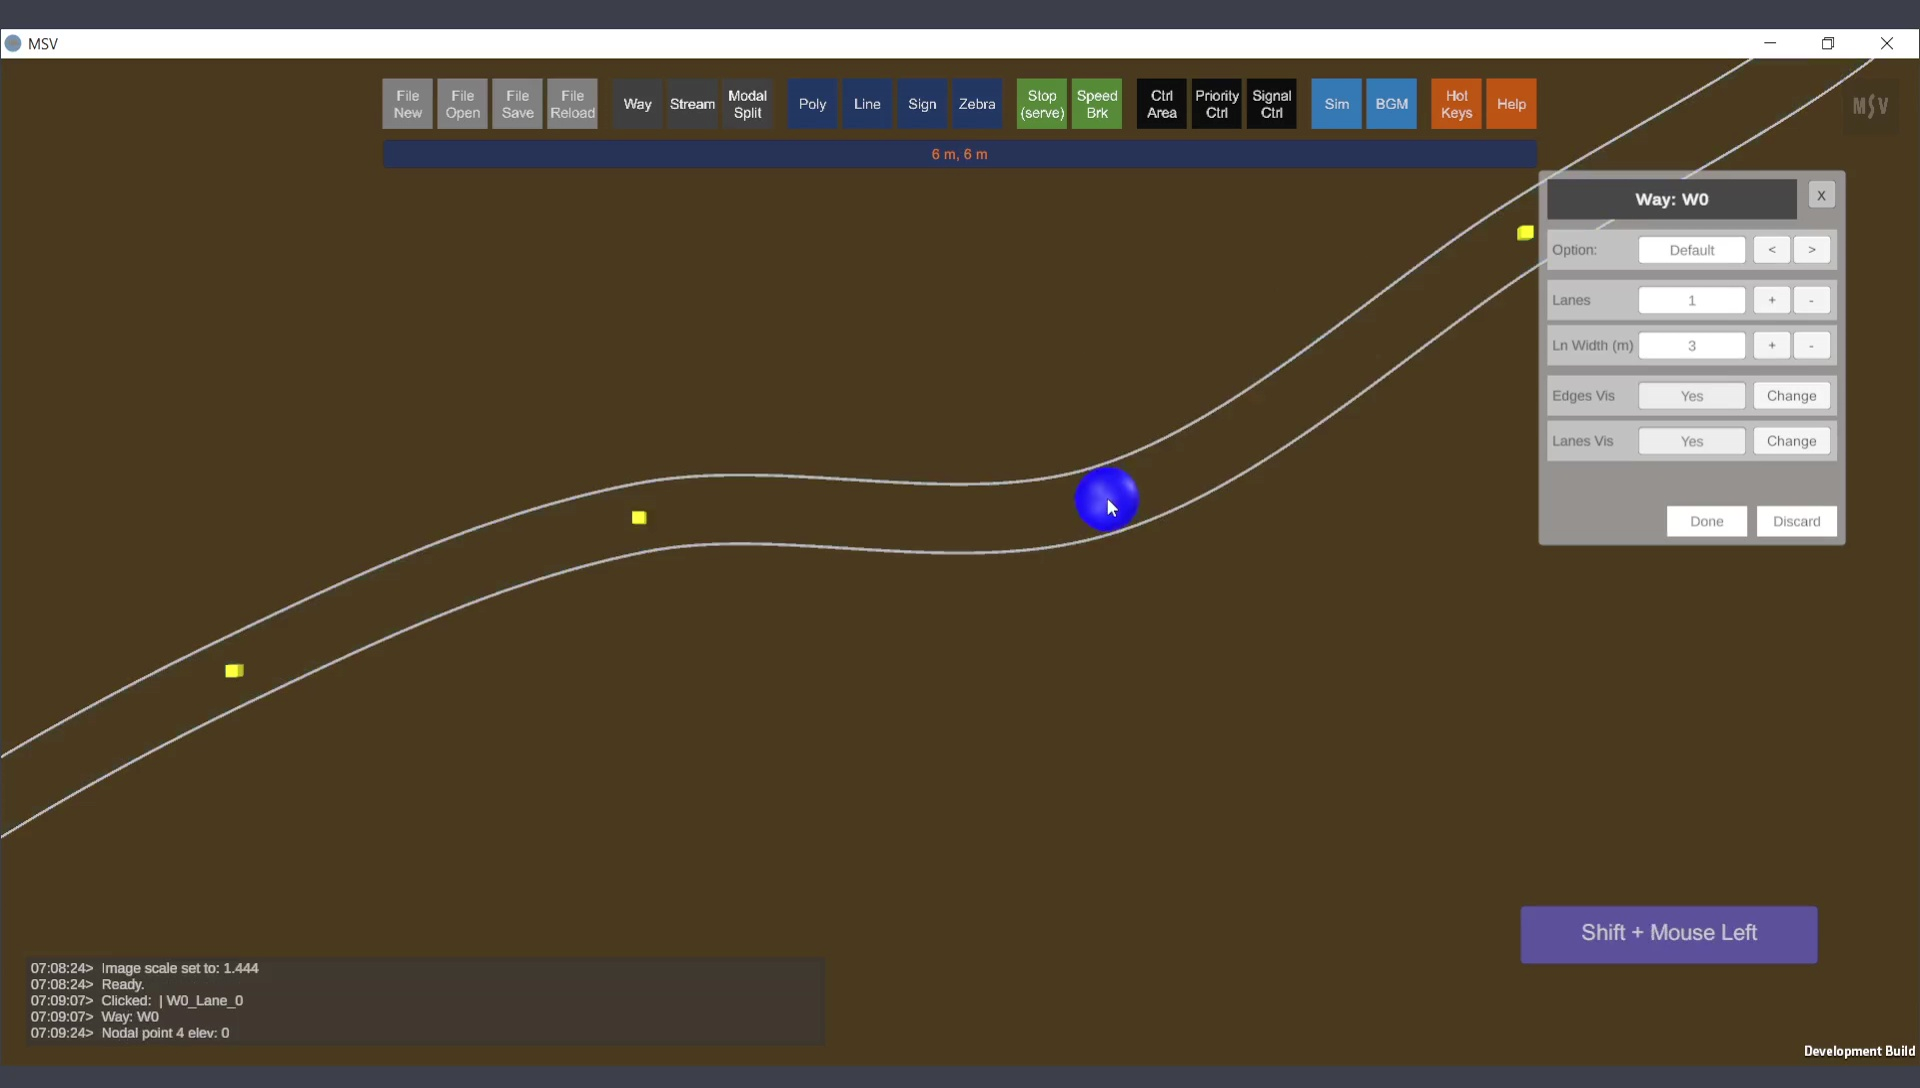
While hovering over the desired Way, simply click to select it for editing. The data related to that Way will be displayed in the editor, showing a name such as "Way: W0" and so on. This name is auto-assigned by the program and generally does not require user changes. The selected Way will show yellow posts, which are the control points or nodal points used to define its shape.
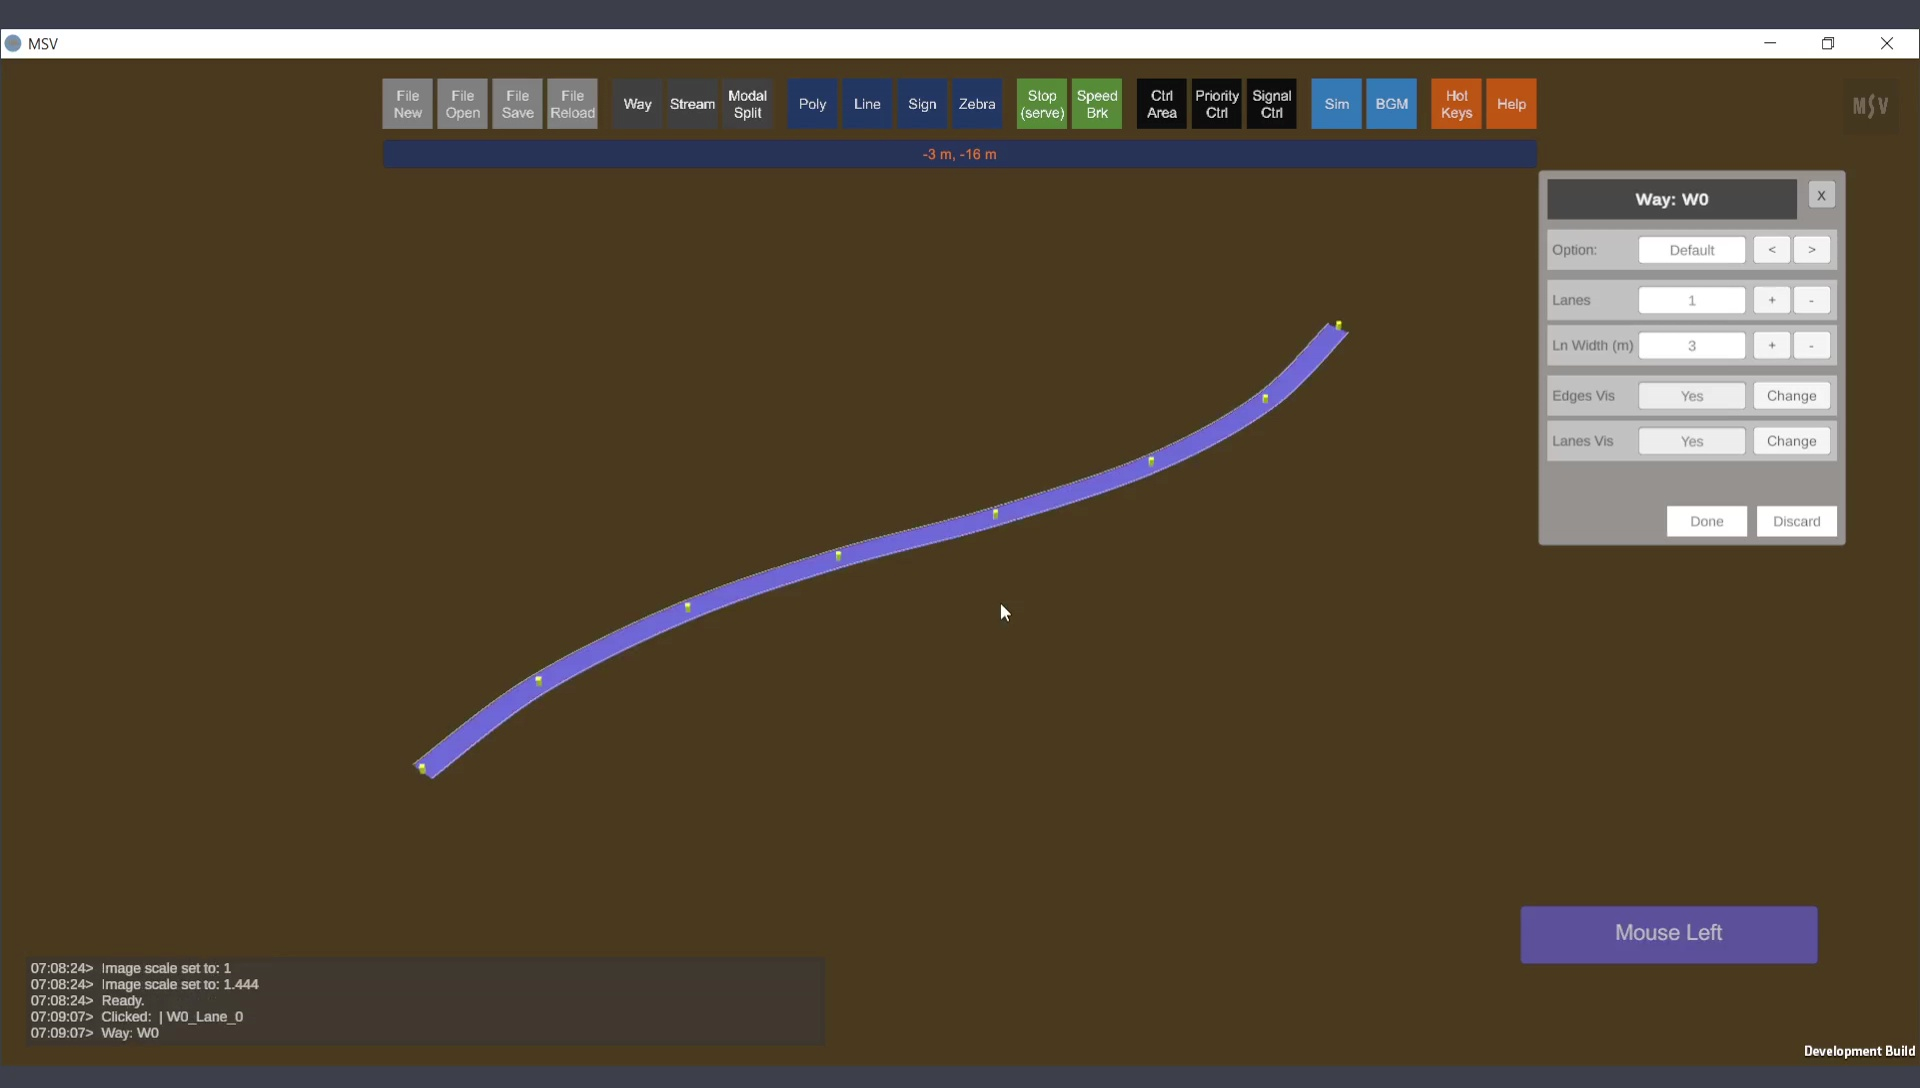
Way with posts displayed. These are the control points or nodal points of the Way.
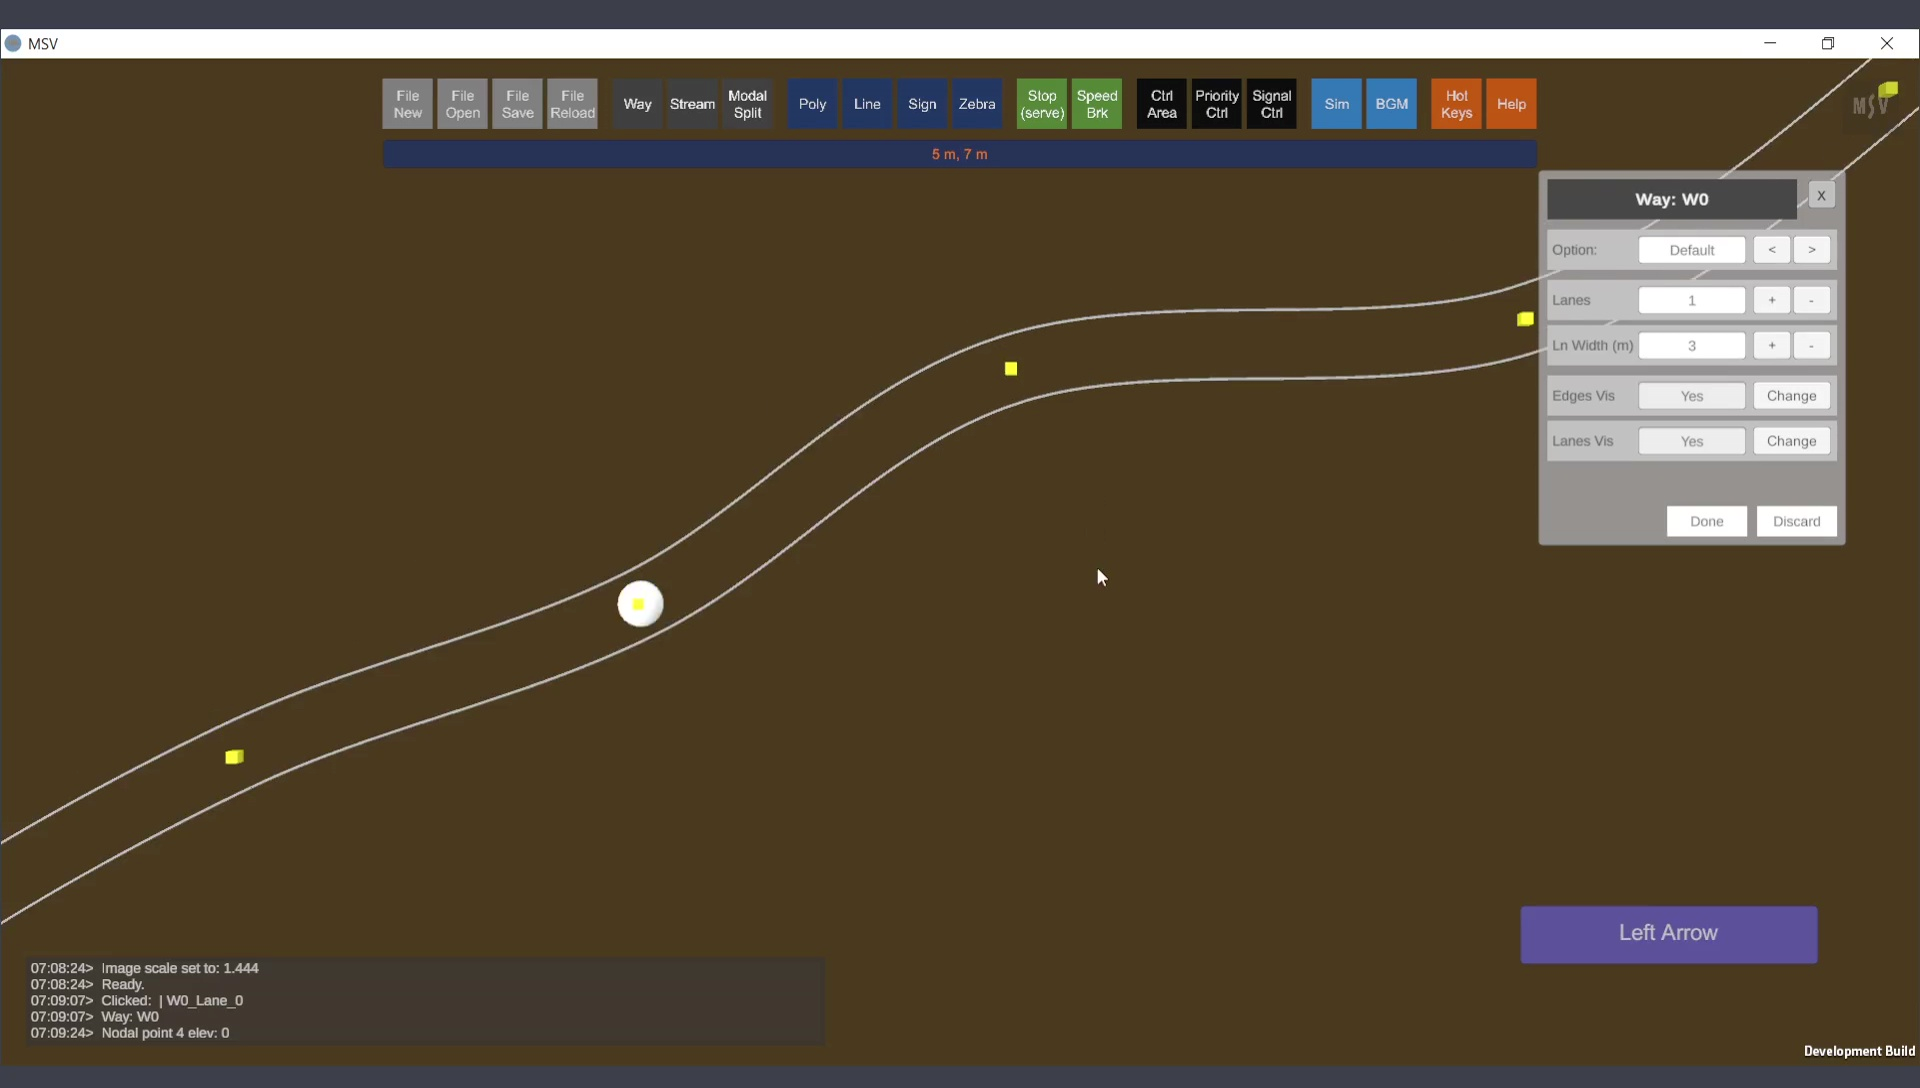
To edit a post, select it by Ctrl-Click. A blue blob followed by a white blob will appear on the post, as shown below:
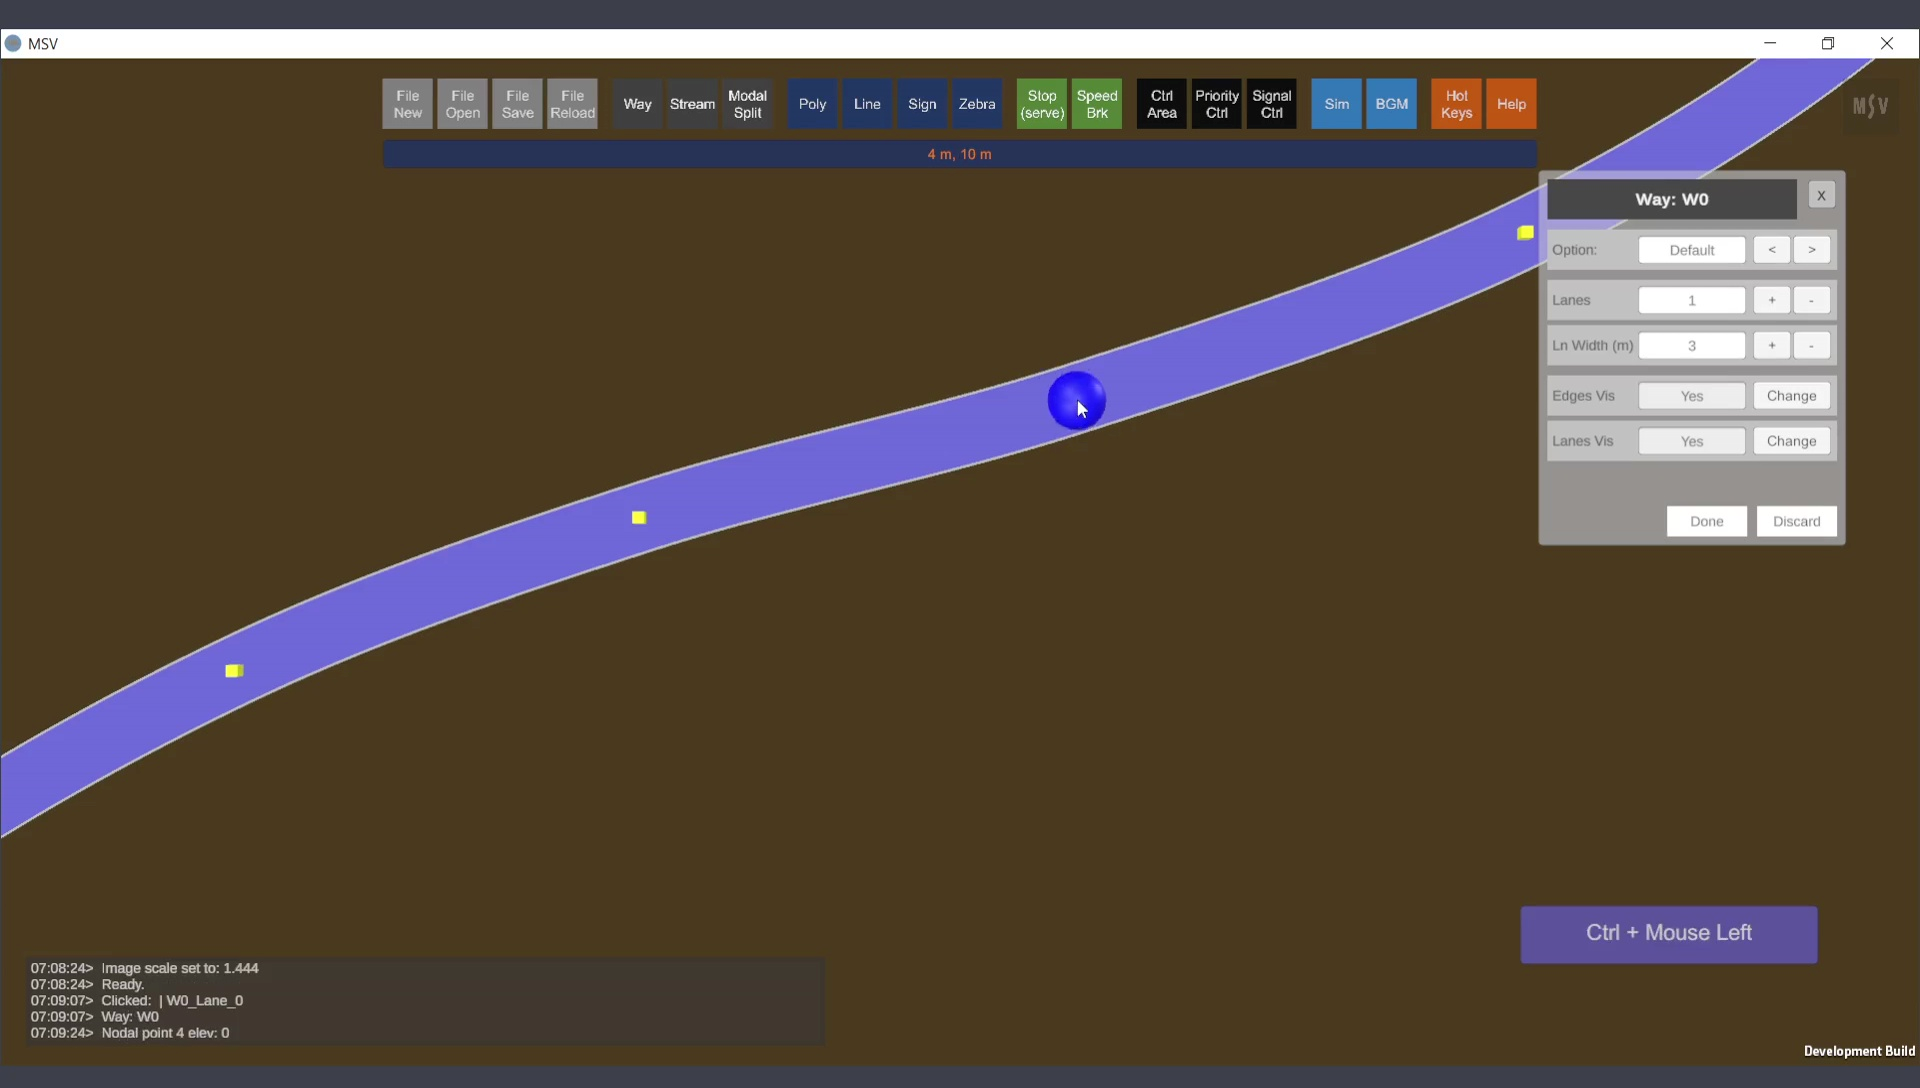
Ctrl-Click selects the post for repositioning, deleting, or inserting another post nearby.
Selected post for editing
To reposition the selected post, use Shift + Click anywhere to relocate it. The Way curve will adjust accordingly. For minor adjustments, use Shift + Arrow Keys (Up, Down, Left, Right) to move the post in small increments.
Repositioning the control point (post) by Shift + Click action.
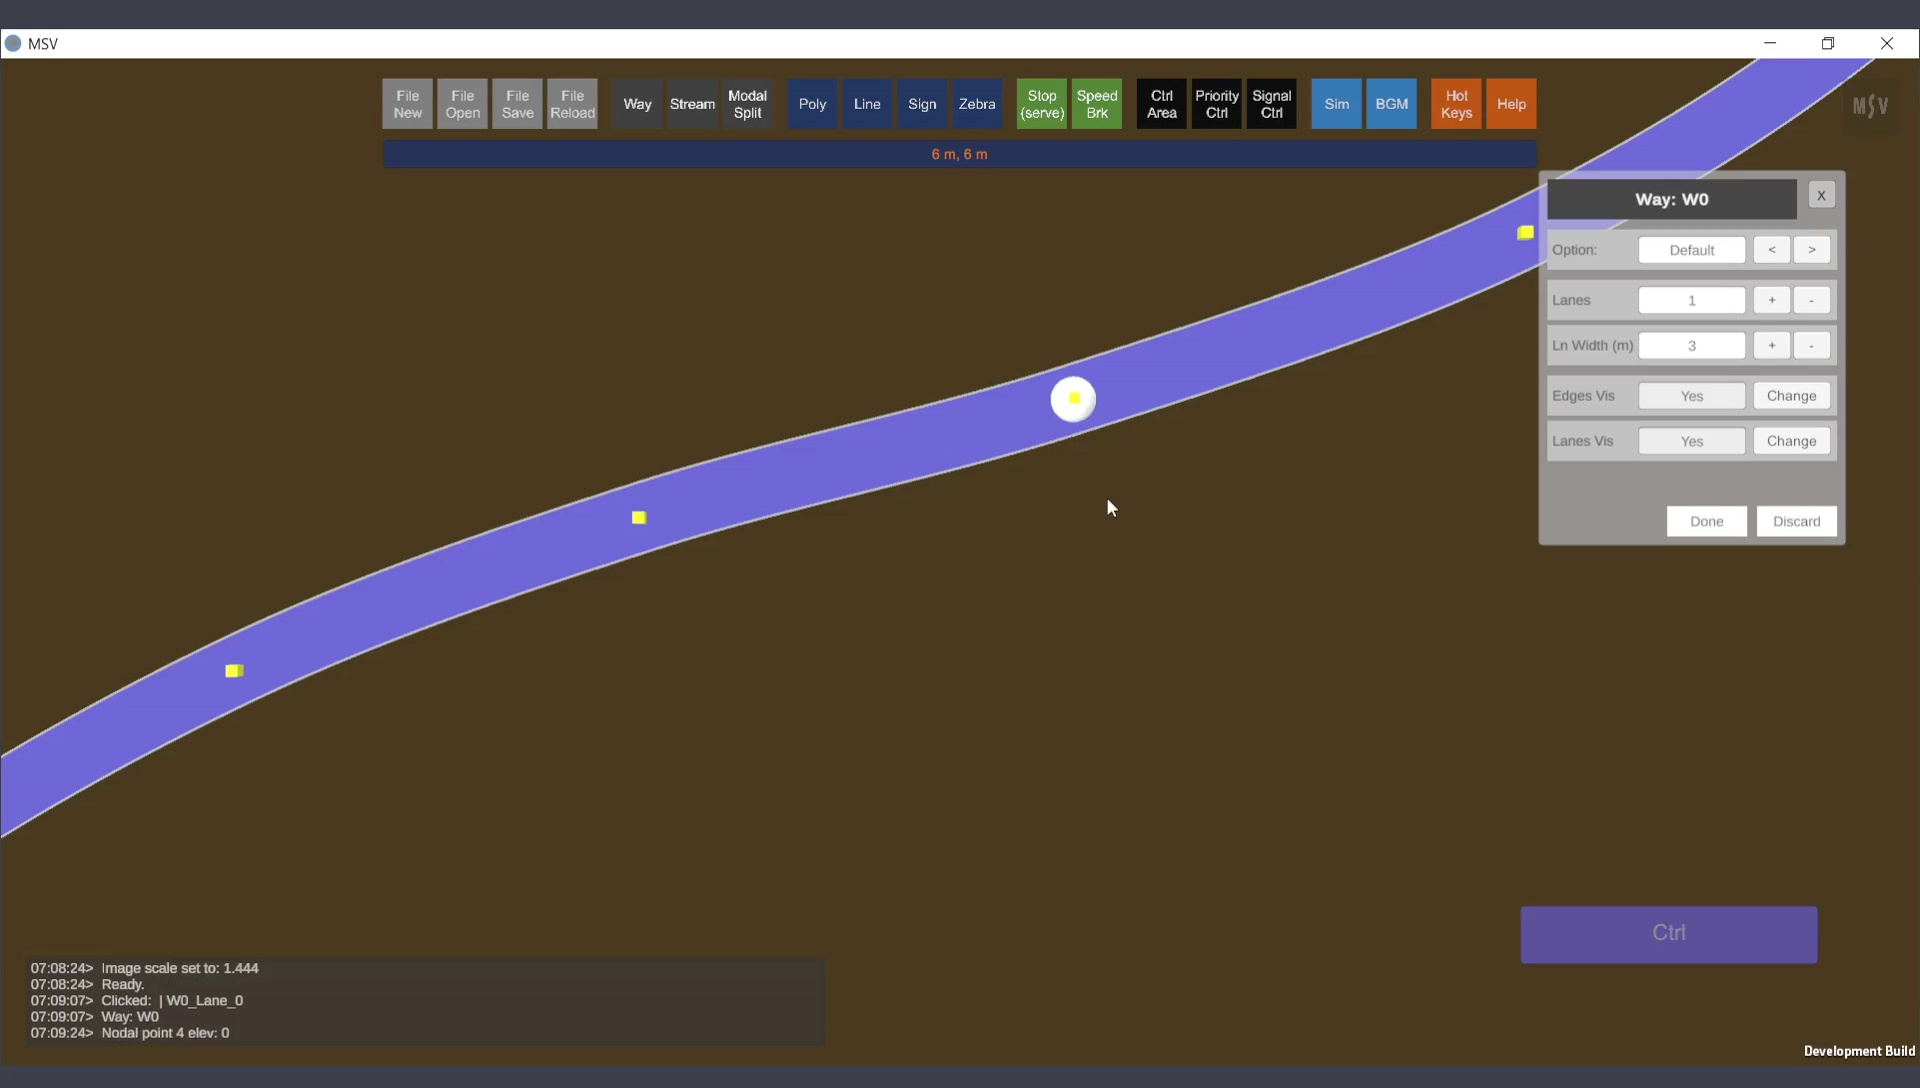
To choose another post, Ctrl-Click on it, or use the Left/Right Arrow Keys to move the selection to adjacent posts. Continuously pressing an arrow key will cycle through all posts, highlighting each in turn.
Moving the blob to the next post using the arrow key.
Note: To move the entire Way at one shot, use Shift + Alt + Arrow keys. This is recommended for minor adjustments only.
You can set the number of lanes and lane width for the Way in the editor. Enter values manually (press Enter after typing) or use the + or - buttons to adjust values. Below is an example of increasing lanes from 1 to 3 and slightly widening them:
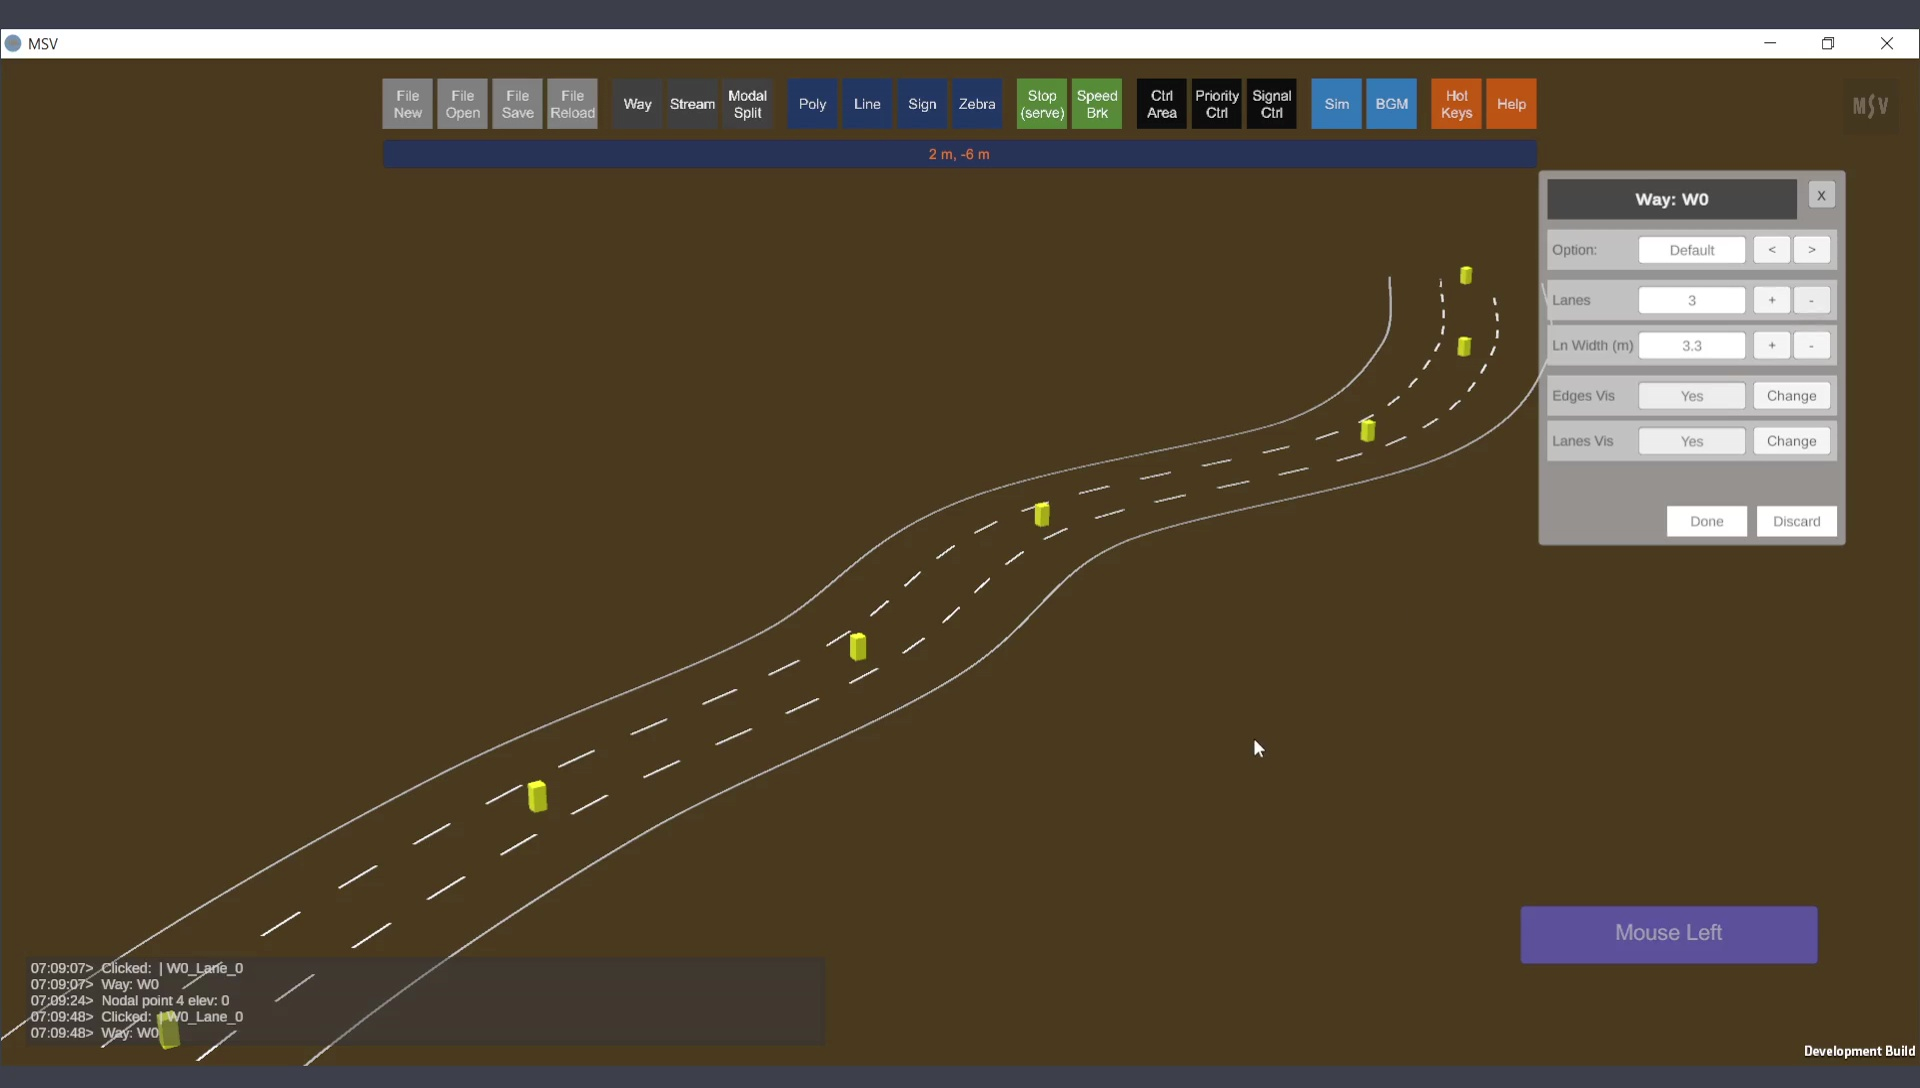
Result of changing the number of lanes and lane width.
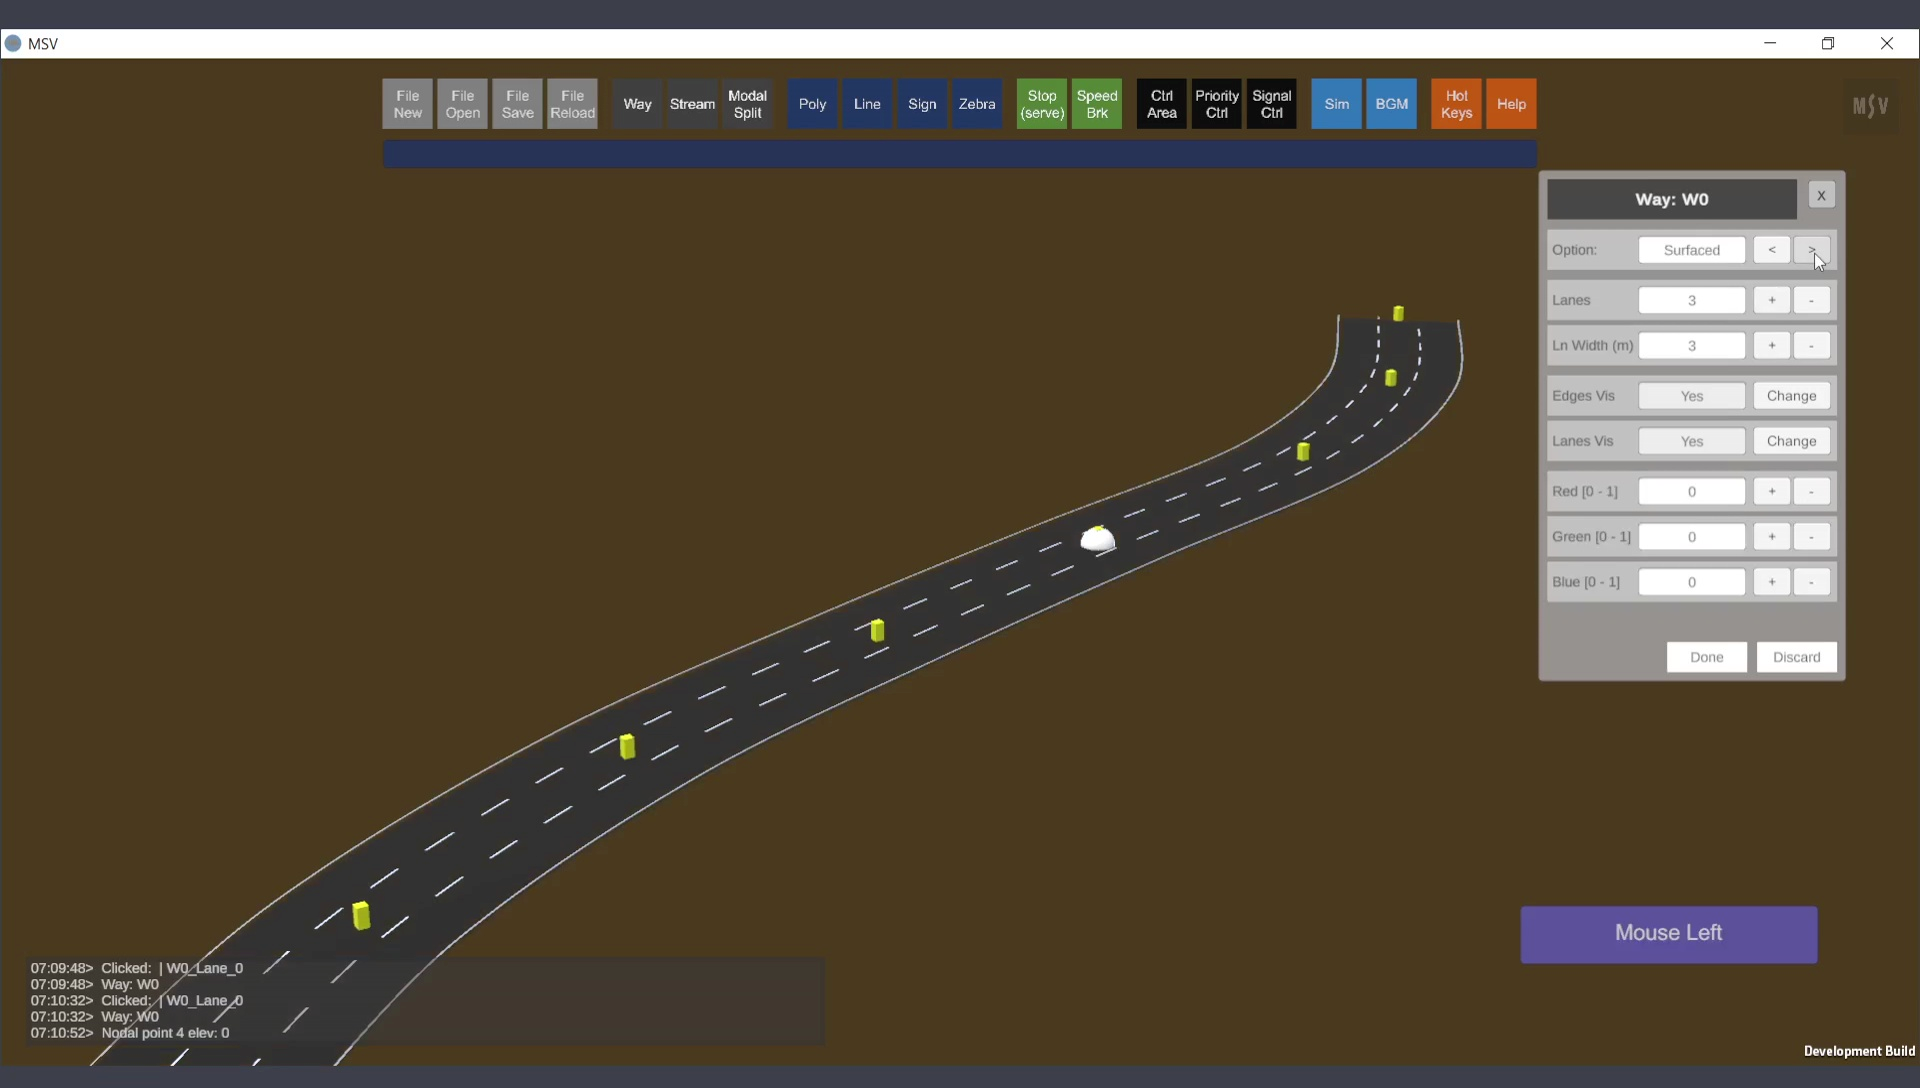
Changing the Way type (default, surfaced, raised) using the ‘<’ or ‘>’ buttons will update the options. For surfaced Ways, you can define RGB color values for the pavement. Values range from 0 to 1 for Red, Green, and Blue channels. Adjust them to achieve the desired color.
This is default black (almost black), with all values set to 0.
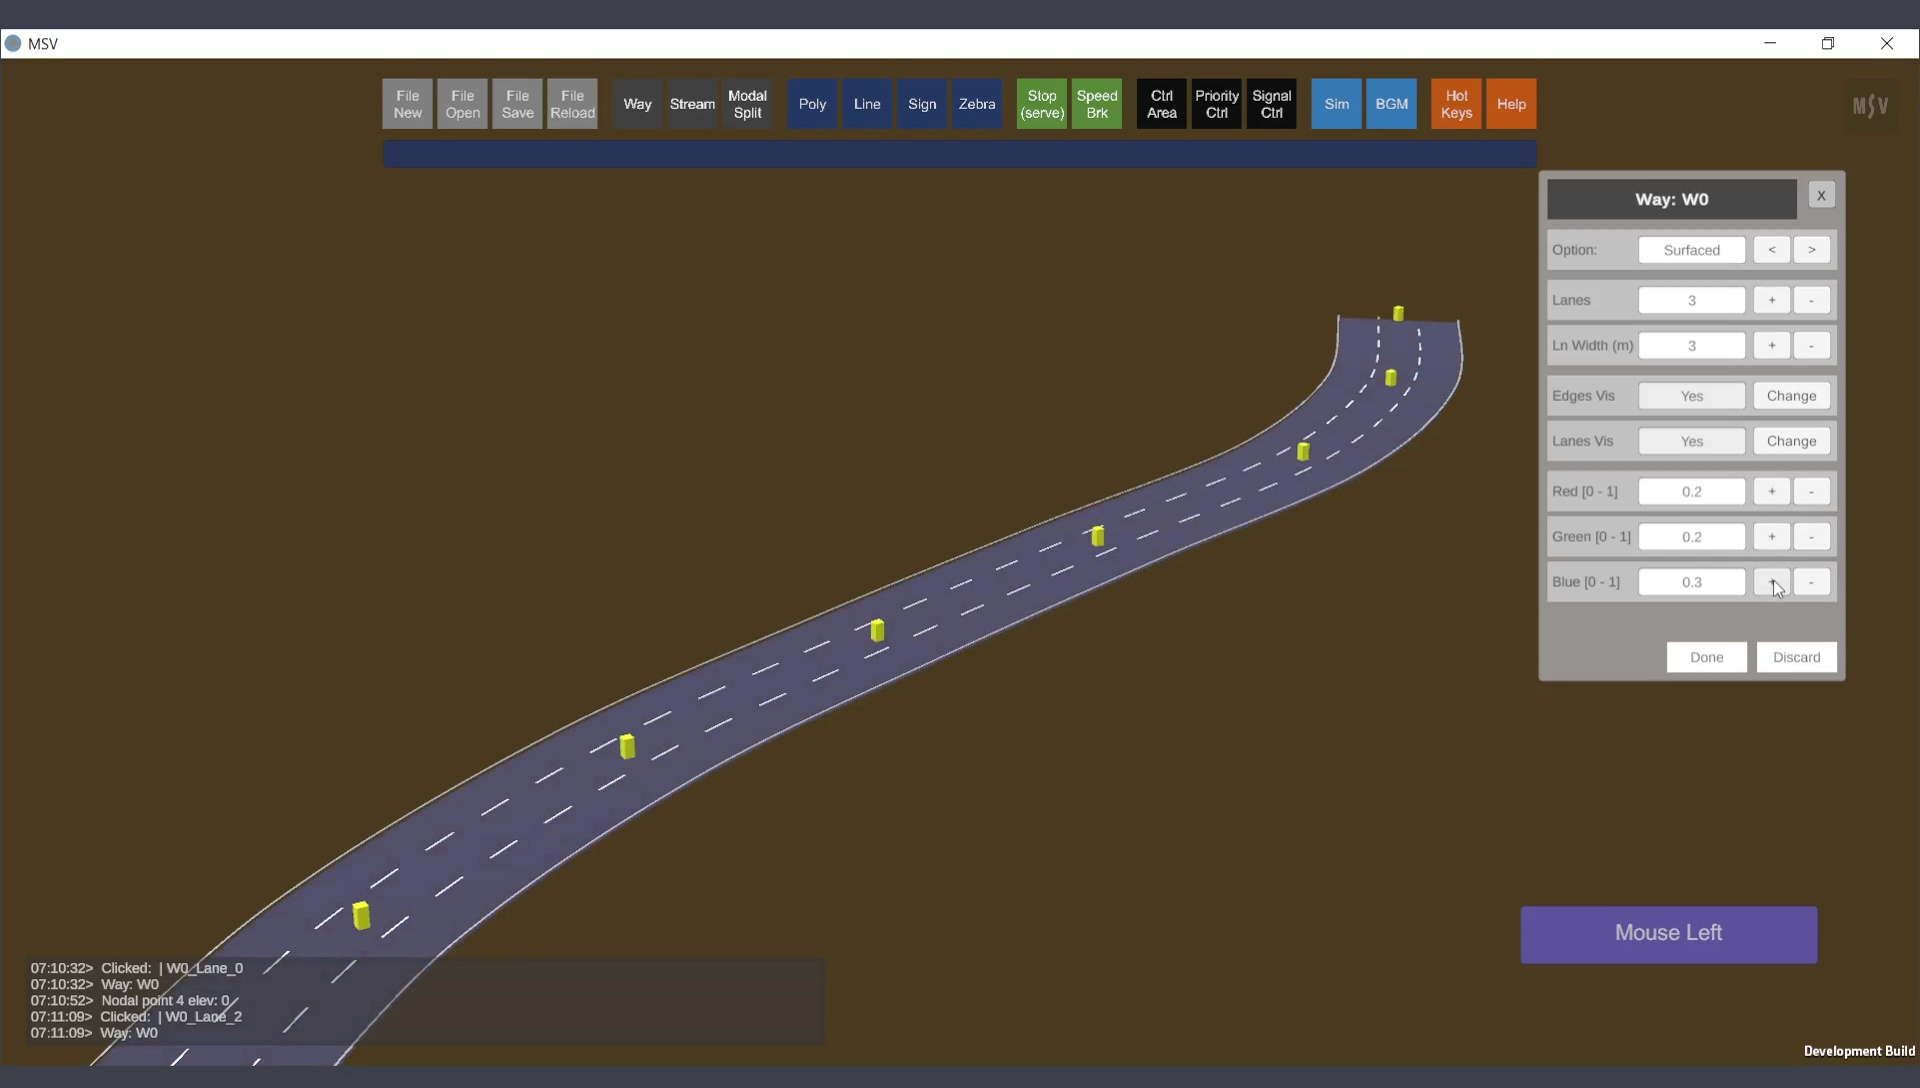
RGB values of 0.2, 0.2, and 0.3 give a pleasant gray for pavements in MSV environment.
The raised Way type allows slight elevation for pavements, suitable for flyovers or walkways:
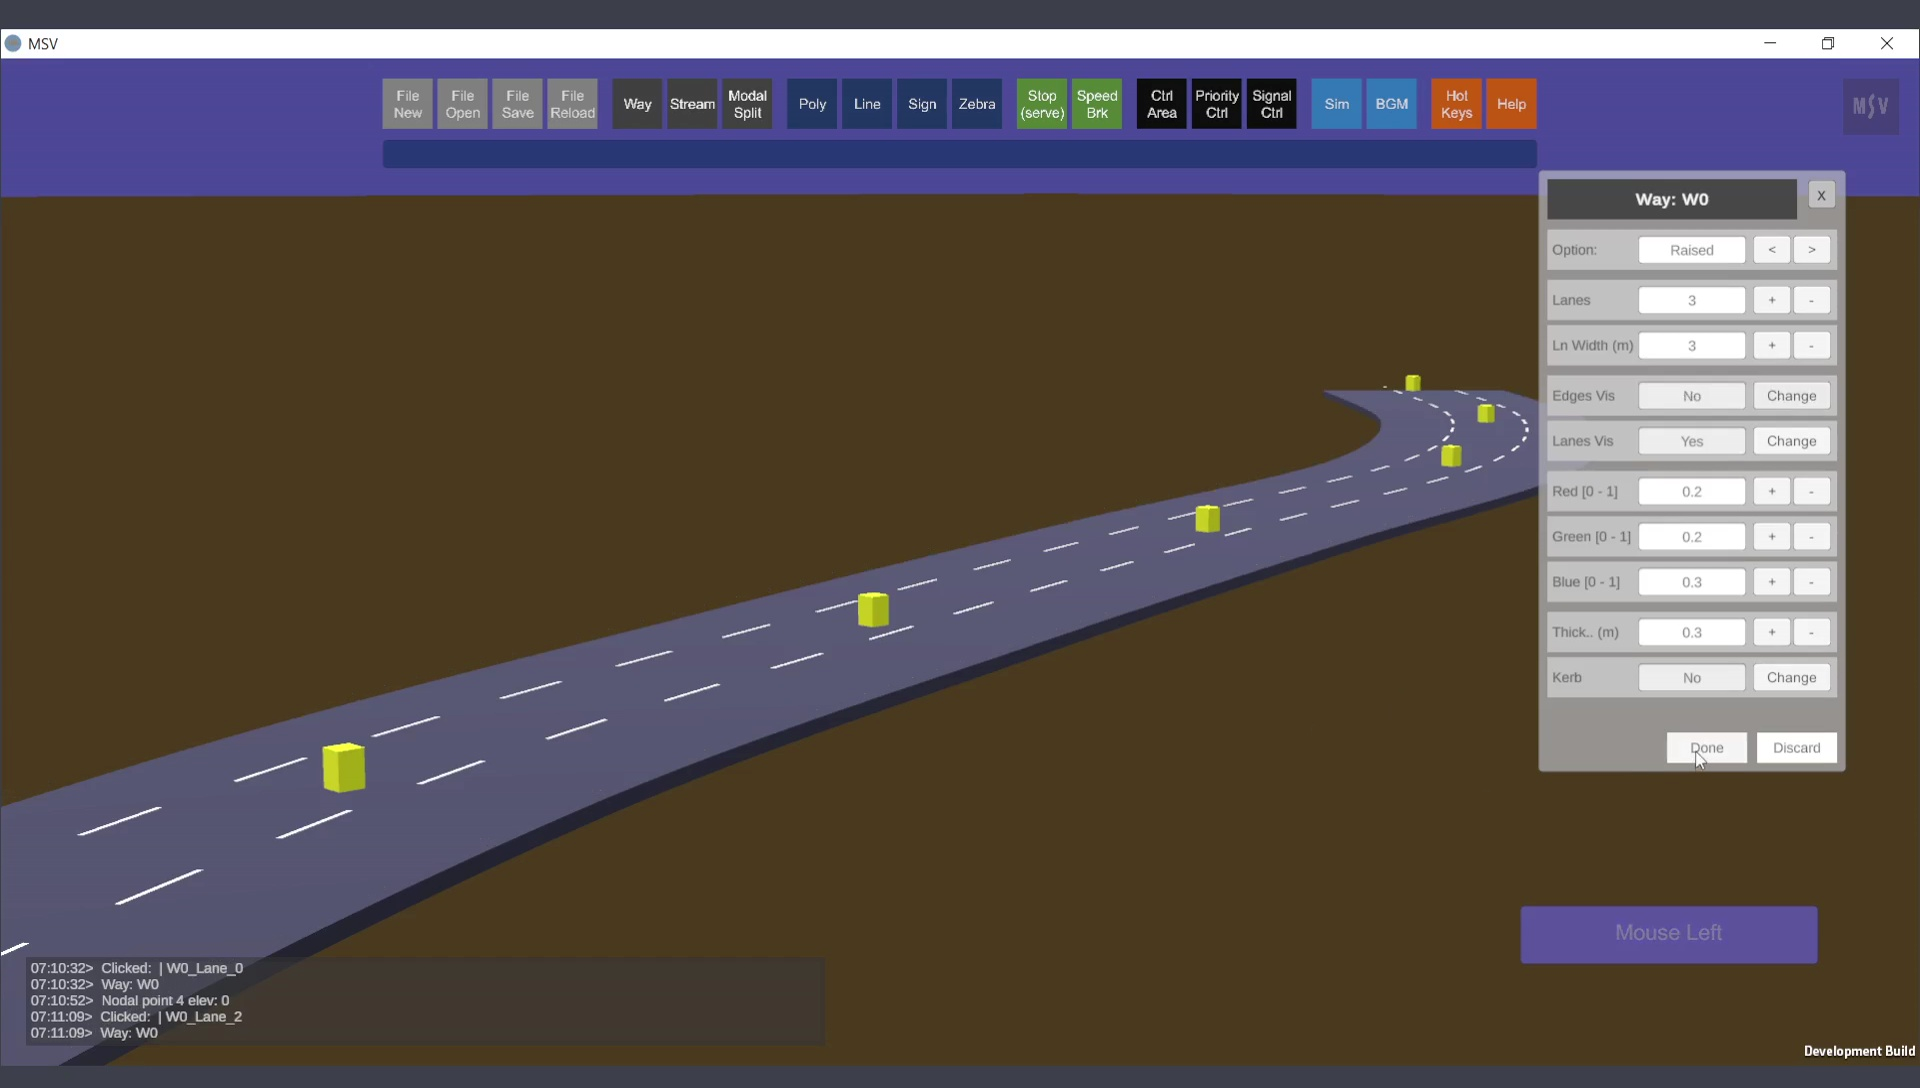
A slight thickness for the pavement gives a better look, suitable for flyovers and walkways.
Walkways can use the raised option along with the kerb feature set to "Yes," as shown below:
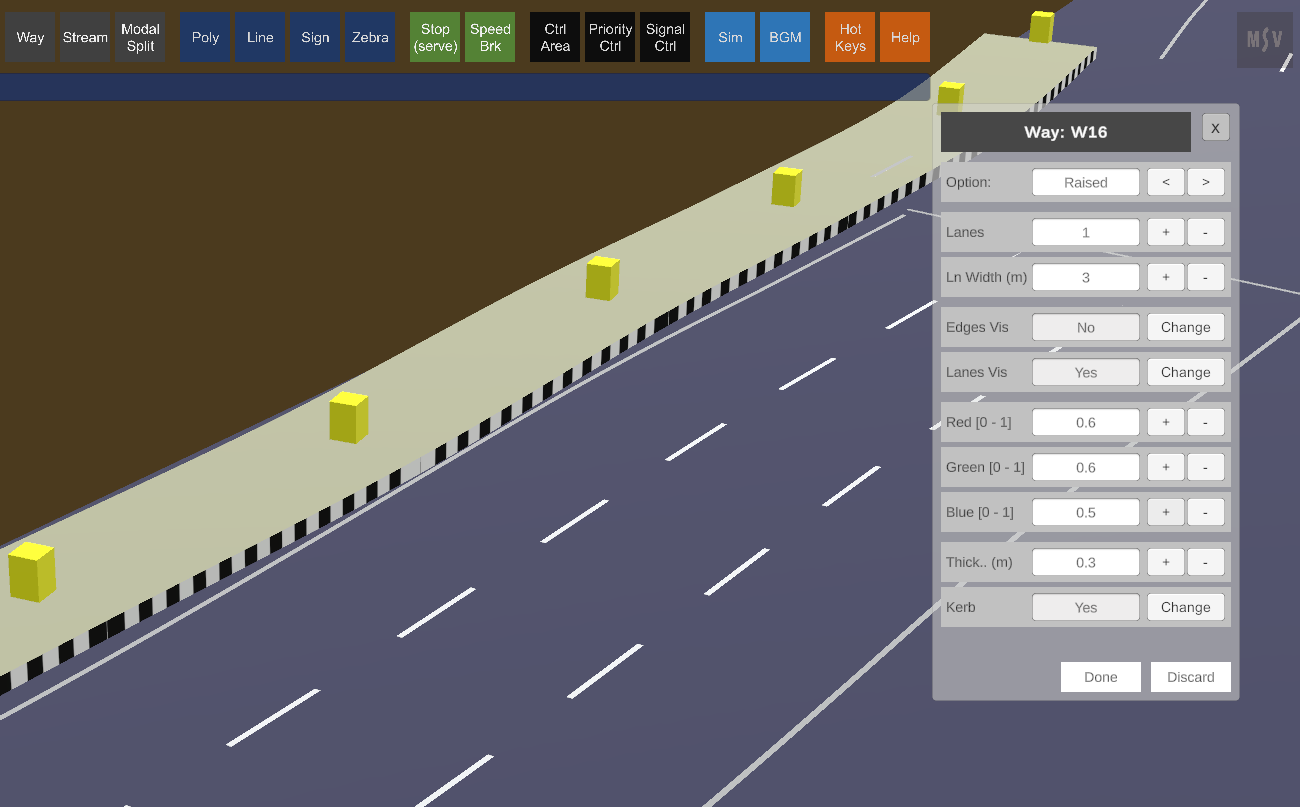
Raised and kerb (black and white strips) are suitable for walkways.
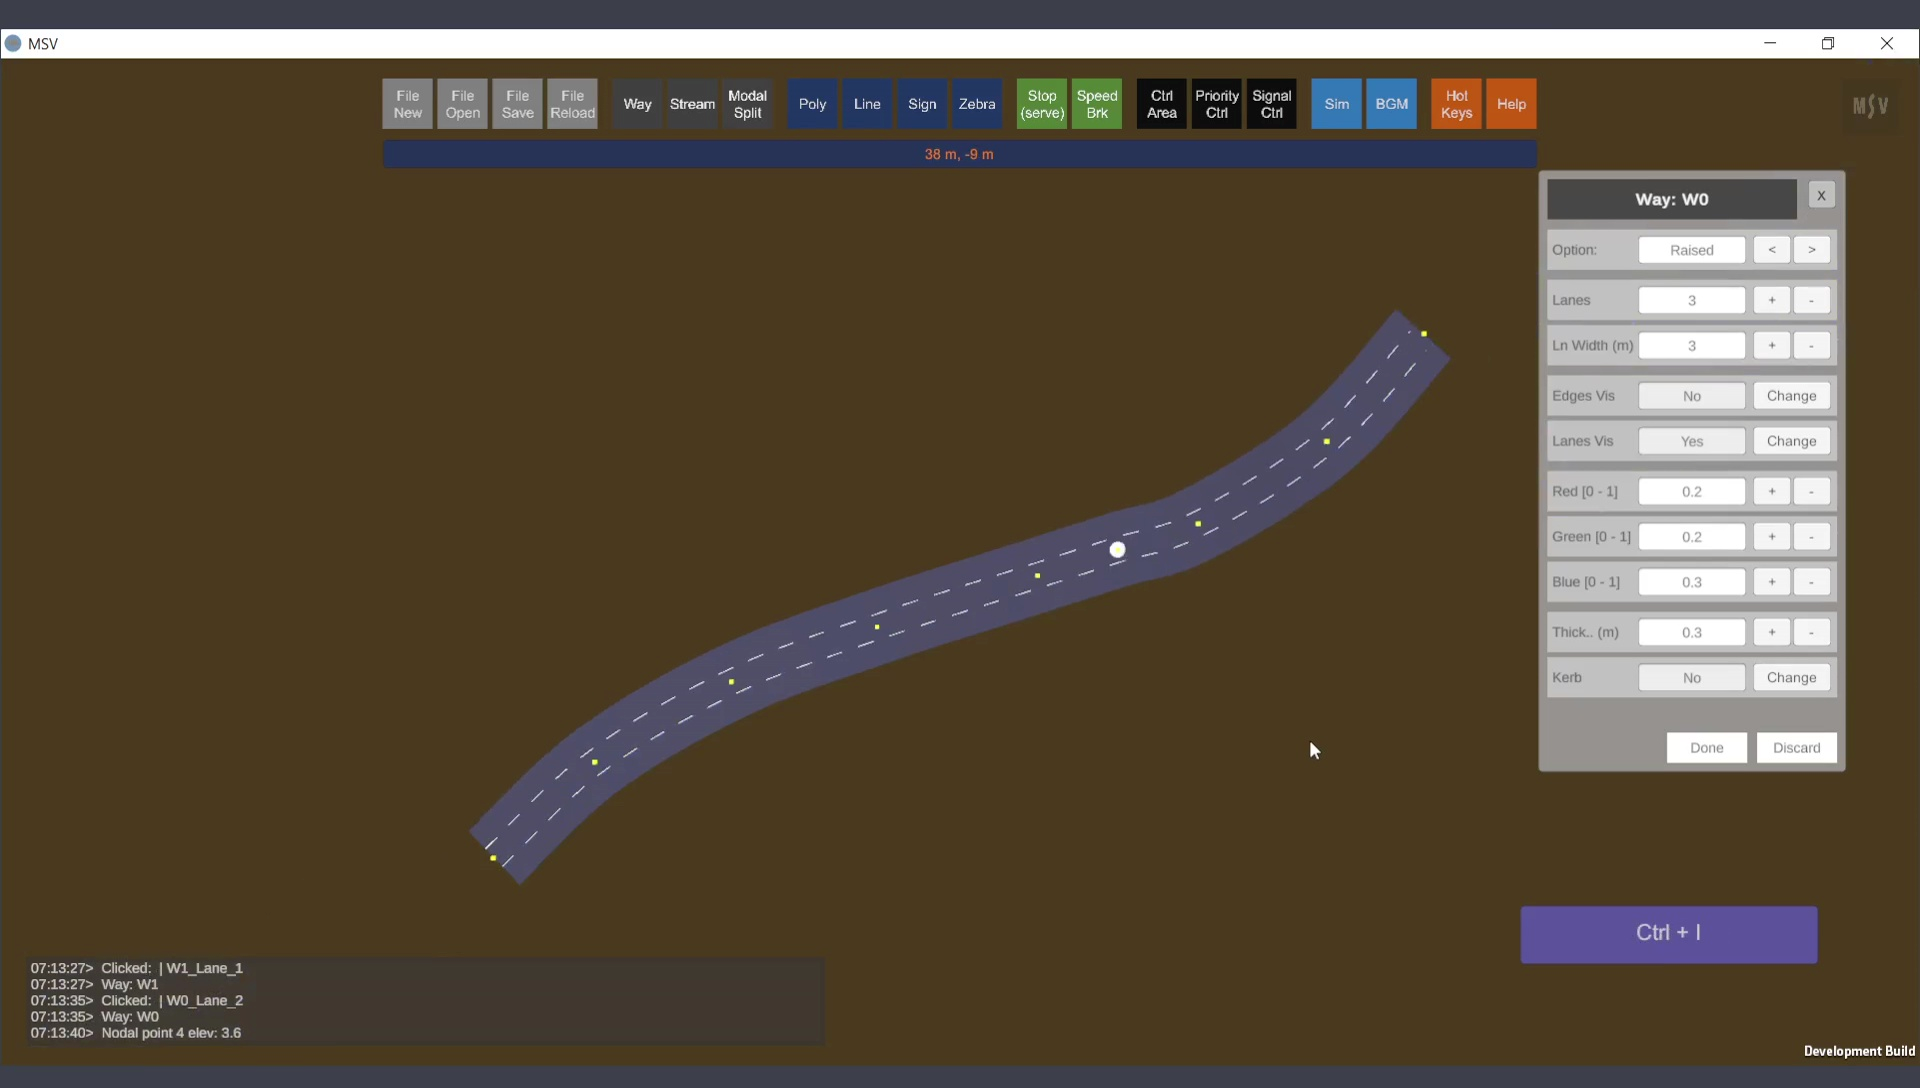
To delete a Way, select it and press Ctrl + Delete. To delete a single post within a Way, select it and press Delete. To insert a post between two existing posts, select one post and press Ctrl + I. A new post will appear midway between the selected post and its neighbor.
A control point (post) being created between two existing points.
Most aspects of Way editing have been covered. For more advanced topics such as changind the elevation of the posts to form bridges or flyovers, refer to the grade separation section.