The fundamental entity in MSV is a ‘Way’. Note that a ‘way’ in MSV literally means a physical space or way vehicles can use, and not necessarily a road. There is no road or junction in MSV, but a collection of ways created over a map or blueprint. This will be explained in detail as we proceed with way creation and editing.
To begin with, open the Way Editor by clicking on the Way button. The editor will open in default mode. MSV editors appear in the top-right area.

Way Editor with default option
Like any other editor in MSV, it includes input fields and confirmation or cancellation buttons. The first option is the selection of Way type. A way can be:
Two numerical entry fields are available for lanes and lane width. The other two rows in the editor allow you to show or hide edge lines and lane markings. Pressing the ‘Change’ button in those rows will update the state.
For now, the procedure will be explained without showing the map beneath. Once we understand how to create a Way and explore the available options, way creation on a map will be explained.
Creating a Way is as simple as clicking a series of points using the mouse and pressing the Done button. Hold the Ctrl button on the keyboard and use a left-mouse click. With each Ctrl-click, a yellow peg-like post will appear where you clicked, until the Done button is pressed. If you want to abort creation, press the Discard button. To delete the last created post, press the Backspace key.
Long objects like Way, Line, and Poly require a minimum of four points to be clicked. Short-length objects like speed breakers or stops require only two points. The Reporter will indicate such information if the user tries something out of MSV's possibilities.

Creating a Way by a series of Ctrl-clicks
In MSV, every Ctrl-click triggers a tiny animation where a blue blob transitions into a yellow post. This helps indicate where you clicked. When editing each post’s position further, a white blob will appear, explained in subsequent steps.
After completing a series of Ctrl-clicks, press the Done button. Two lines will appear, marking the edges of the way, as shown below:

Once Done is pressed, way appears as two lines (edges of the way).
The default option with lanes and lane width is sufficient for creating a functional layout or network. For instance:
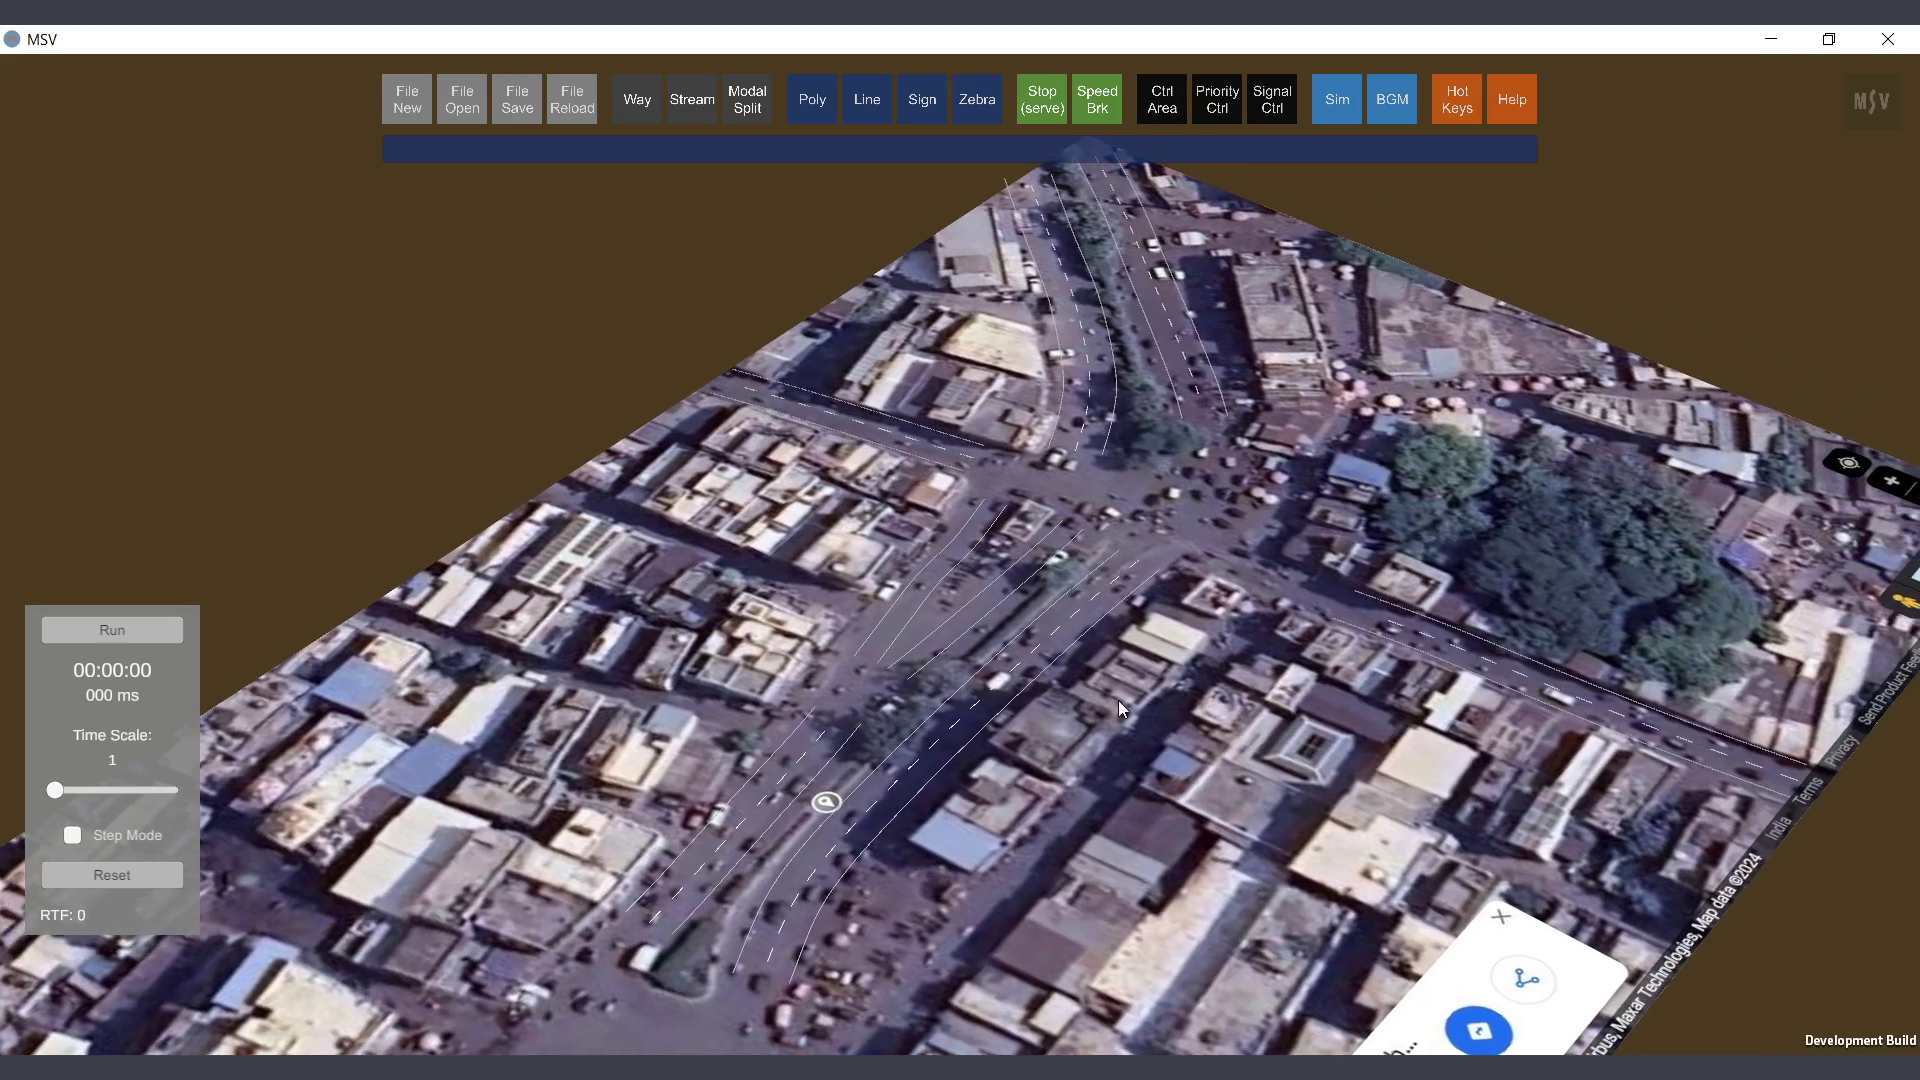
Ways on BGM Image
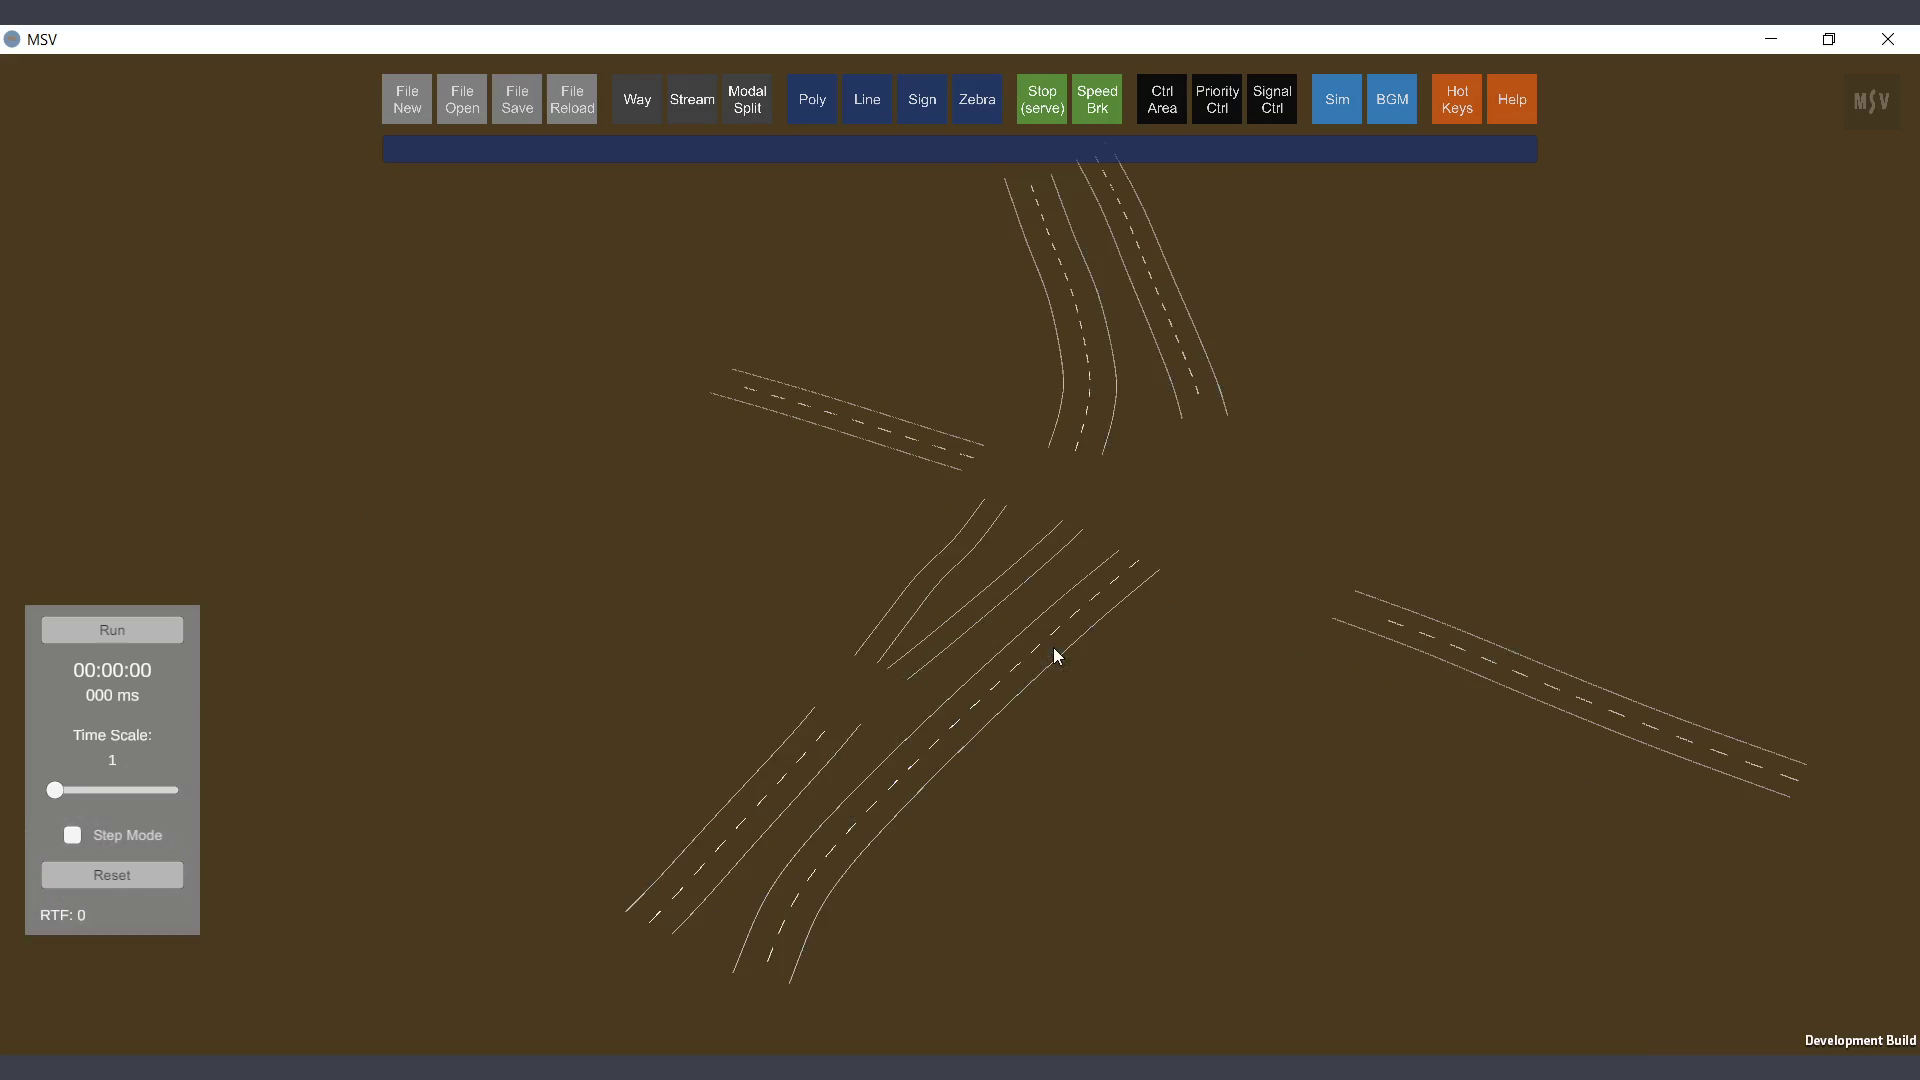
BGM hidden, Ways created with just the default option in Way Editor
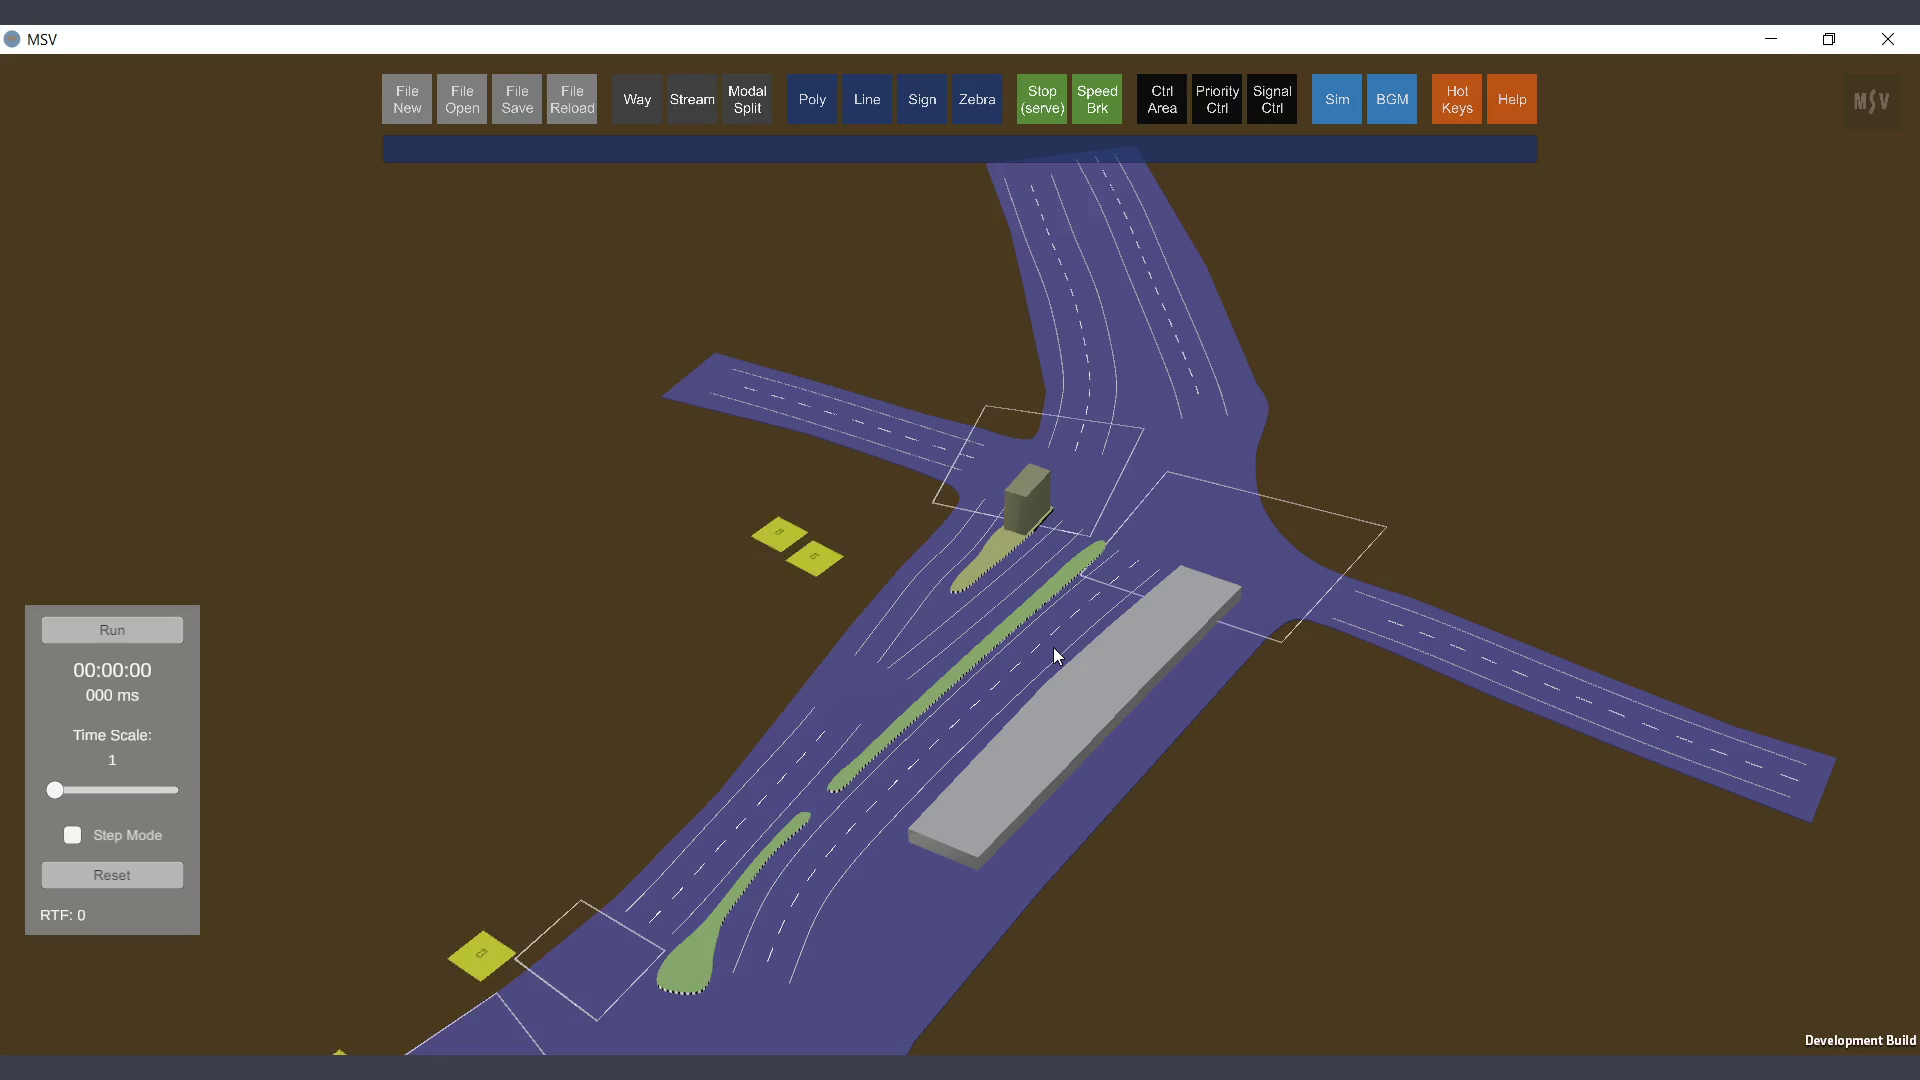
How it looks once a polygon object is added to act as a common pavement-like base
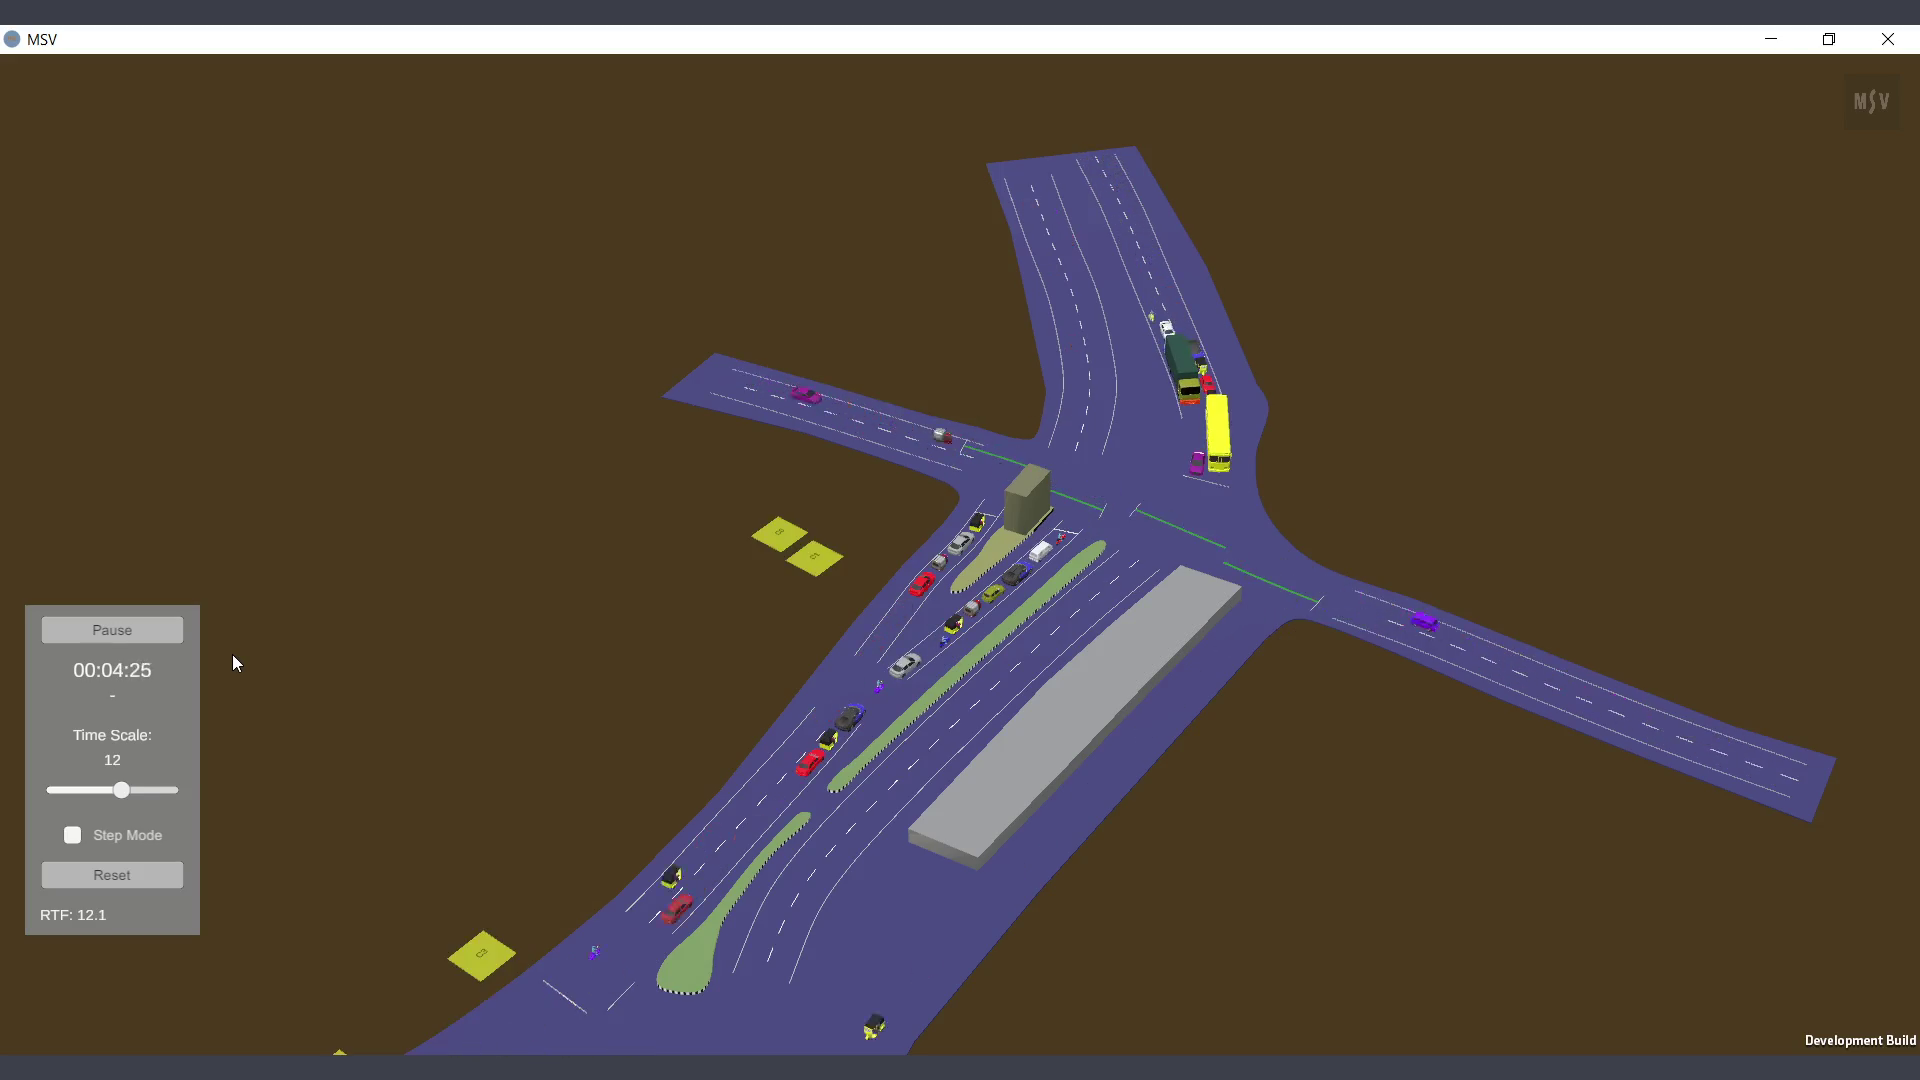
The same with vehicles moving on those ways
This demonstrates that the default option in the Way Editor suits most occasions. However, surfacing and grade separation are required for flyovers or interchanges. Similarly, walkways might have raised levels with kerb or curb markings. These additional features are described in the ‘Editing the Way’ section.