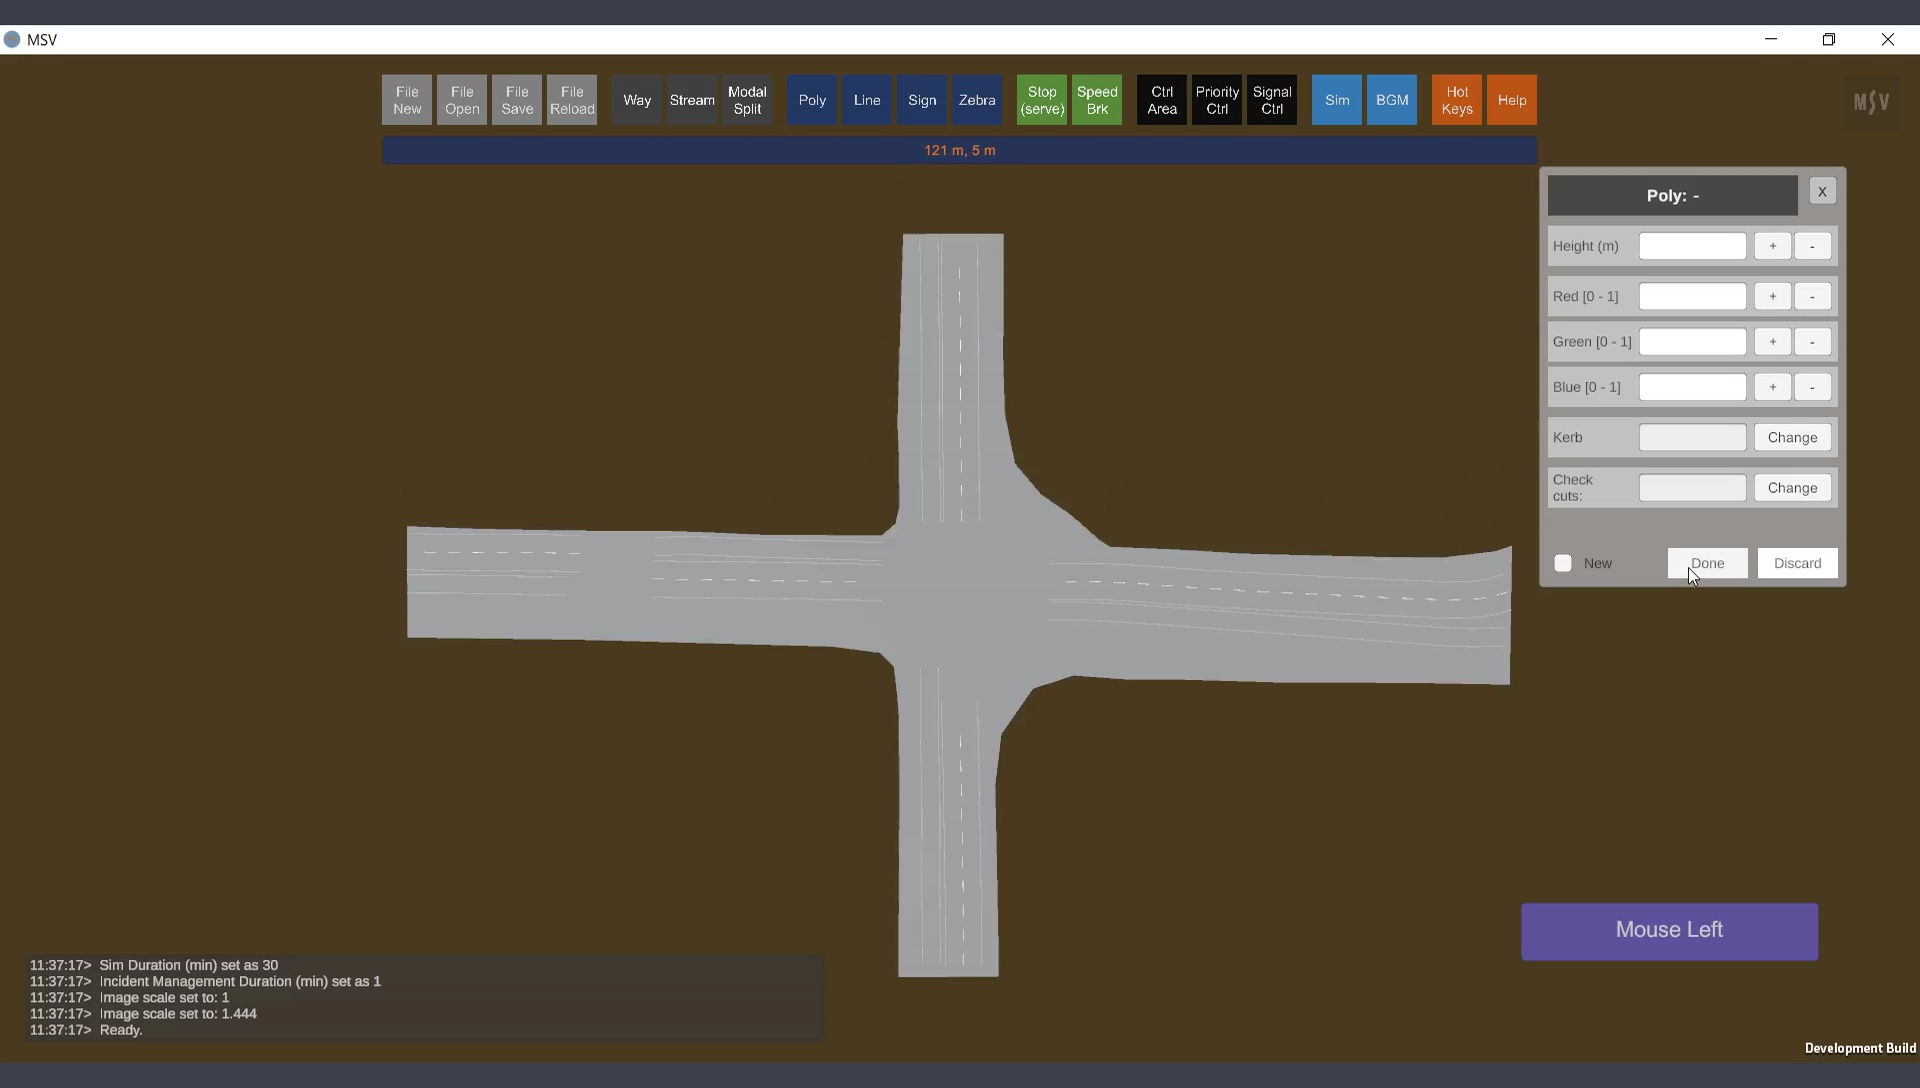
The map chosen for creating a new model earlier is shown below. The procedure to create a polygon base to act as a pavement surface for all the road portions is described here.

Road surfaces will be represented by one polygon surface.
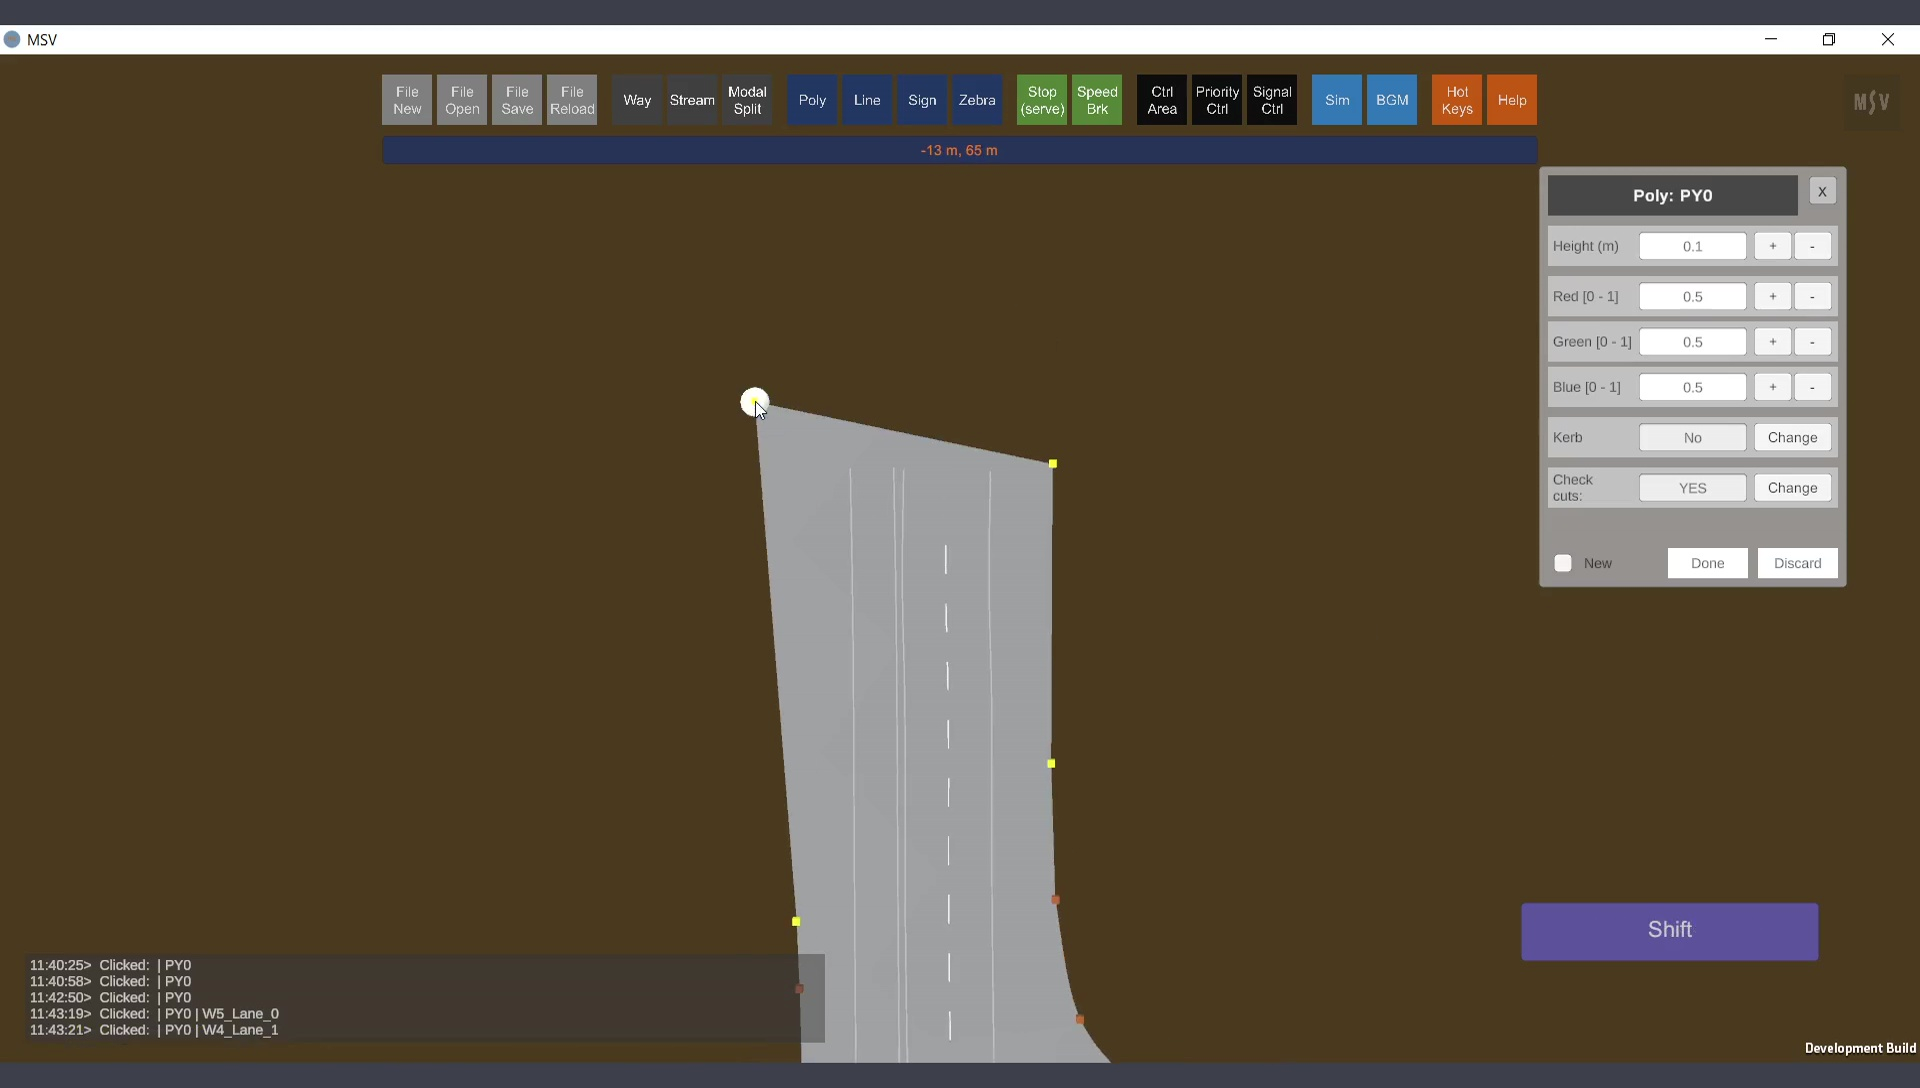
To create a polygon surface, click on the ‘Poly’ button to open the polygon editor. The editor has six input fields, as shown below. By default, a polygon object will have a thickness of 0.1 meters. This value can vary, such as for walkways or columns for bridges. The next three fields define the color, and the Kerb field can be set to ‘yes’ or ‘no’. Any polygon with a height below 1 meter can display black and white kerb markings. The last option in the editor specifies whether the polygon shape should be included in streams-versus-poly collision checks.
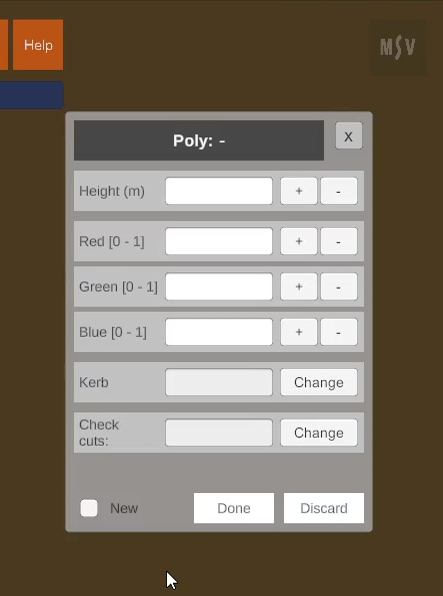
Polygon Editor interface.
At the bottom left of the editor, a checkbox labeled ‘New’ is used when creating a polygon over another polygon. This will be covered in advanced sections of the manual.
Ctrl-Click anywhere along the perimeter of the desired shape or object on the map to start creating a polygon. Like other shape creation processes in MSV, a momentary animation will appear, starting with a blue blob that becomes a yellow post at the clicked location. The position can be fine-tuned after the entire shape is created.
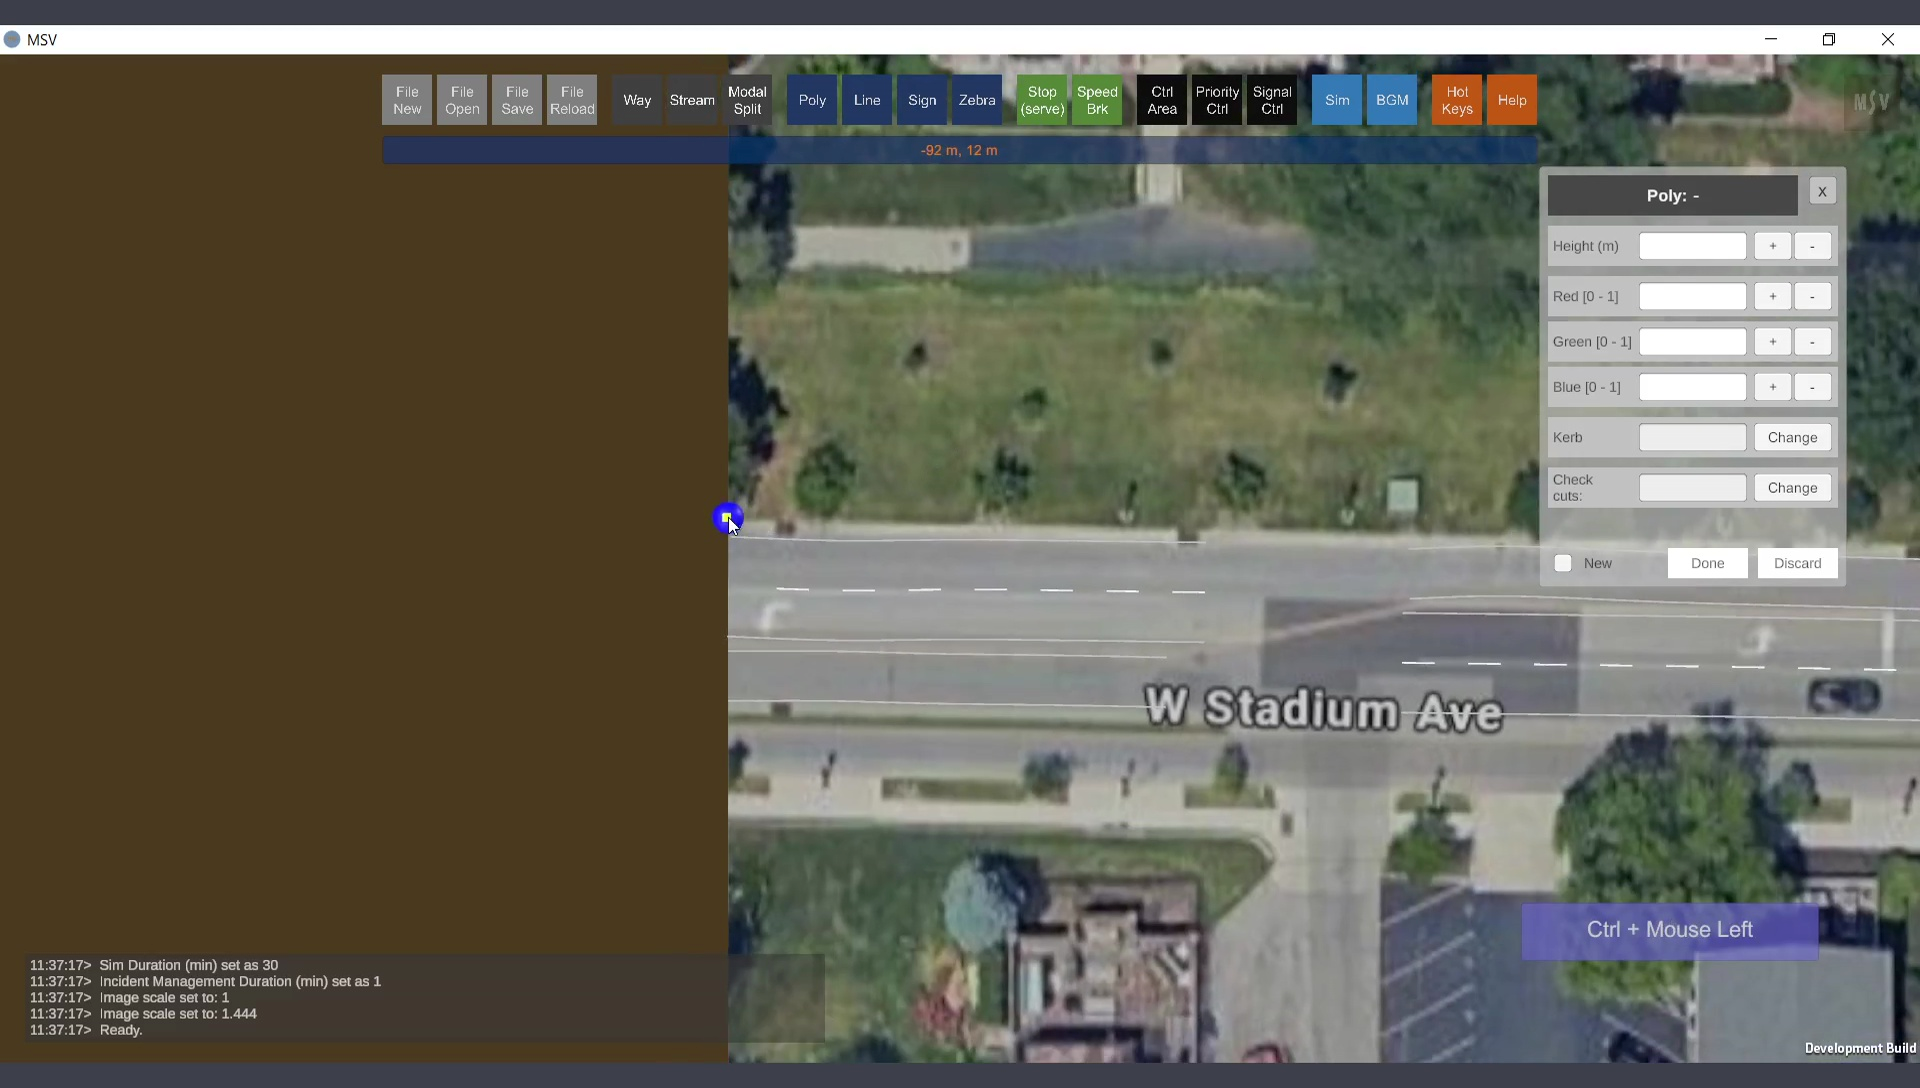
First control point to form the polygon shape.
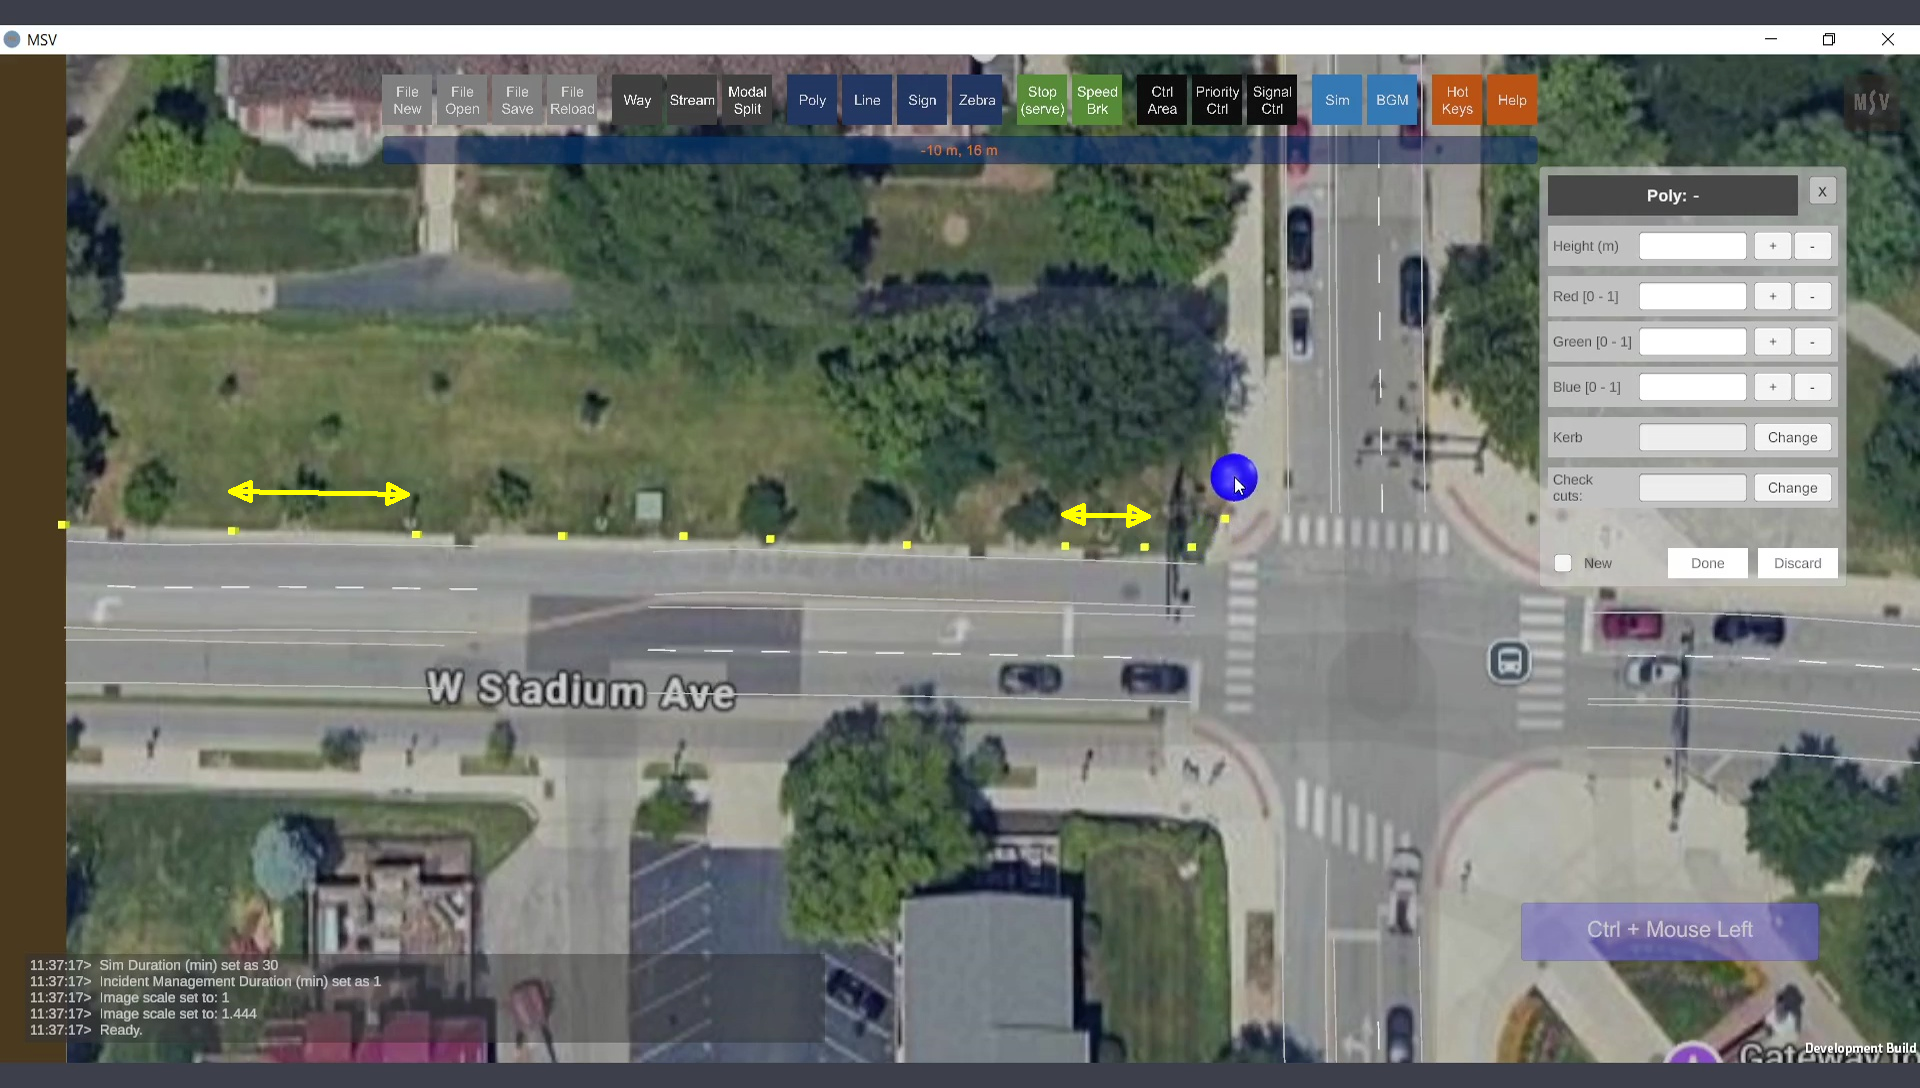
Control points can be spaced further apart where possible and closer together at sharp turns. Warnings appear if points are too close.
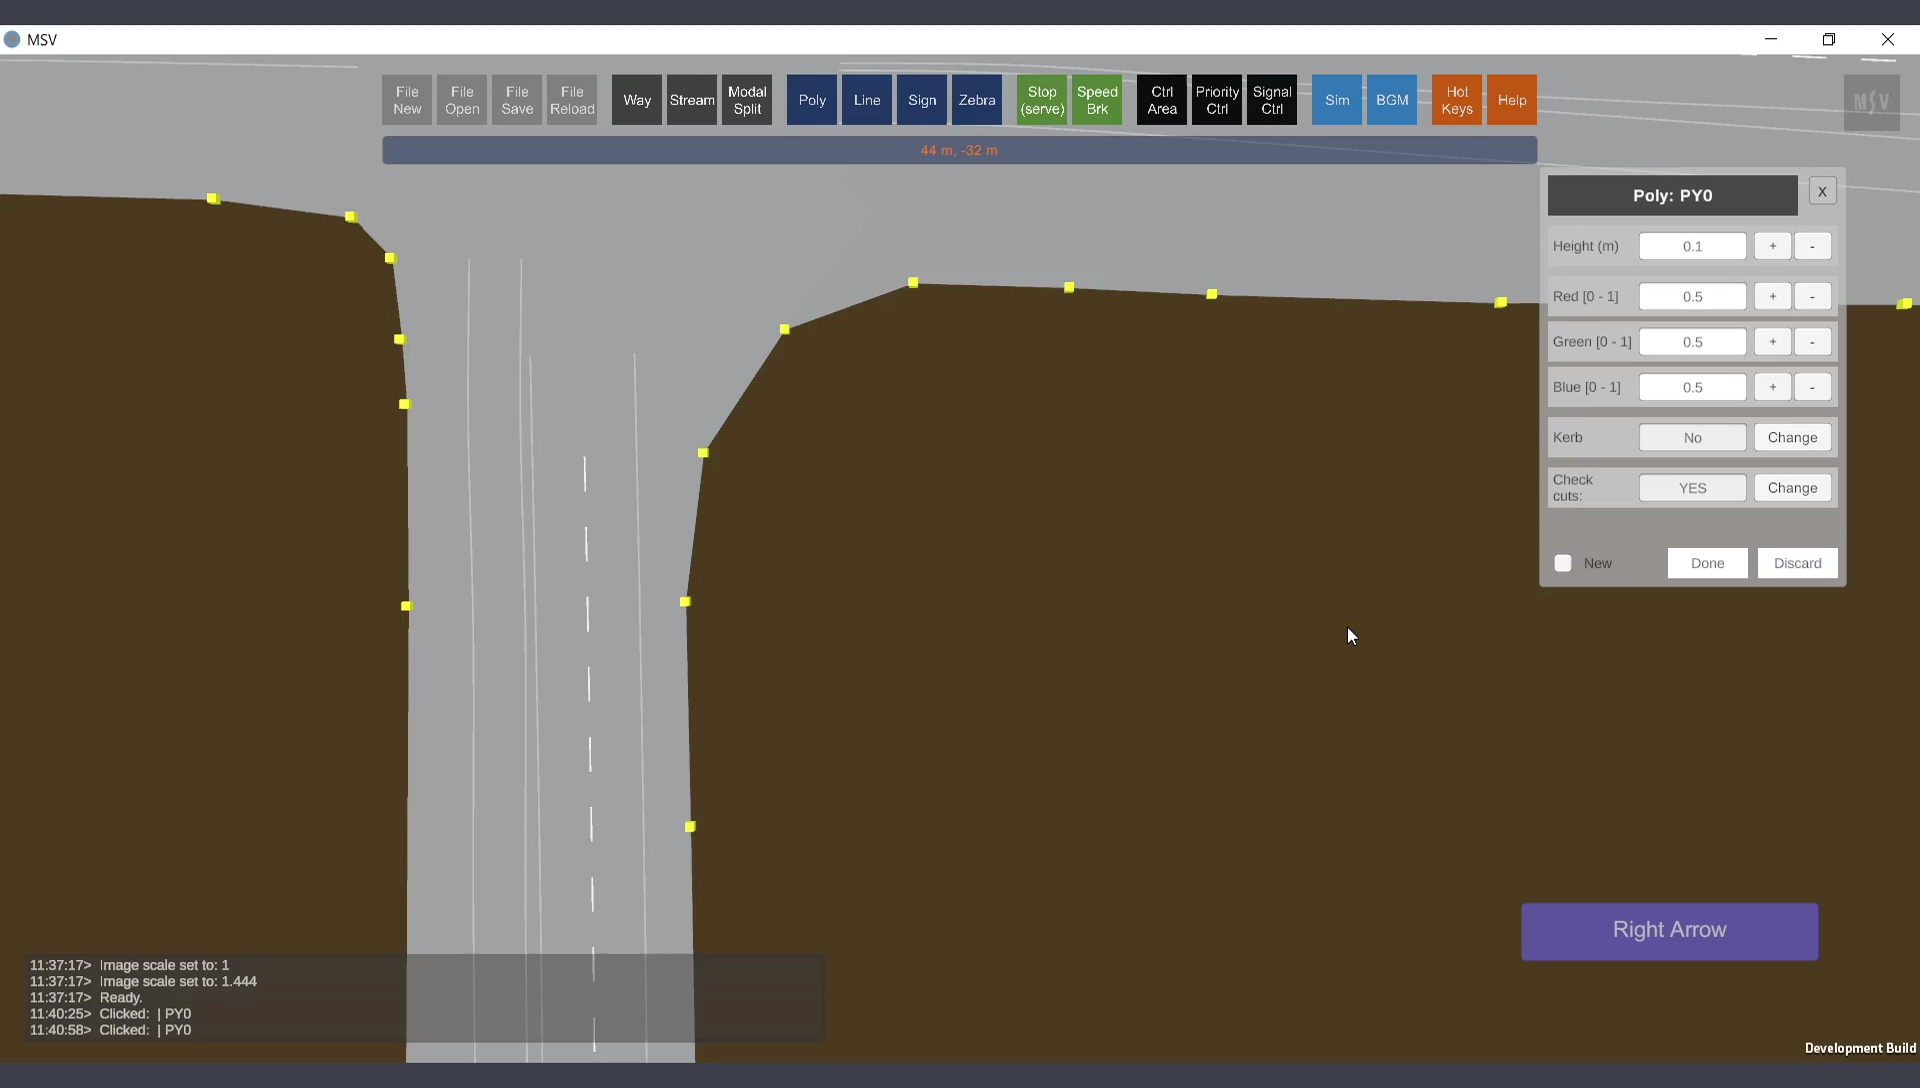
When the background image is hidden (by pressing M), the control points of the poly shape become visible.
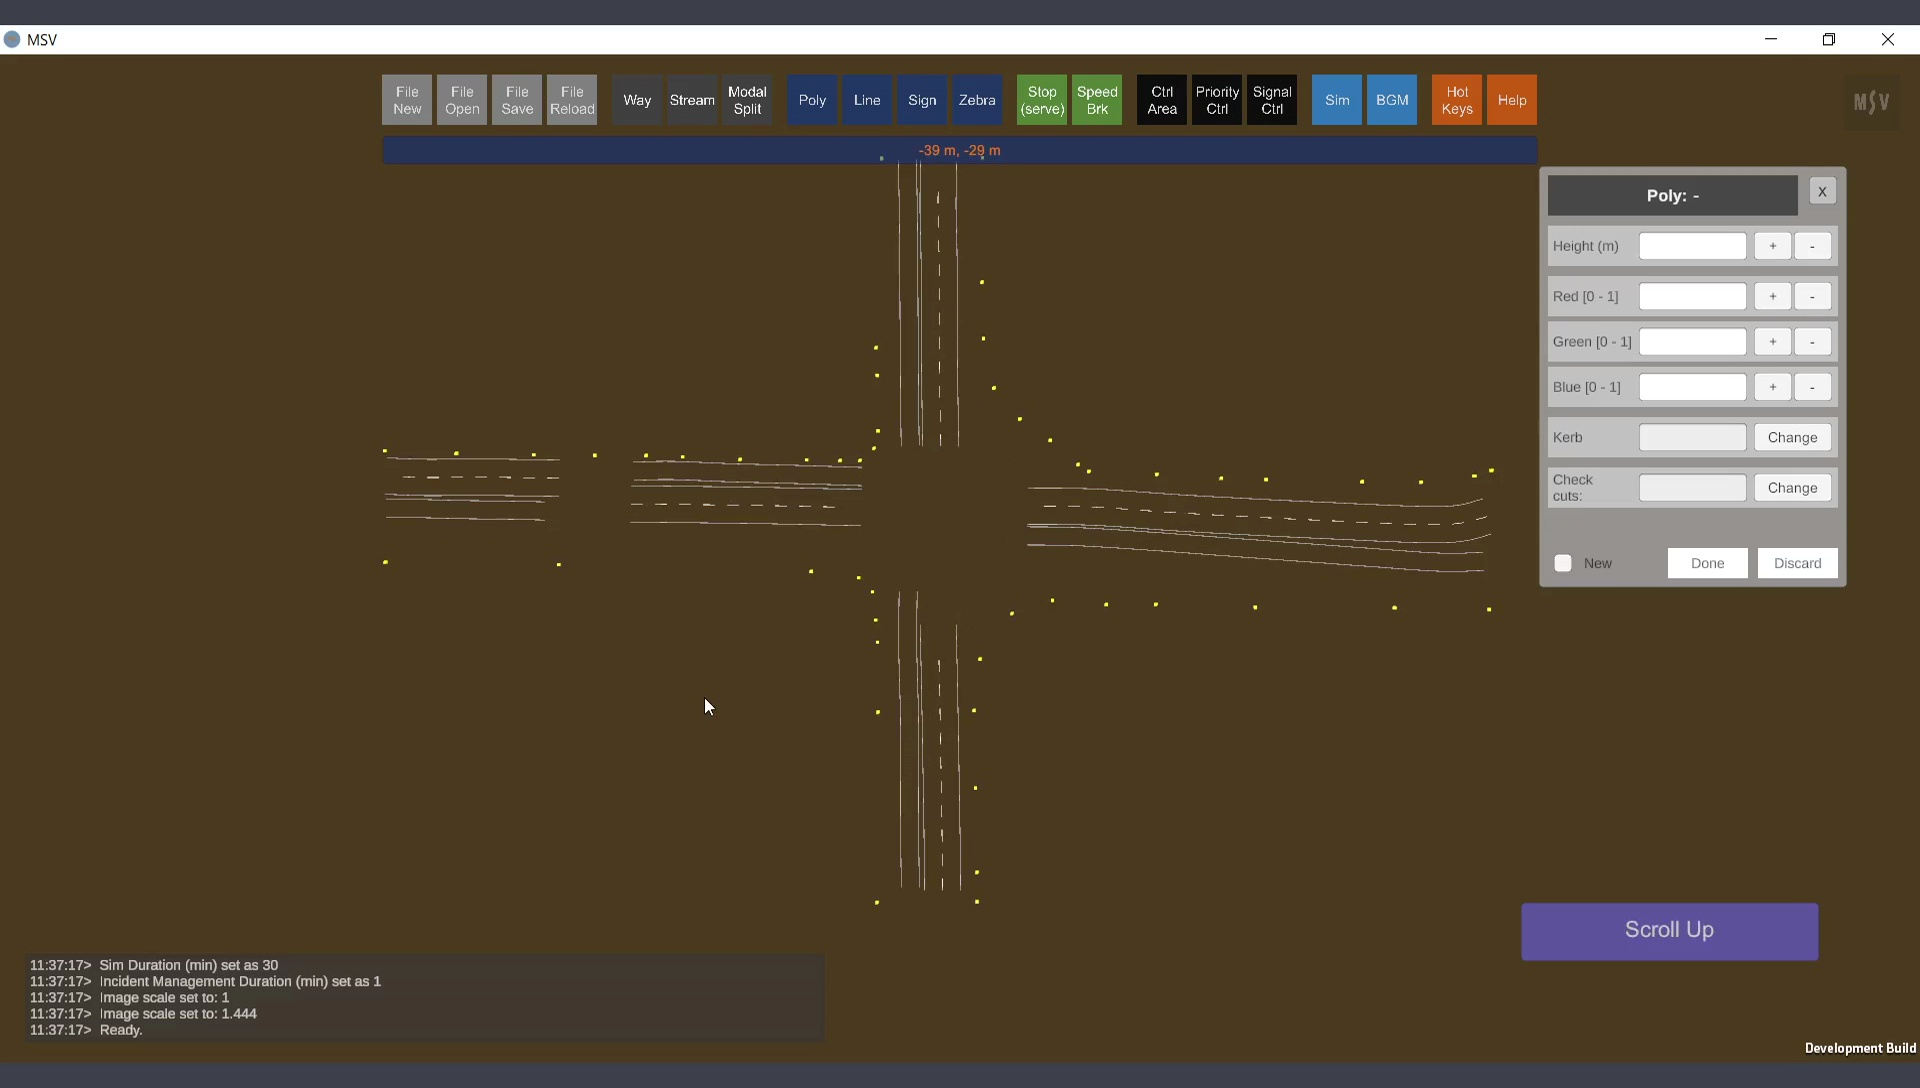
Control points forming the perimeter of the polygon object.
Press the Done button to complete the polygon creation process. Control points can still be adjusted to modify or smoothen the polygon’s shape. Even the entire polygon perimeter can be curved through these adjustments.
Polygon object acting as a base for the ways created earlier.
By default, control points in a poly shape are connected by straight lines. However, it may be necessary to smoothen certain sections. This can be achieved by setting selected points to form curves.
To smoothen a polygon:
Points at turns marked for smoothening.
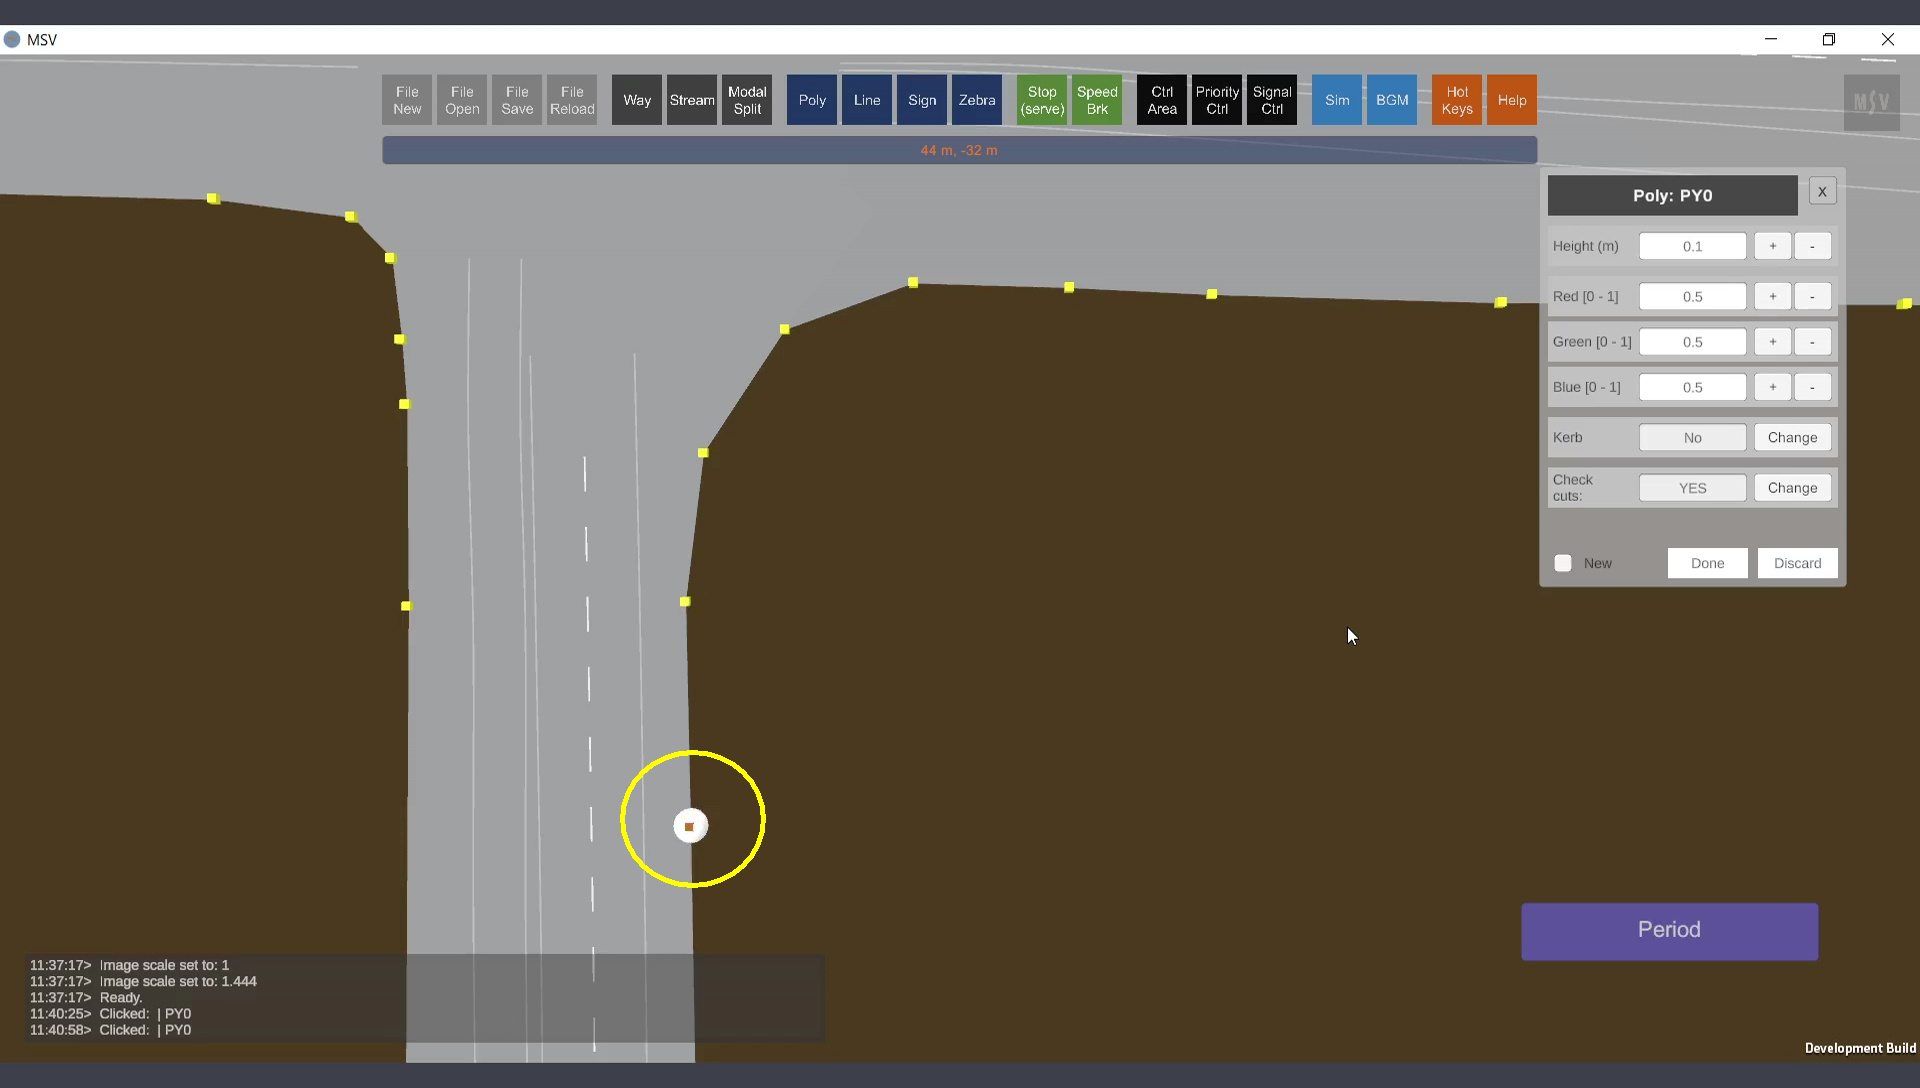
Setting a point to form part of a smooth curve.
Use the arrow keys to move to the next control point and repeat the process. At least four consecutive points are needed to form a smooth curve.
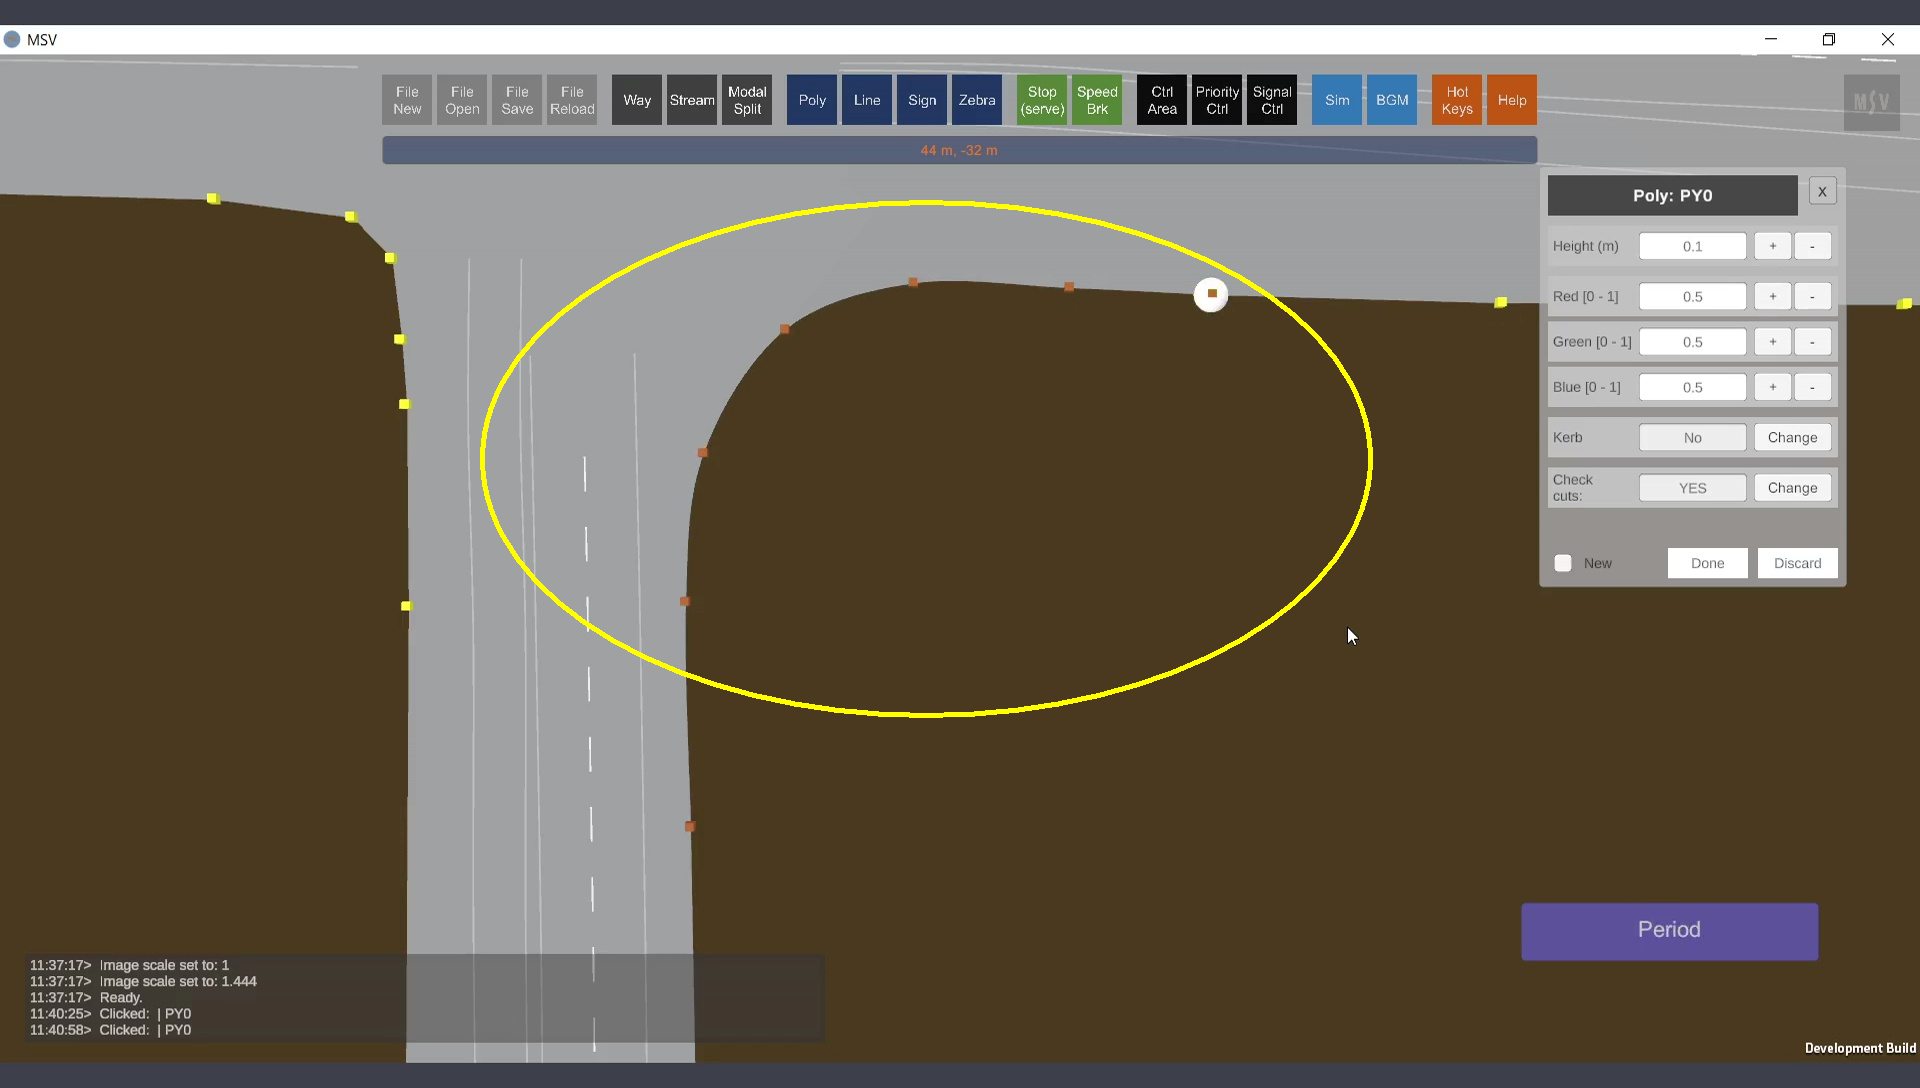
A smooth curvature applied to the polygon.

Corners of junctions are typically smoothened for realism.
Control points can be repositioned as follows:
A control point being repositioned.
To delete a poly object, select it with a plain click while the editor is open and press Ctrl + Delete. Individual control points can be deleted by selecting them and pressing the Delete key. The poly shape will redraw automatically to reflect the changes. To add a new control point between two existing points, select a point and press Ctrl + I. The new point will follow the polygon’s creation direction (clockwise or counterclockwise).
Below is the final polygon with a slight color change, providing a pavement platform for the Way objects, streams, and vehicles:
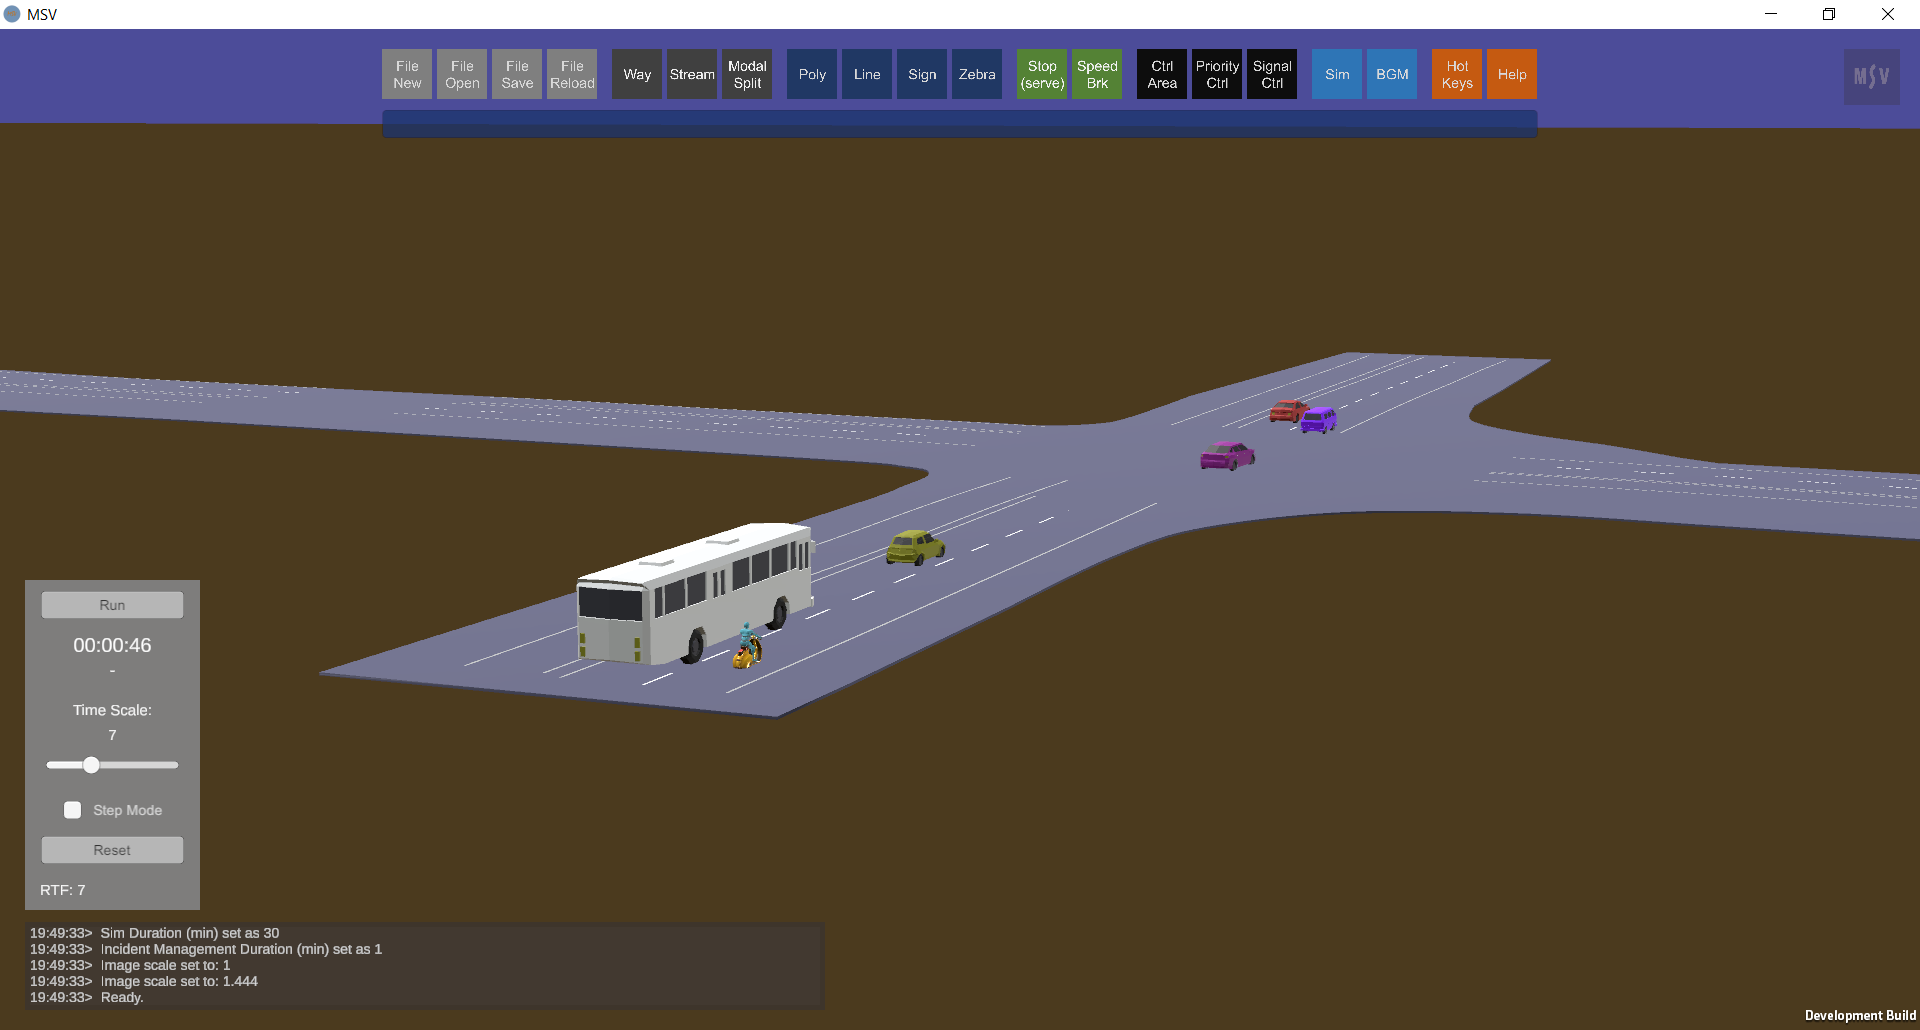
Polygon surface created.
This section demonstrated how a poly shape can be used to create a surface. The default 0.1m thickness was retained. Objects with greater thickness or height can be created using the same poly editor, as described in other sections of the manual.