Medians (or road dividers) can be created as poly objects in MSV. To begin, open the poly editor by clicking on the ‘Poly’ button. The earlier section of the manual covered the poly editor, so we will proceed directly to the creation process.
The north side road section in the following diagram has no median. Let us create one. Note that there is already a poly surface created earlier beneath this section. When creating a poly shape over another poly shape, ensure the ‘New’ option is checked in the checkbox near the Done button.
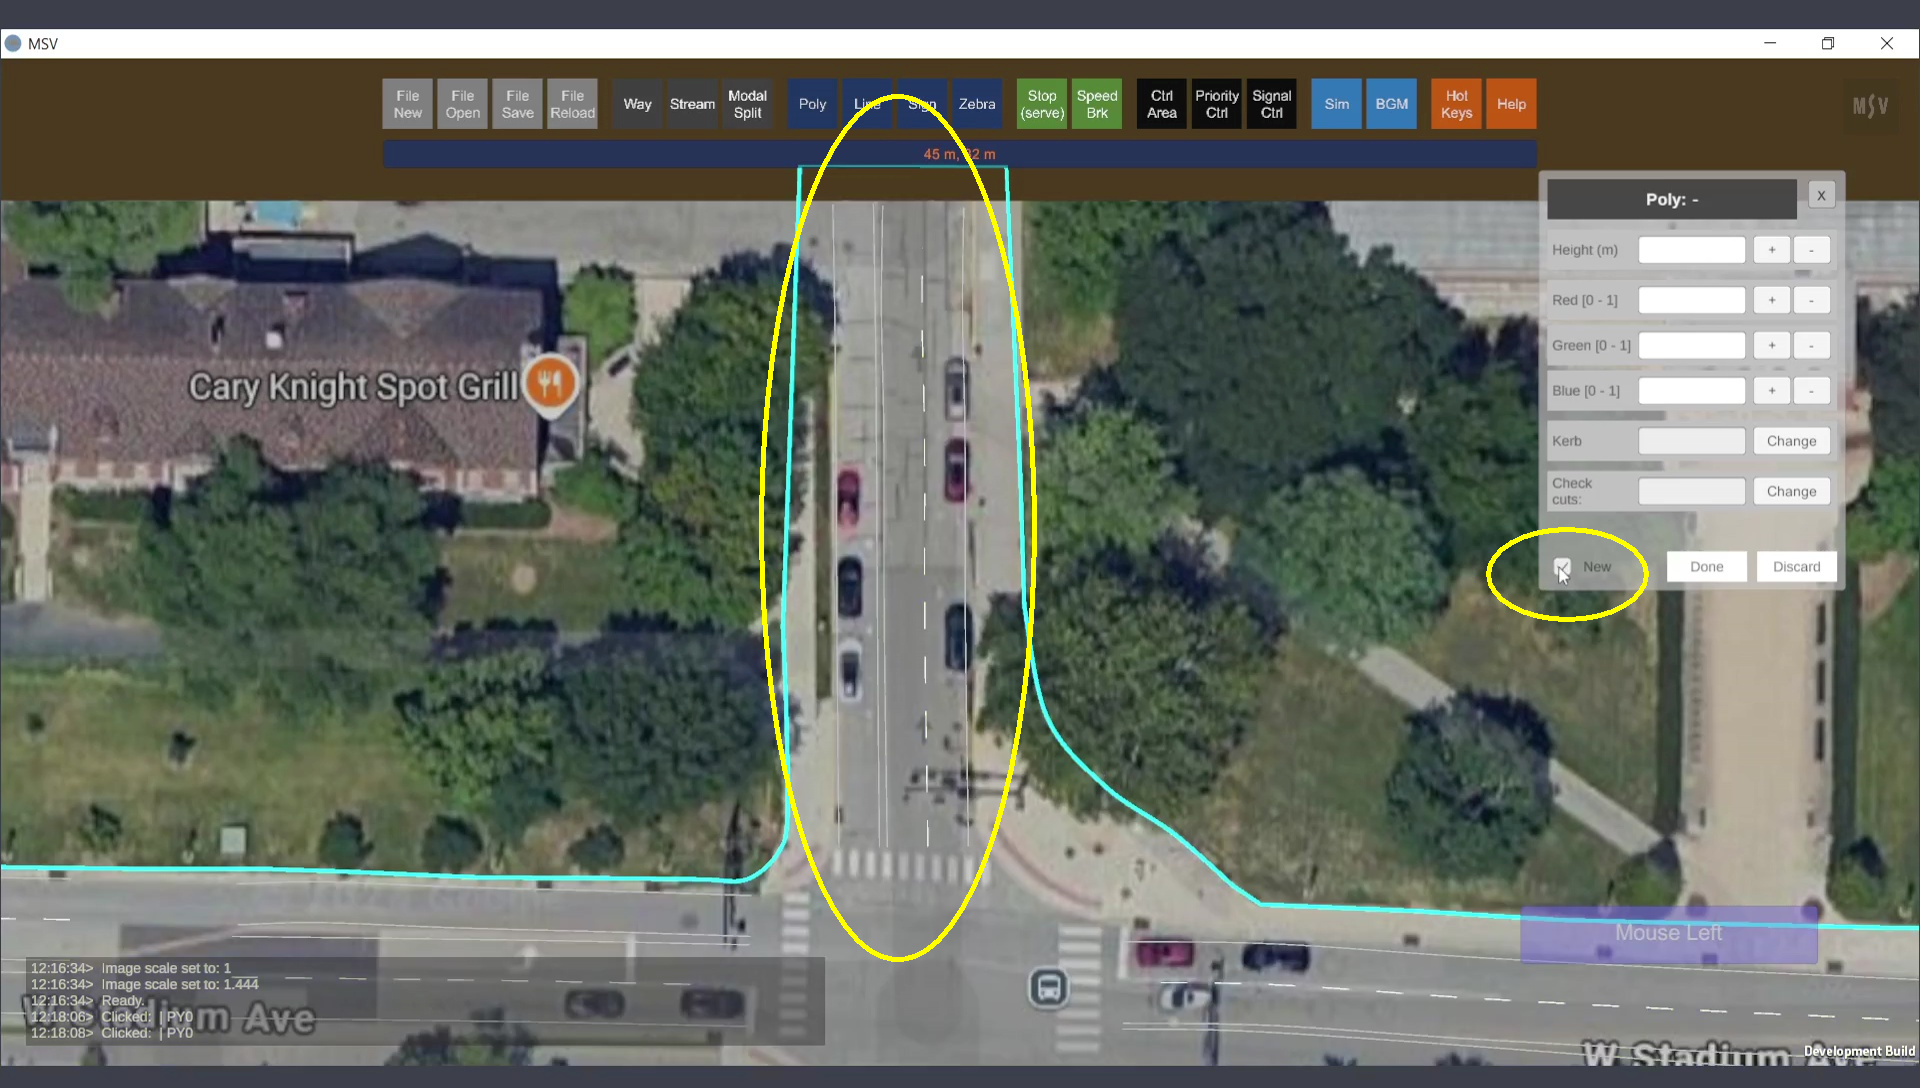
Creating a median for the marked area. The ‘New’ option in the editor is checked.
The procedure for creating a polygon is the same as described in the earlier section on poly surface creation. Begin by Ctrl-Clicking on a spot to start. Repeat this process around the perimeter of the median to define its shape. Finally, press the Done button.

Control points for the median.
After pressing Done, a line shape will connect all the control points. In this instance, we hid the polygon surfaces to view the map underneath while creating the median shape. (To toggle the visibility of a poly object, press the letter ‘P’.)
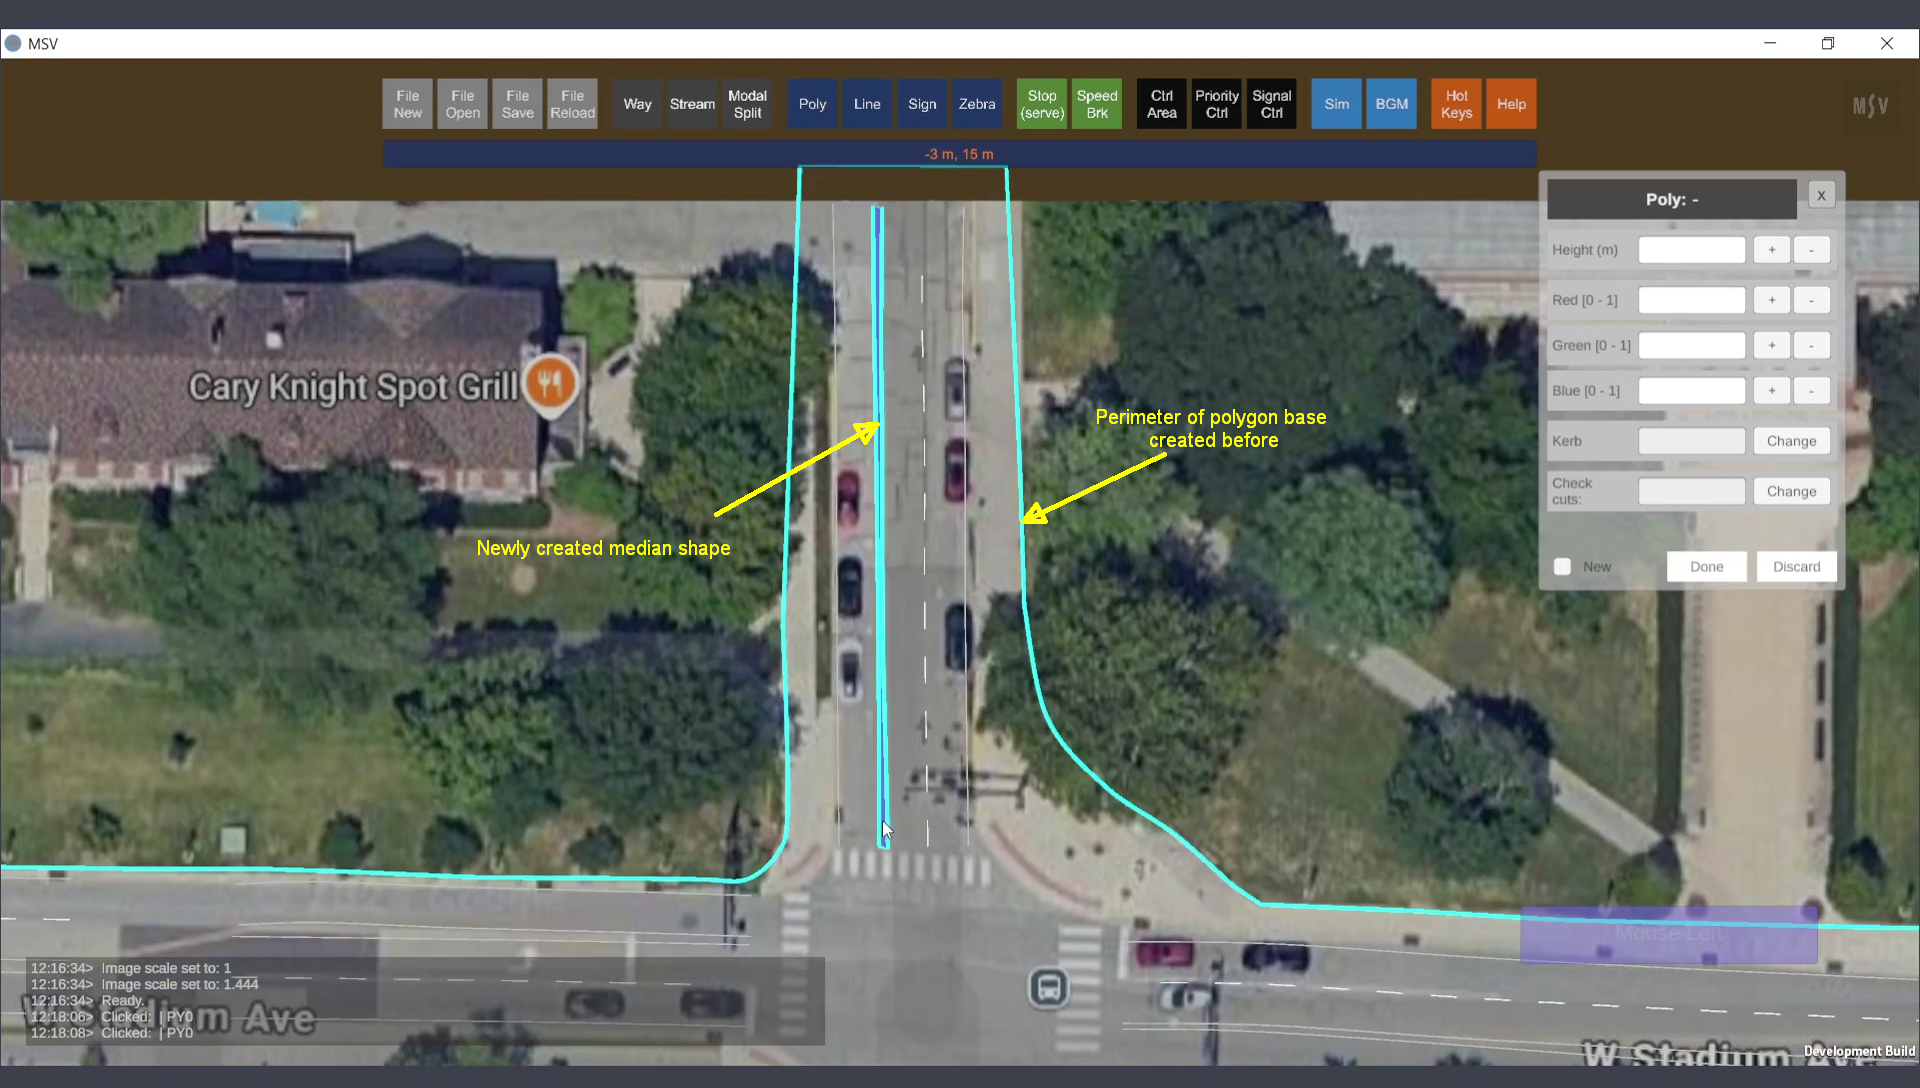
Median polygon created. Height and kerb markings are yet to be set.
Close the editor, save, and reload the model. Open the editor again and choose the median shape. Tilt the view to observe the shape change as you adjust the height variable in the editor.
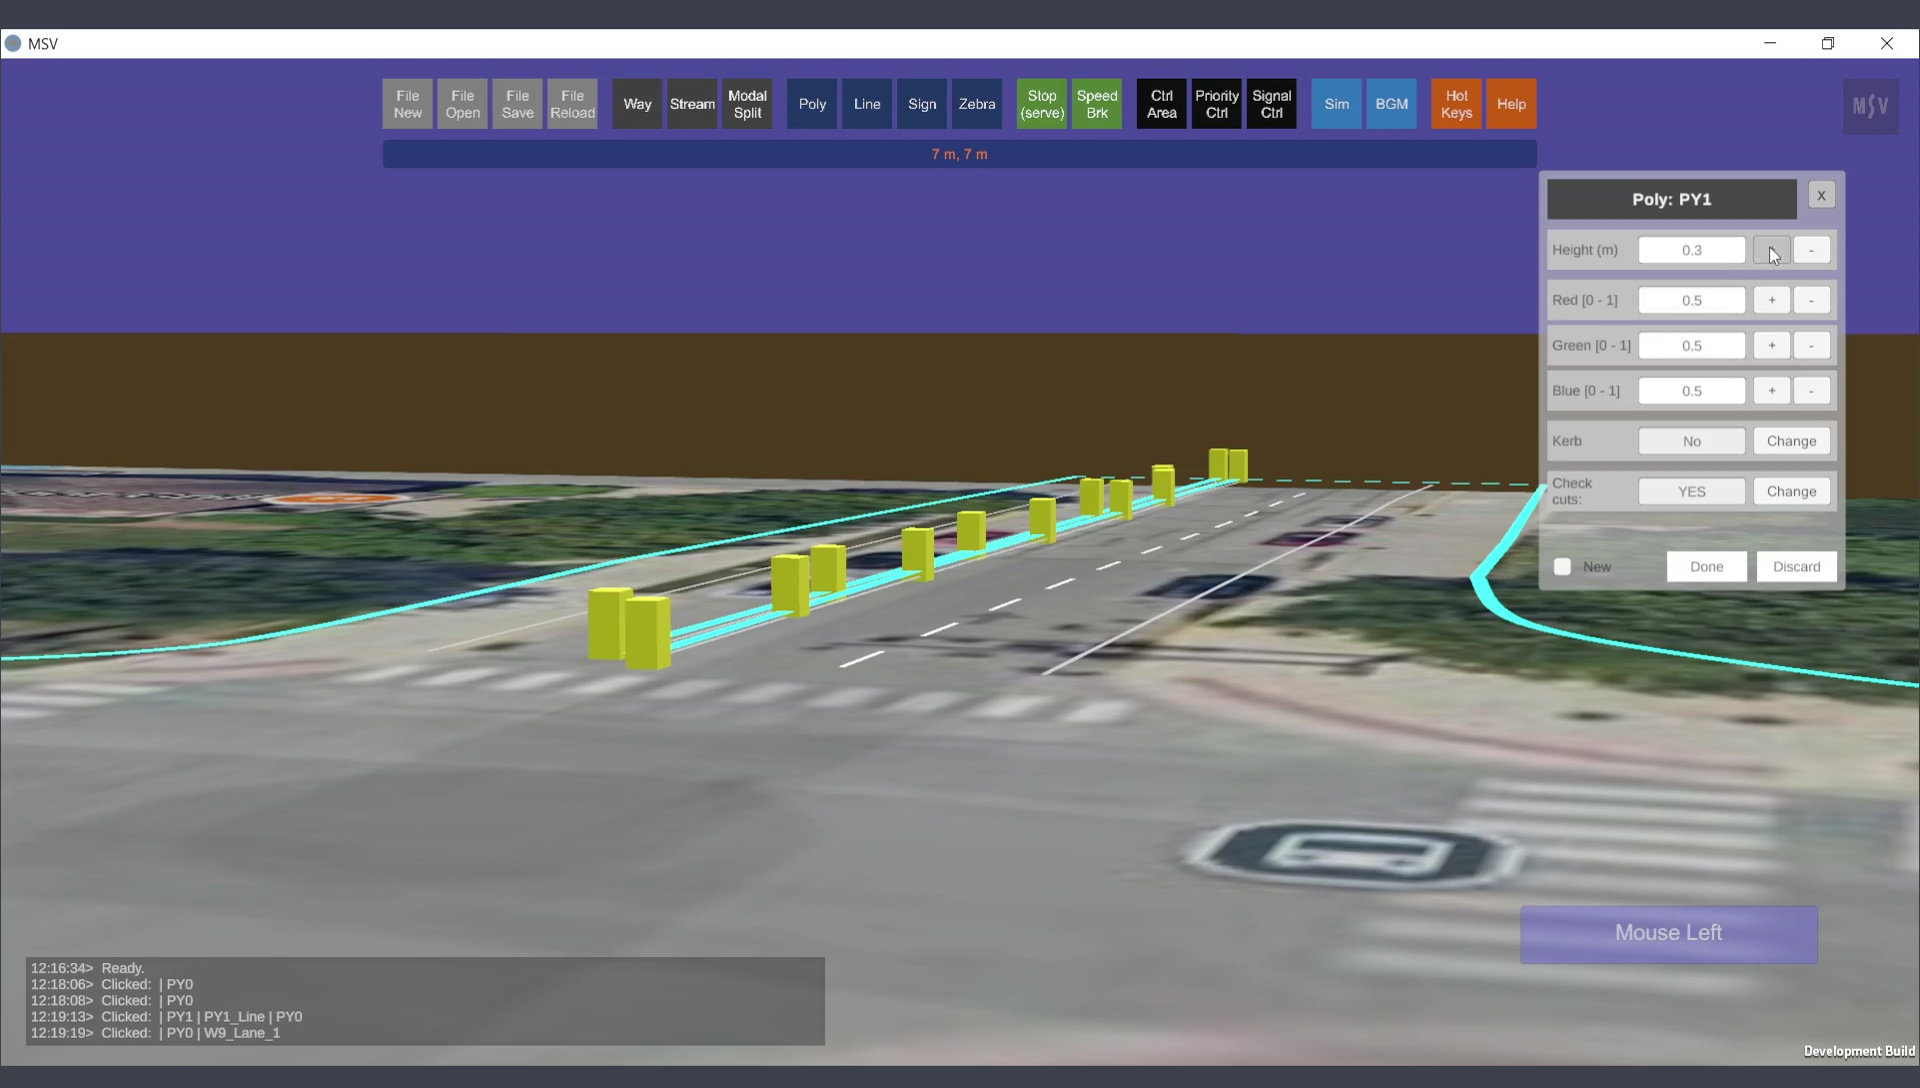
Tilted view to adjust height.
You can enter a value in the height field and press the Enter key or use the + or – buttons to change the height incrementally. The shape adjusts accordingly.
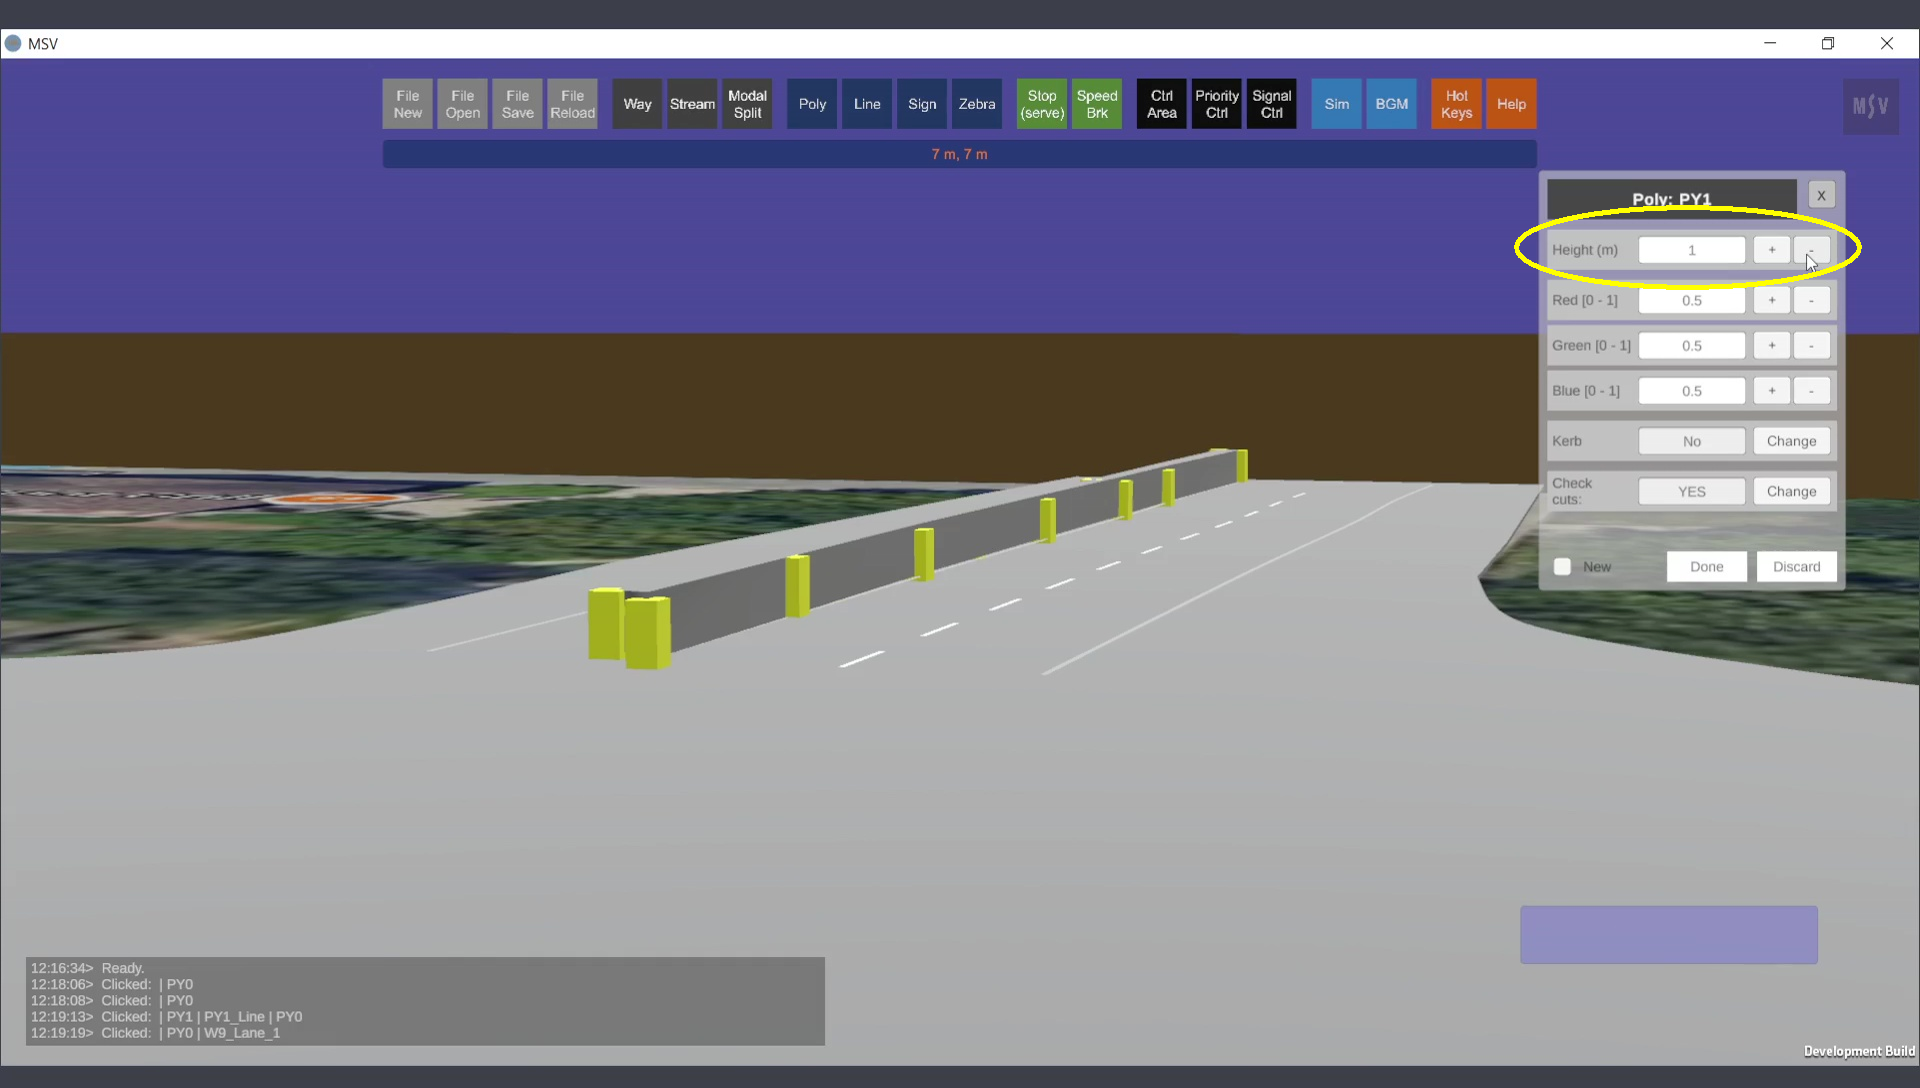
Height set for the median.
Setting kerb strips (black and white markings on the sides) is optional. To enable kerb strips, set the kerb option to ‘Yes’ in the editor. For now, leave the cut checks option at its default value.
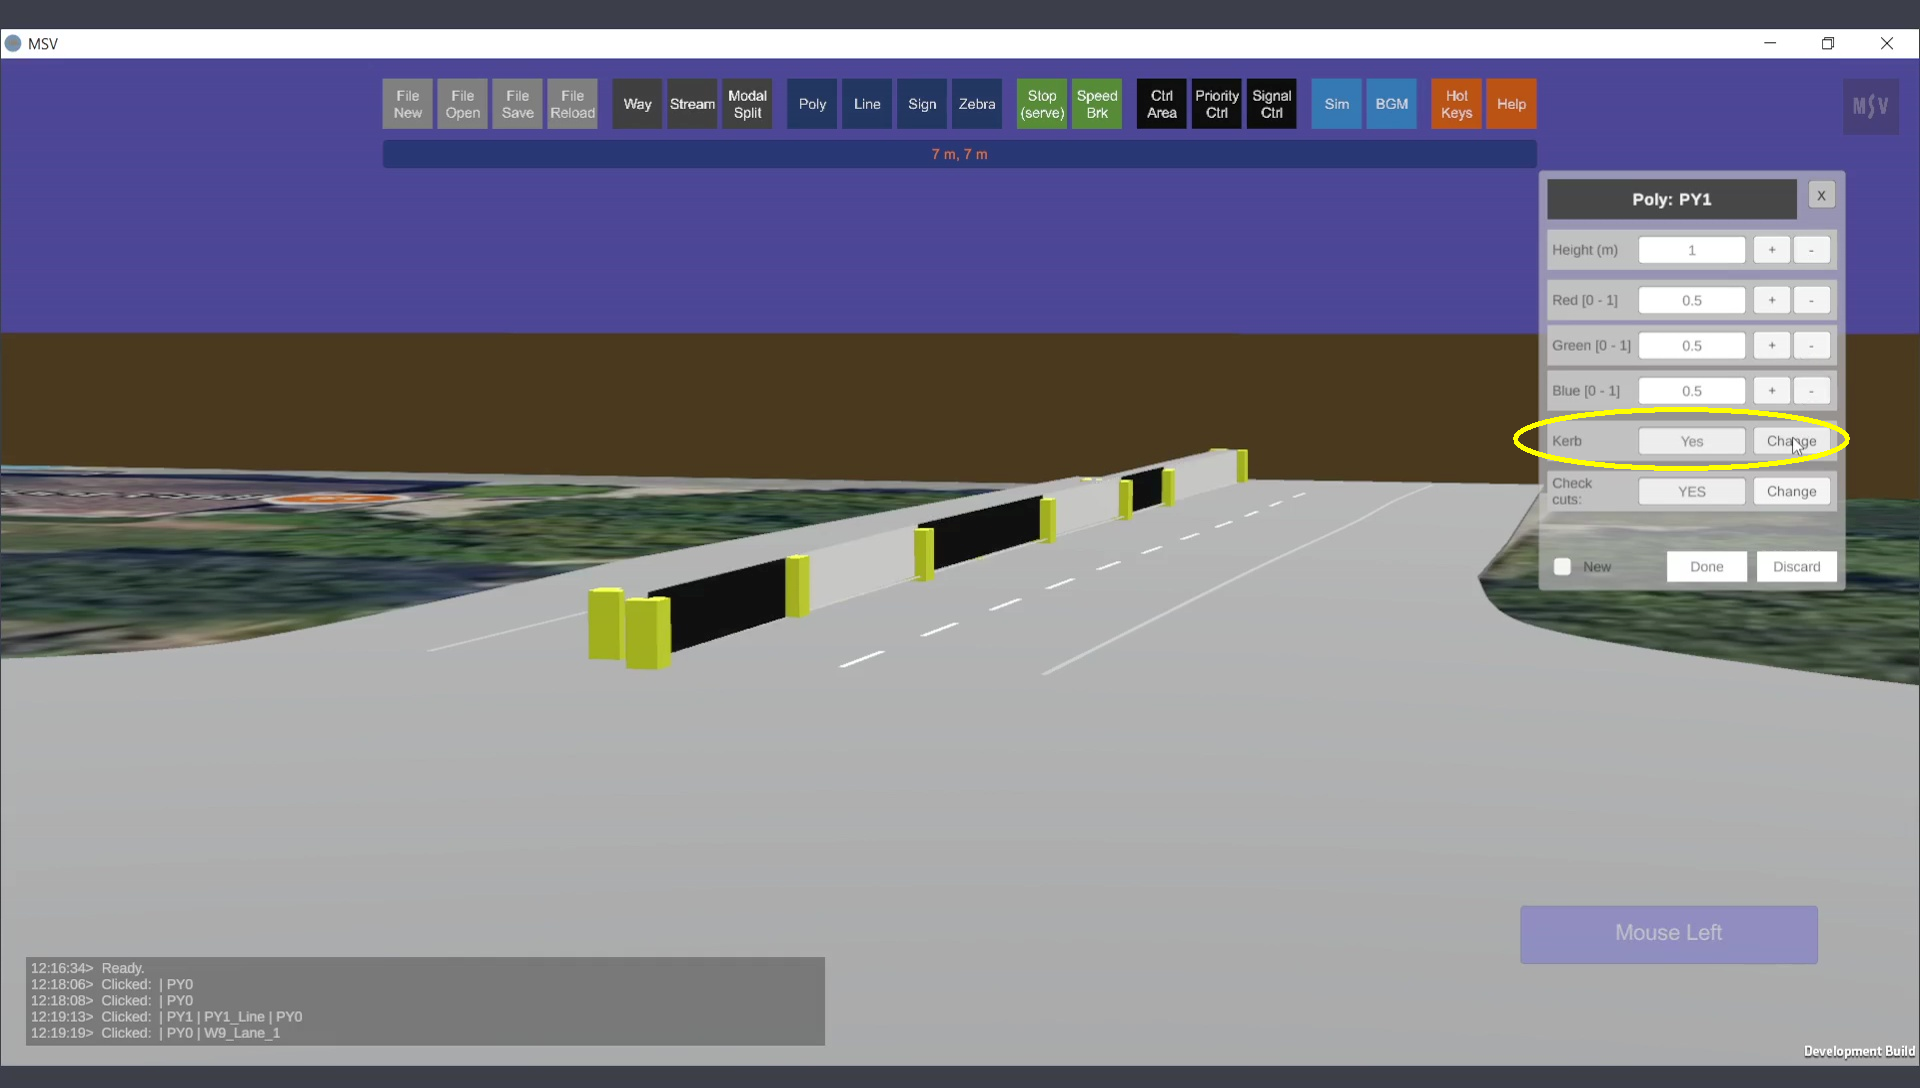
Median with kerb strips. Black and white markings yet to be adjusted.
Set a color for the surface of the median as required.
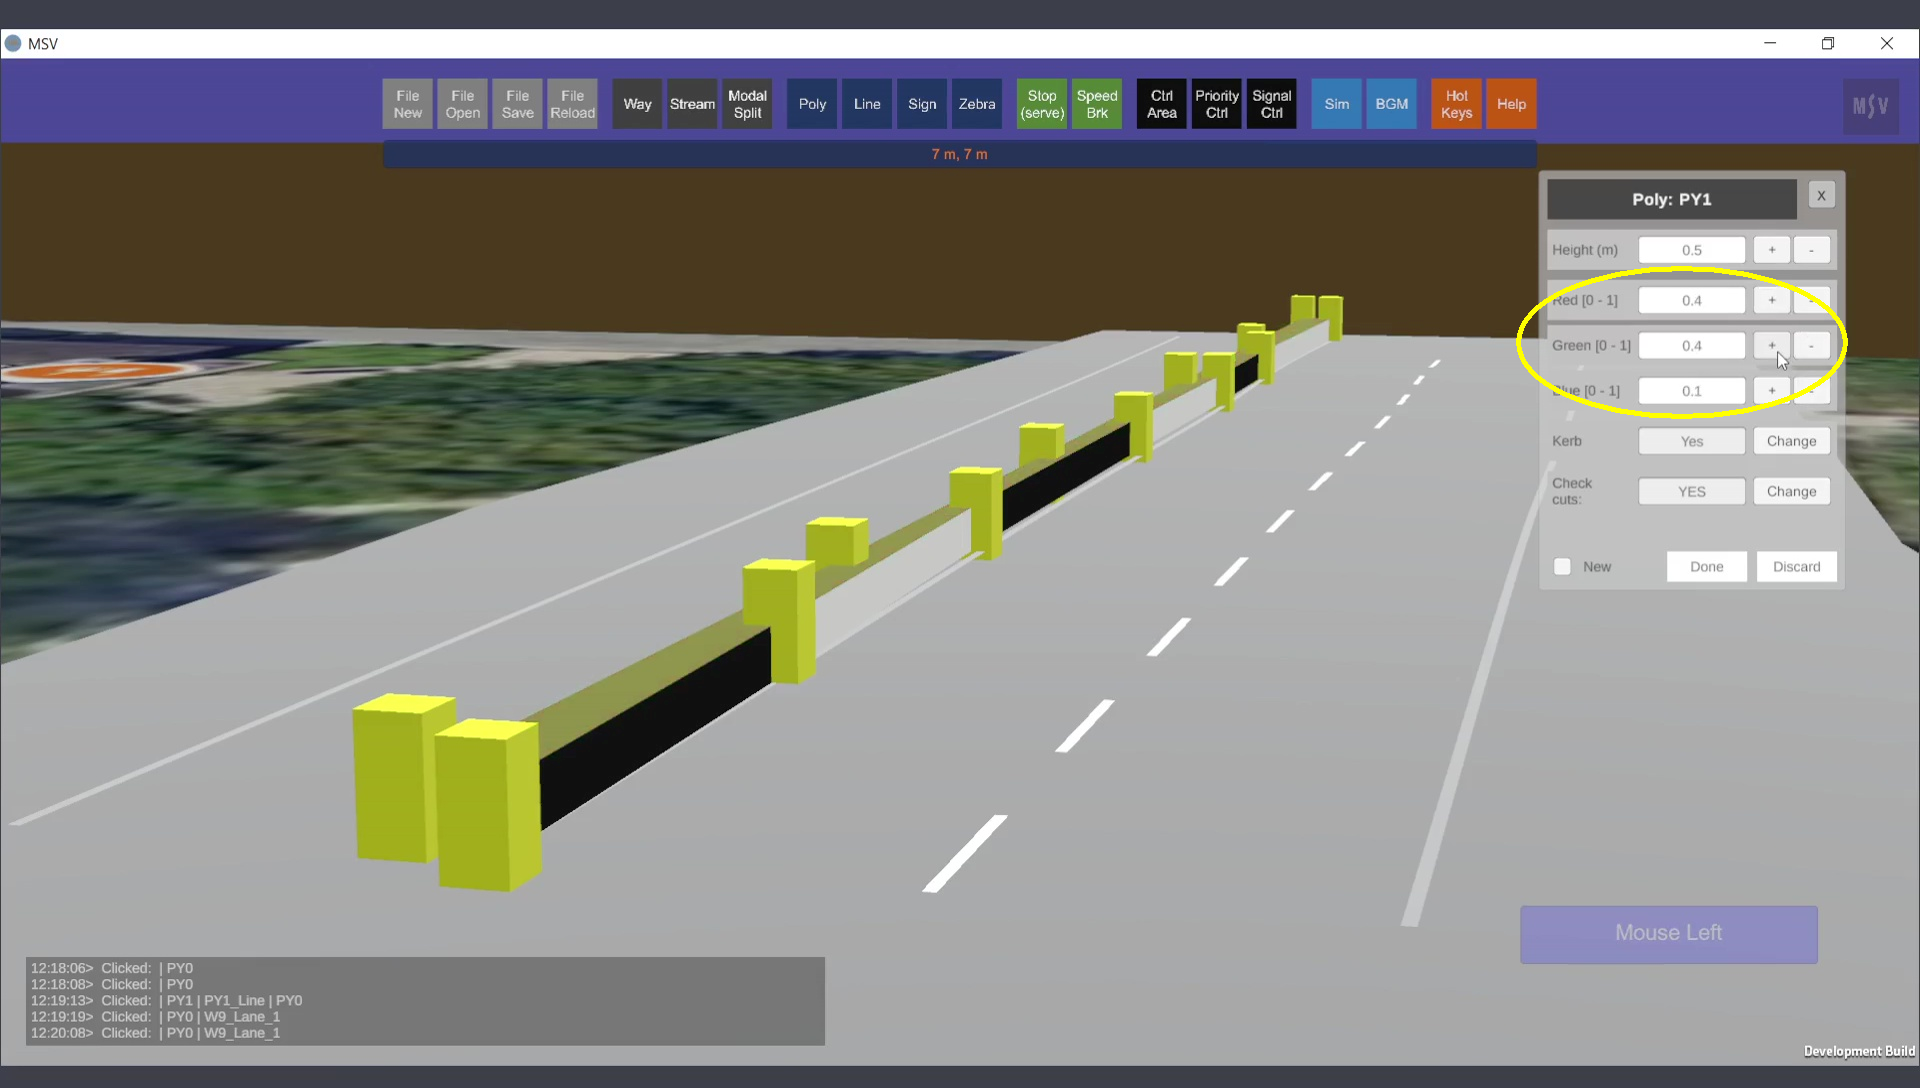
Color set for the median.
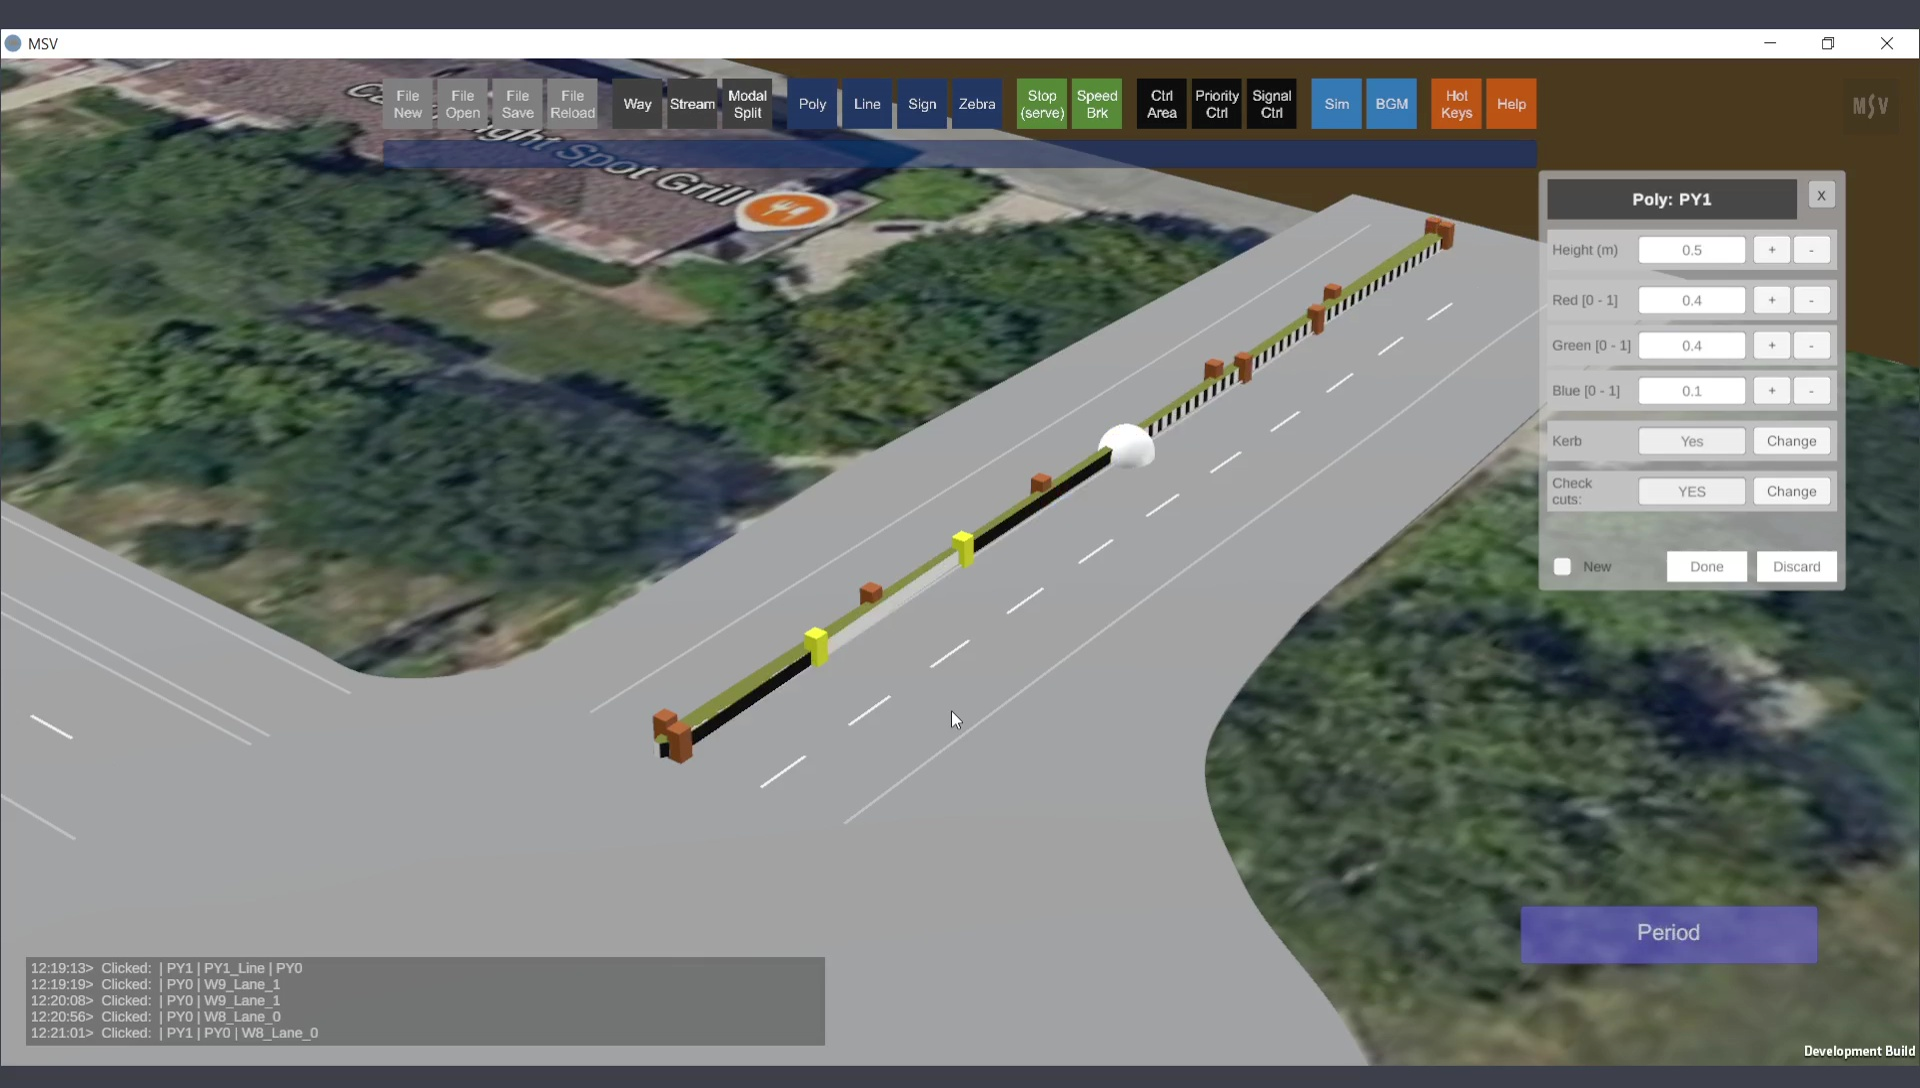
Press the Done button and close the editor. The median now has long black and white strips. These strips are drawn based on the spacing of the control points. Closer control points create smaller strips, but this is not the recommended method. Instead, use the smoothing feature, which generates smaller black and white strips automatically.

Default view of the black and white safety strips on the median.
As described in the surface creation procedure earlier, you can configure curvature for the polygon. Follow the same process for the median:
With smoothing applied, the black and white strips will have smaller, closer quads, as shown below:
Smoothing creates smaller, closer black and white quads on the median.
You can use this procedure selectively, allowing some portions to have small quads while leaving others with longer quads. In this example, all control points were smoothened. The final median appears as shown below:
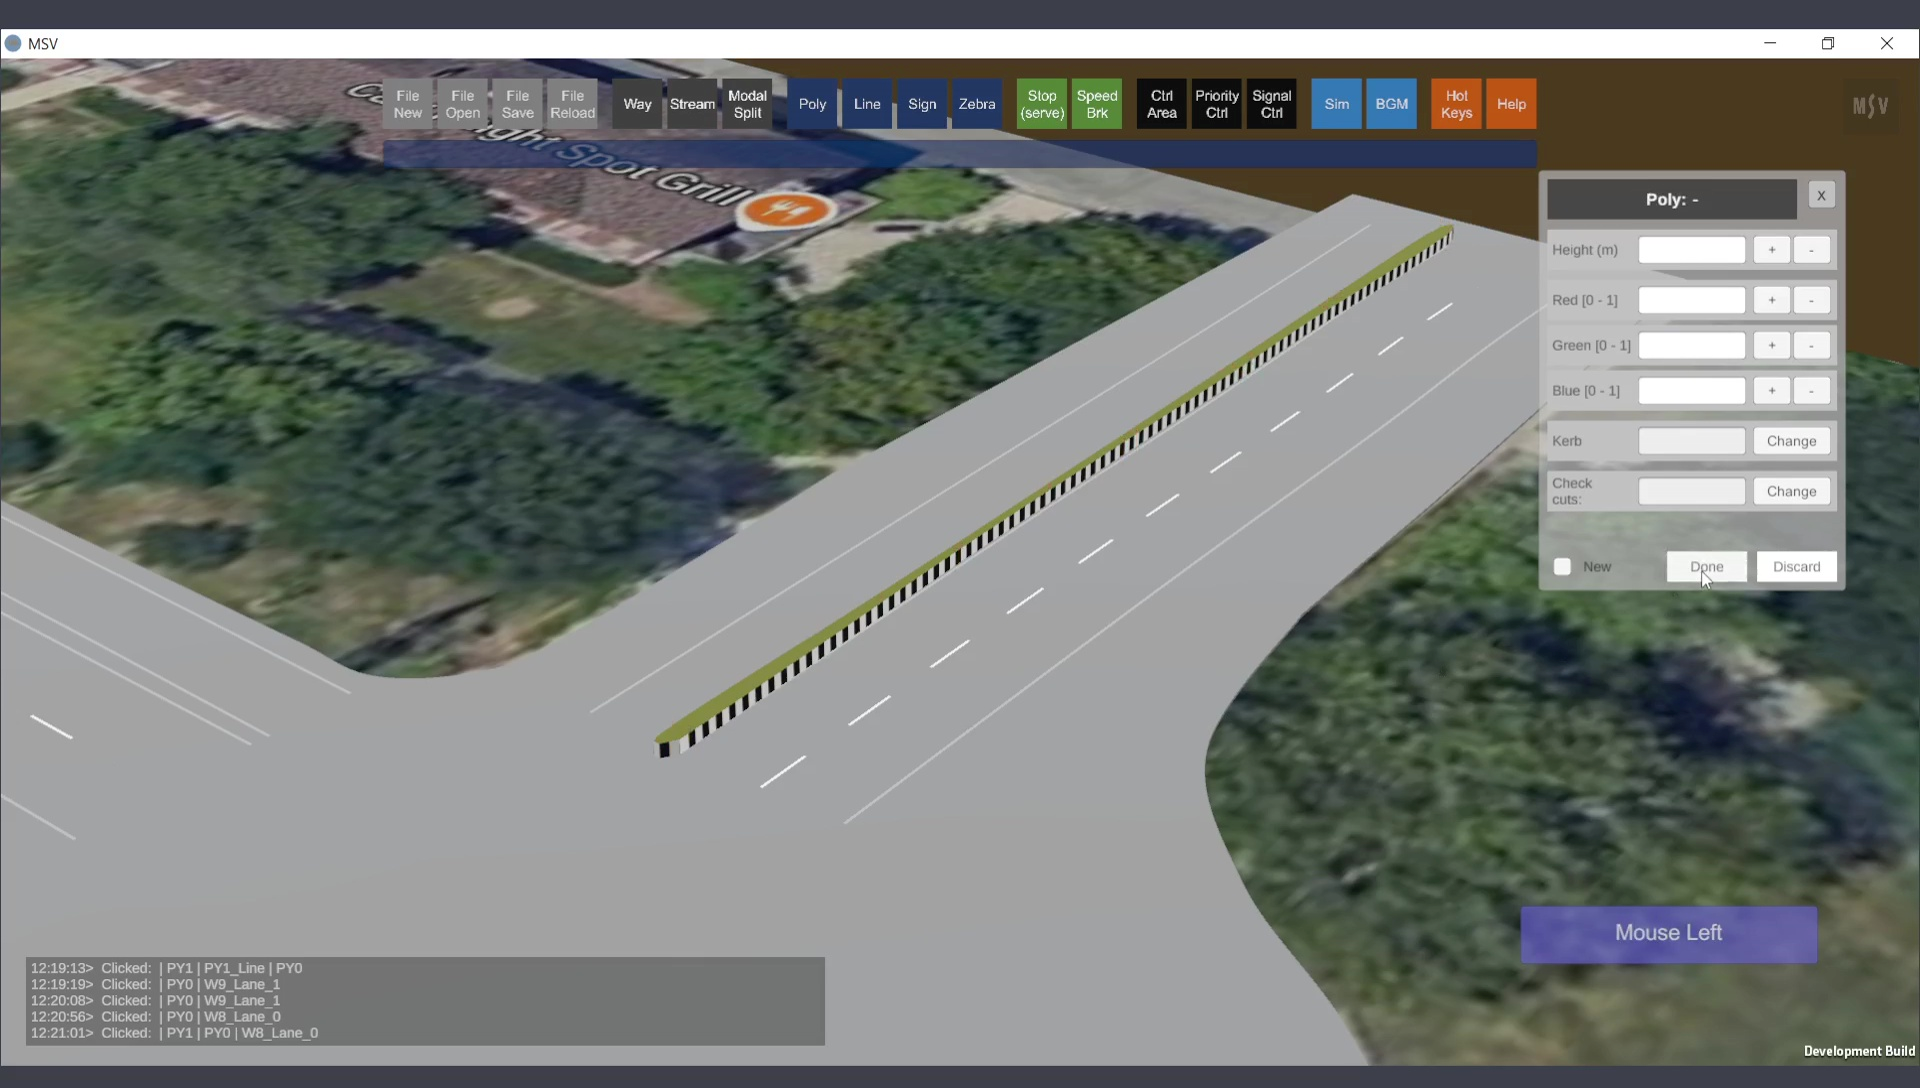
The finished median with appropriate color and kerb markings.
Poly shapes taller than medians, such as columns and blocks, are covered in the next section of the manual.