Polygon blocks can be created to represent 3D shapes taller than medians, with some even elevated. The procedure to create two blocks—a column block and a slab block—is explained here.
Let us create the shapes shown in the picture below:
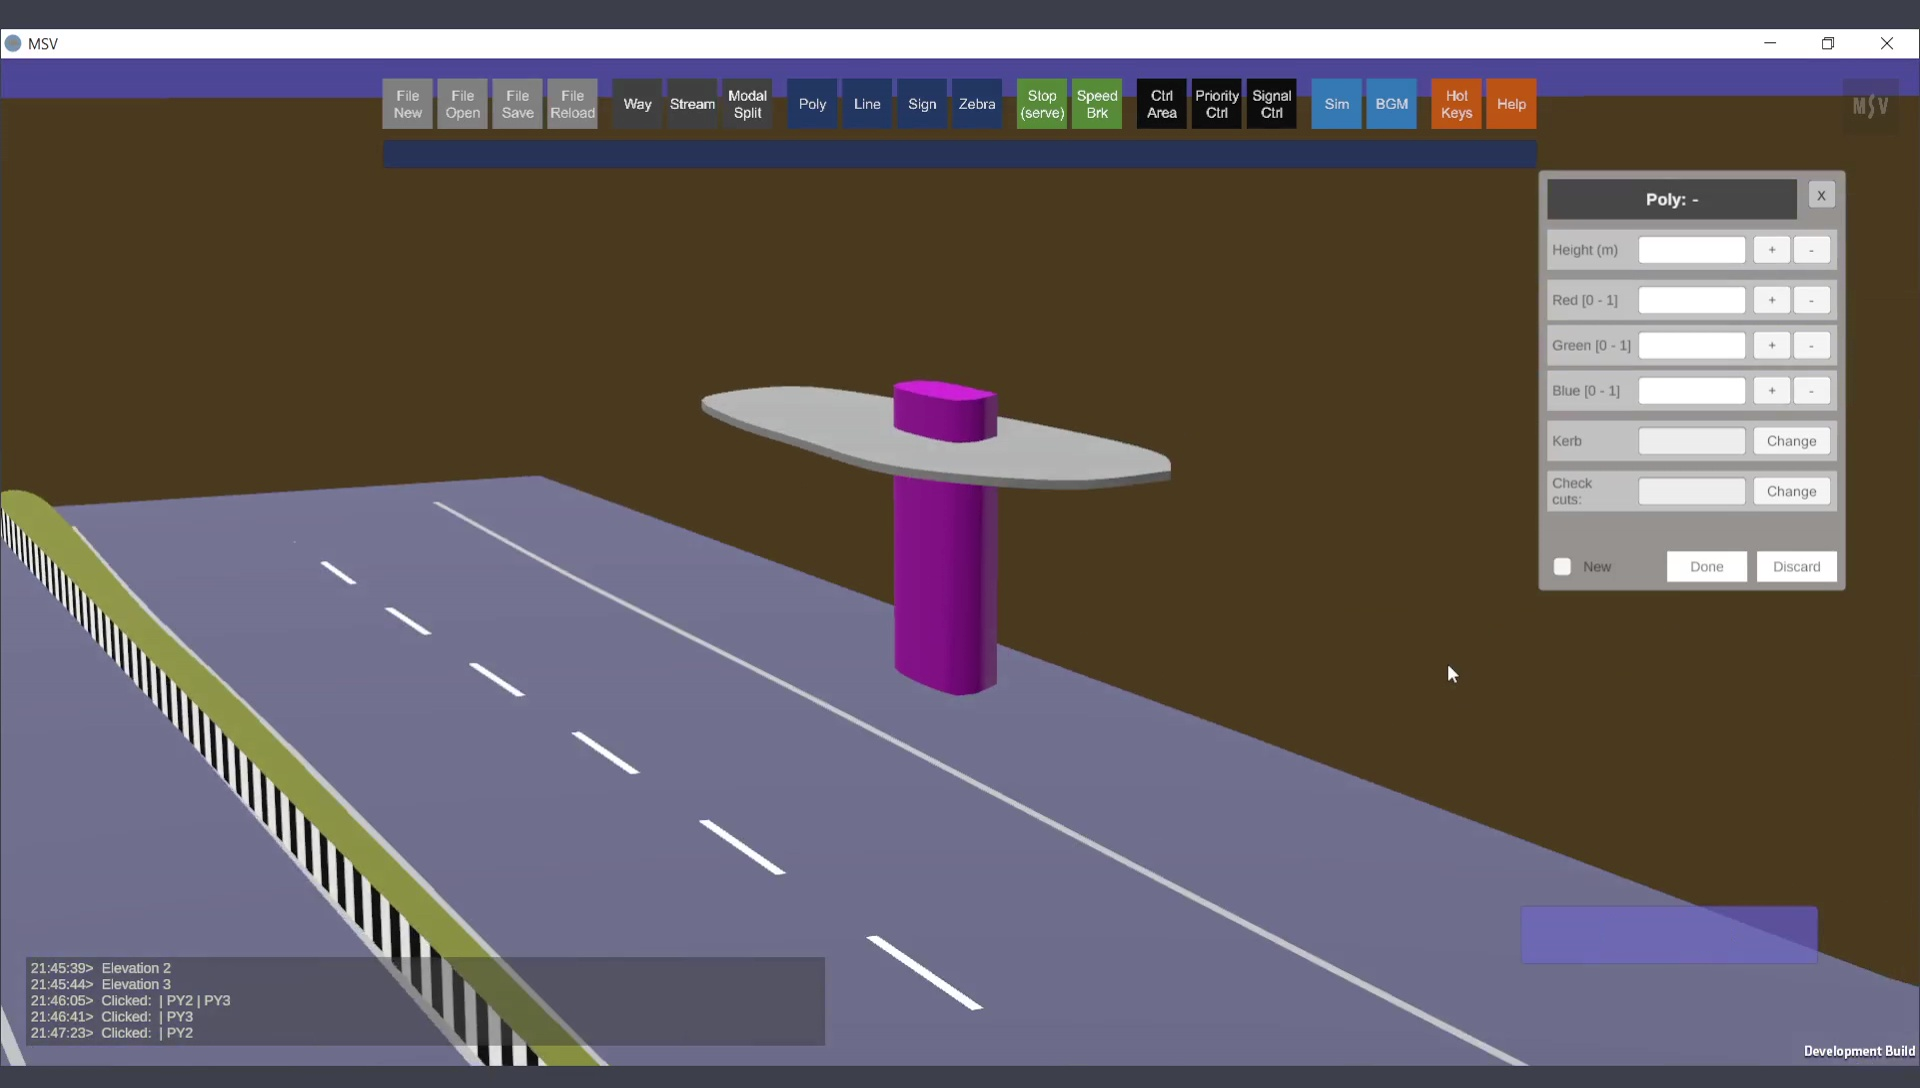
A column and a slab with random shapes.
To create a column, use just four control points as shown below:
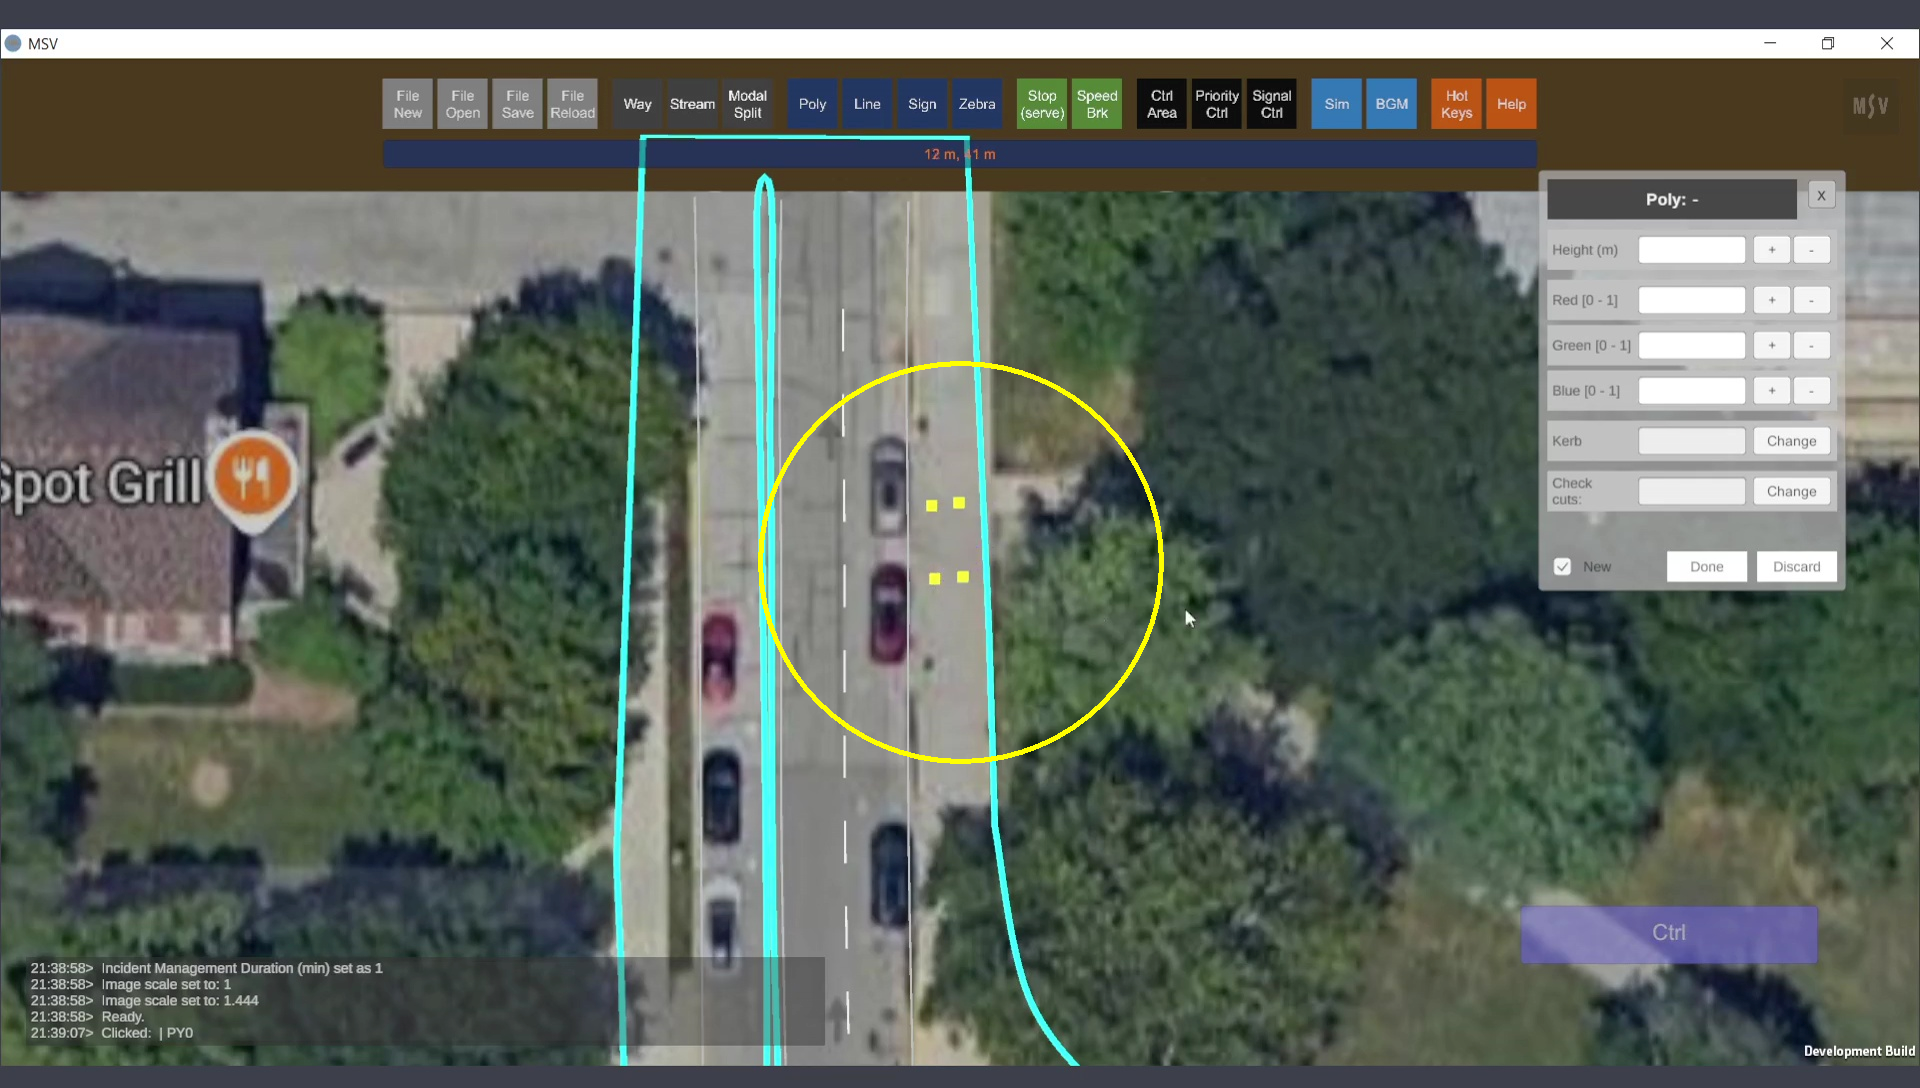
Four control points are sufficient to create a column.
The control points can be repositioned using methods explained in earlier sections of the manual. The key new steps here involve setting a greater height than used for a median and setting an elevation for the slab-like object, which will be positioned above ground level.
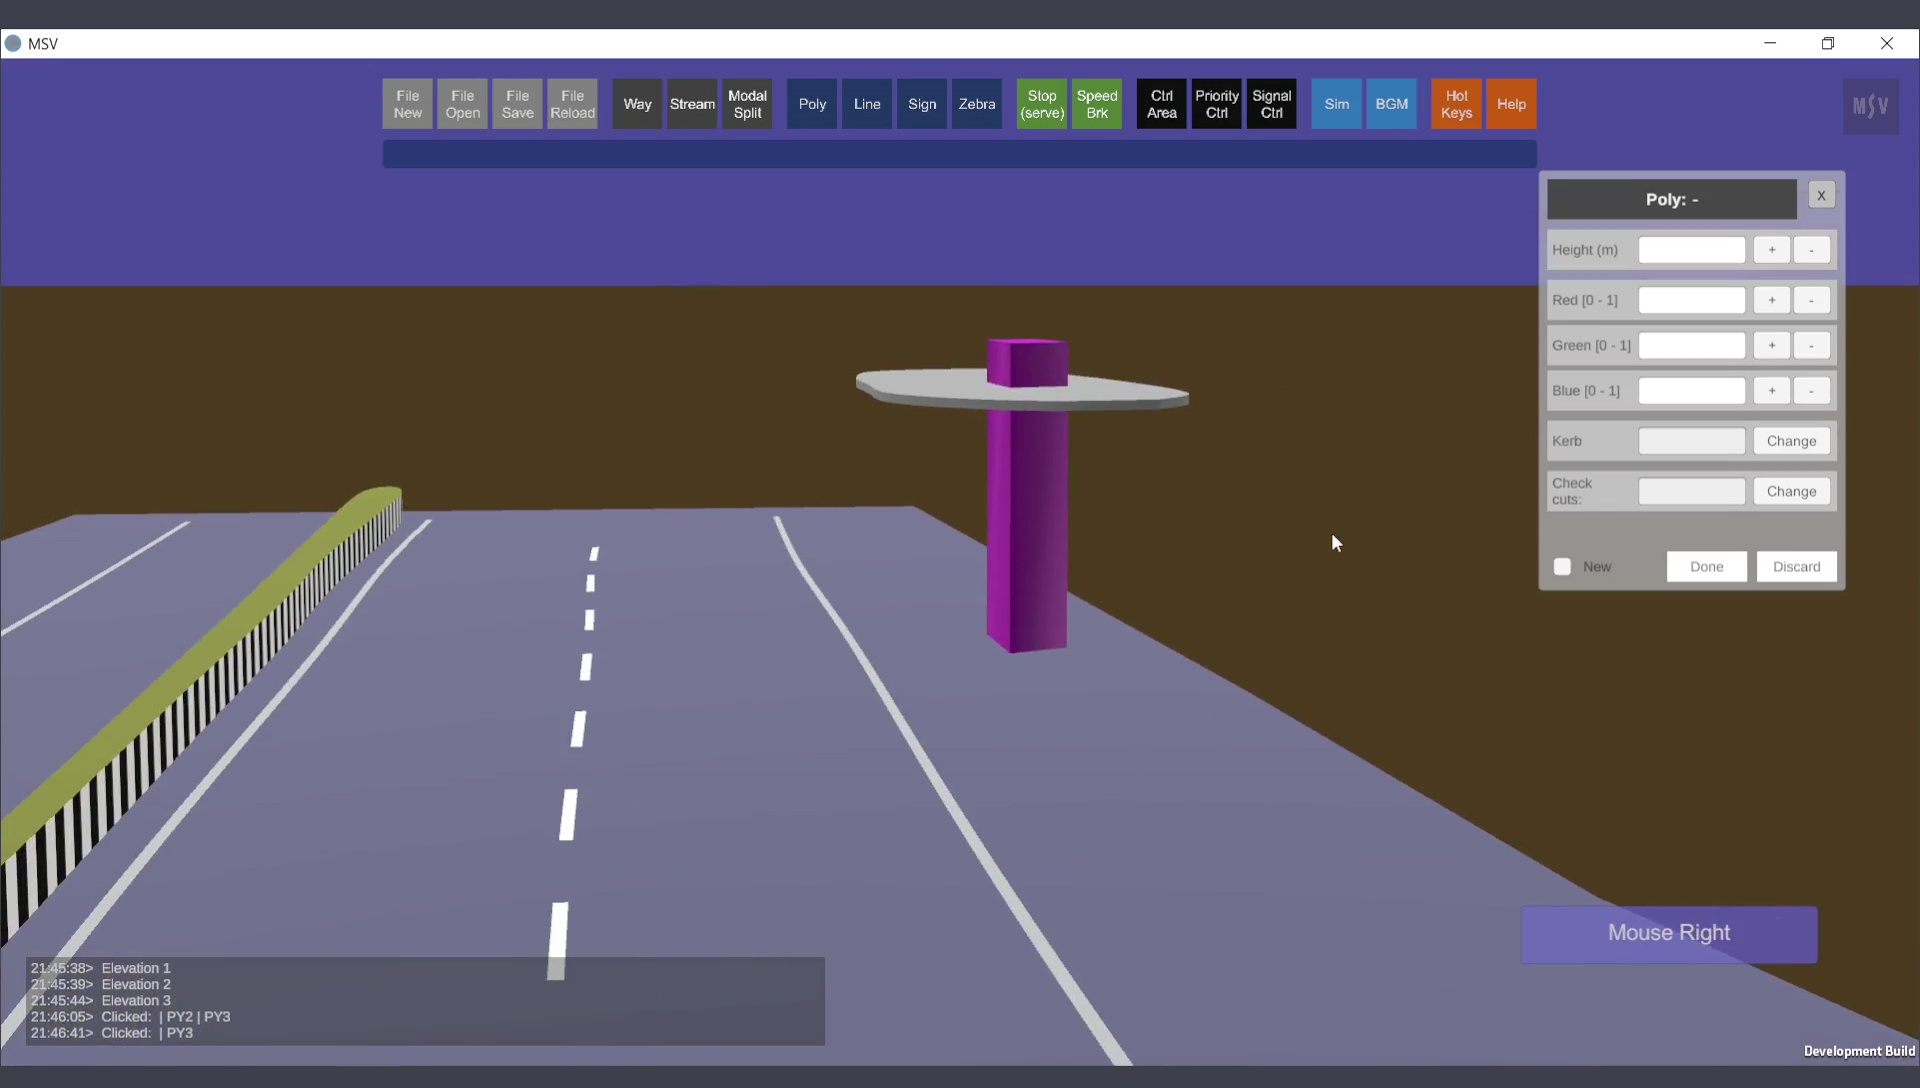
After creating the four control points, press the Done button, close the editor, save, and reload. Open the poly editor again, select the created shape, and press ‘P’ to switch from outline view to full object view. The 3D shape will look like this:
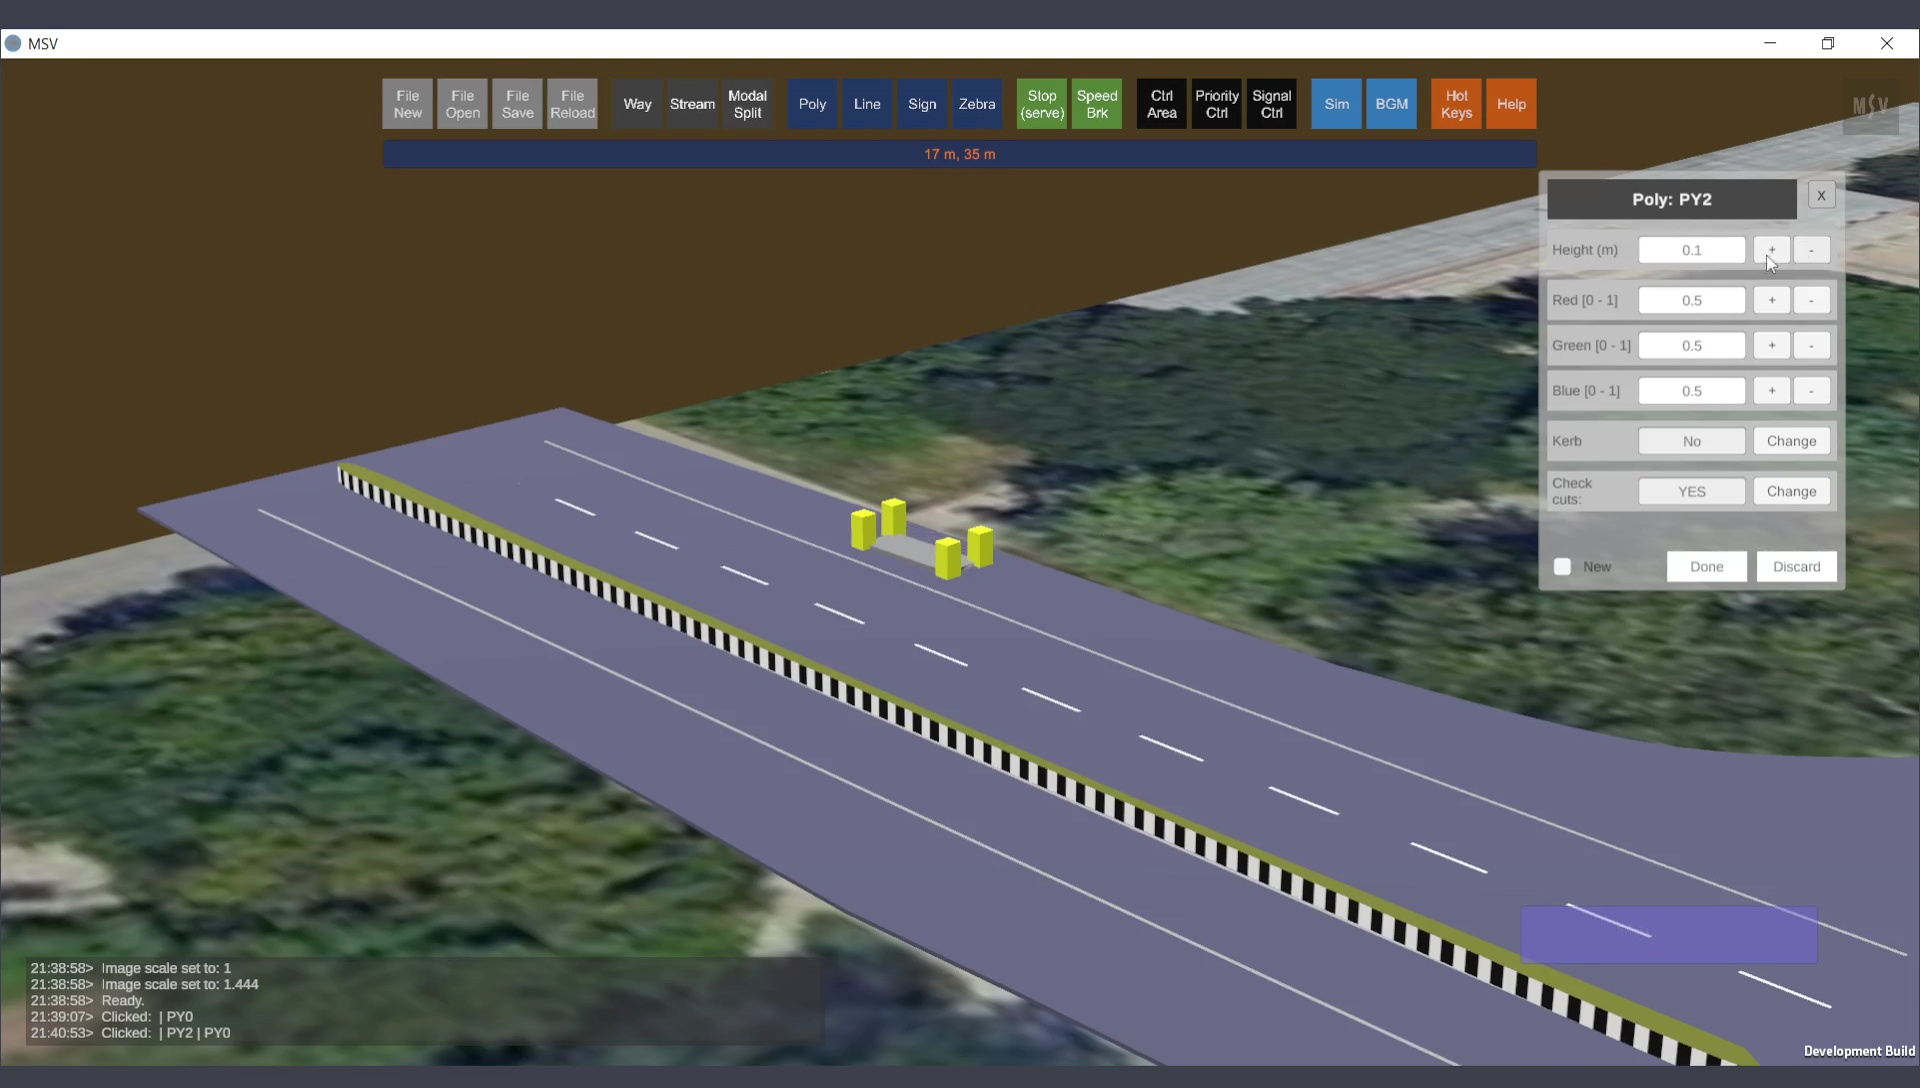
Ready to set the height for the column poly shape.
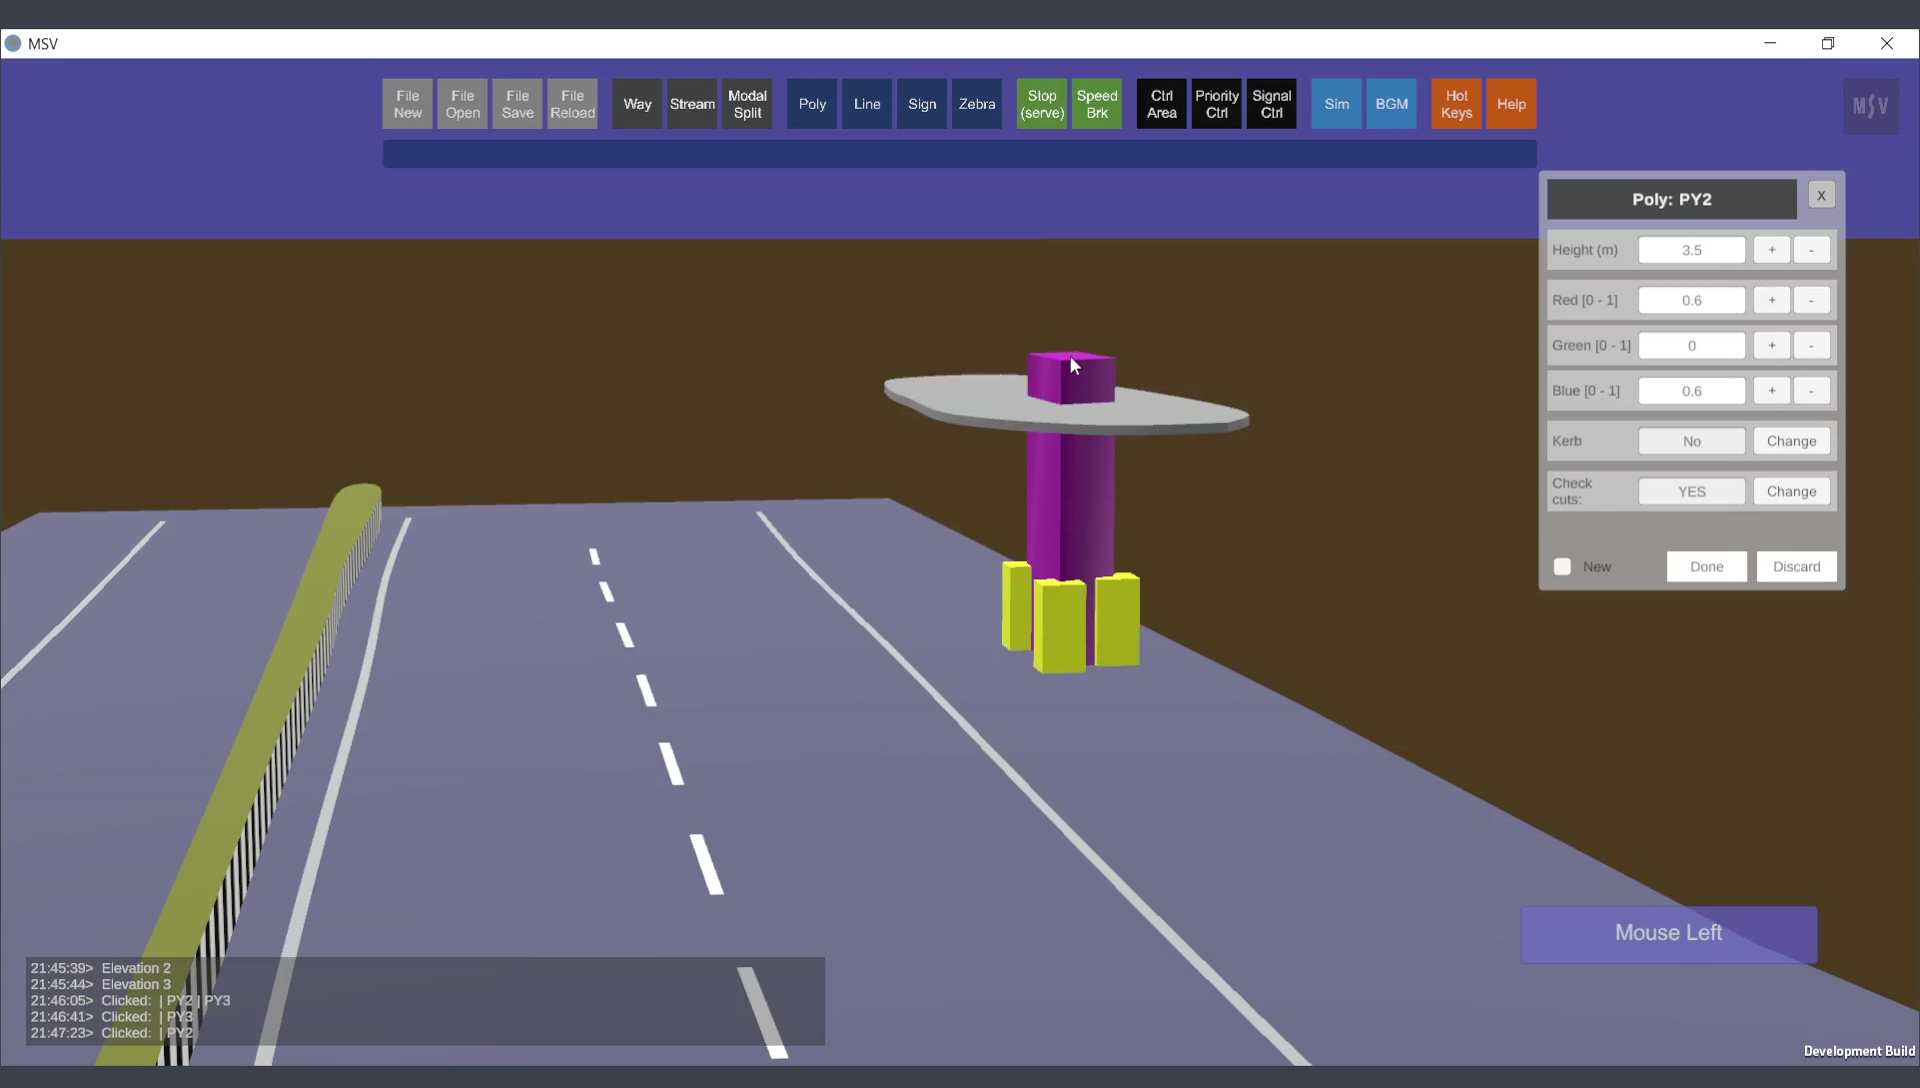
Enter a value in the height field or use the plus/minus buttons in the editor to set the height and see the shape change accordingly. Setting the height to 3.5 meters results in:

Height set for the column shape.
Set a color for the shape using the RGB fields. For example, entering values of 0.6, 0.0, 0.6 produces the following result:
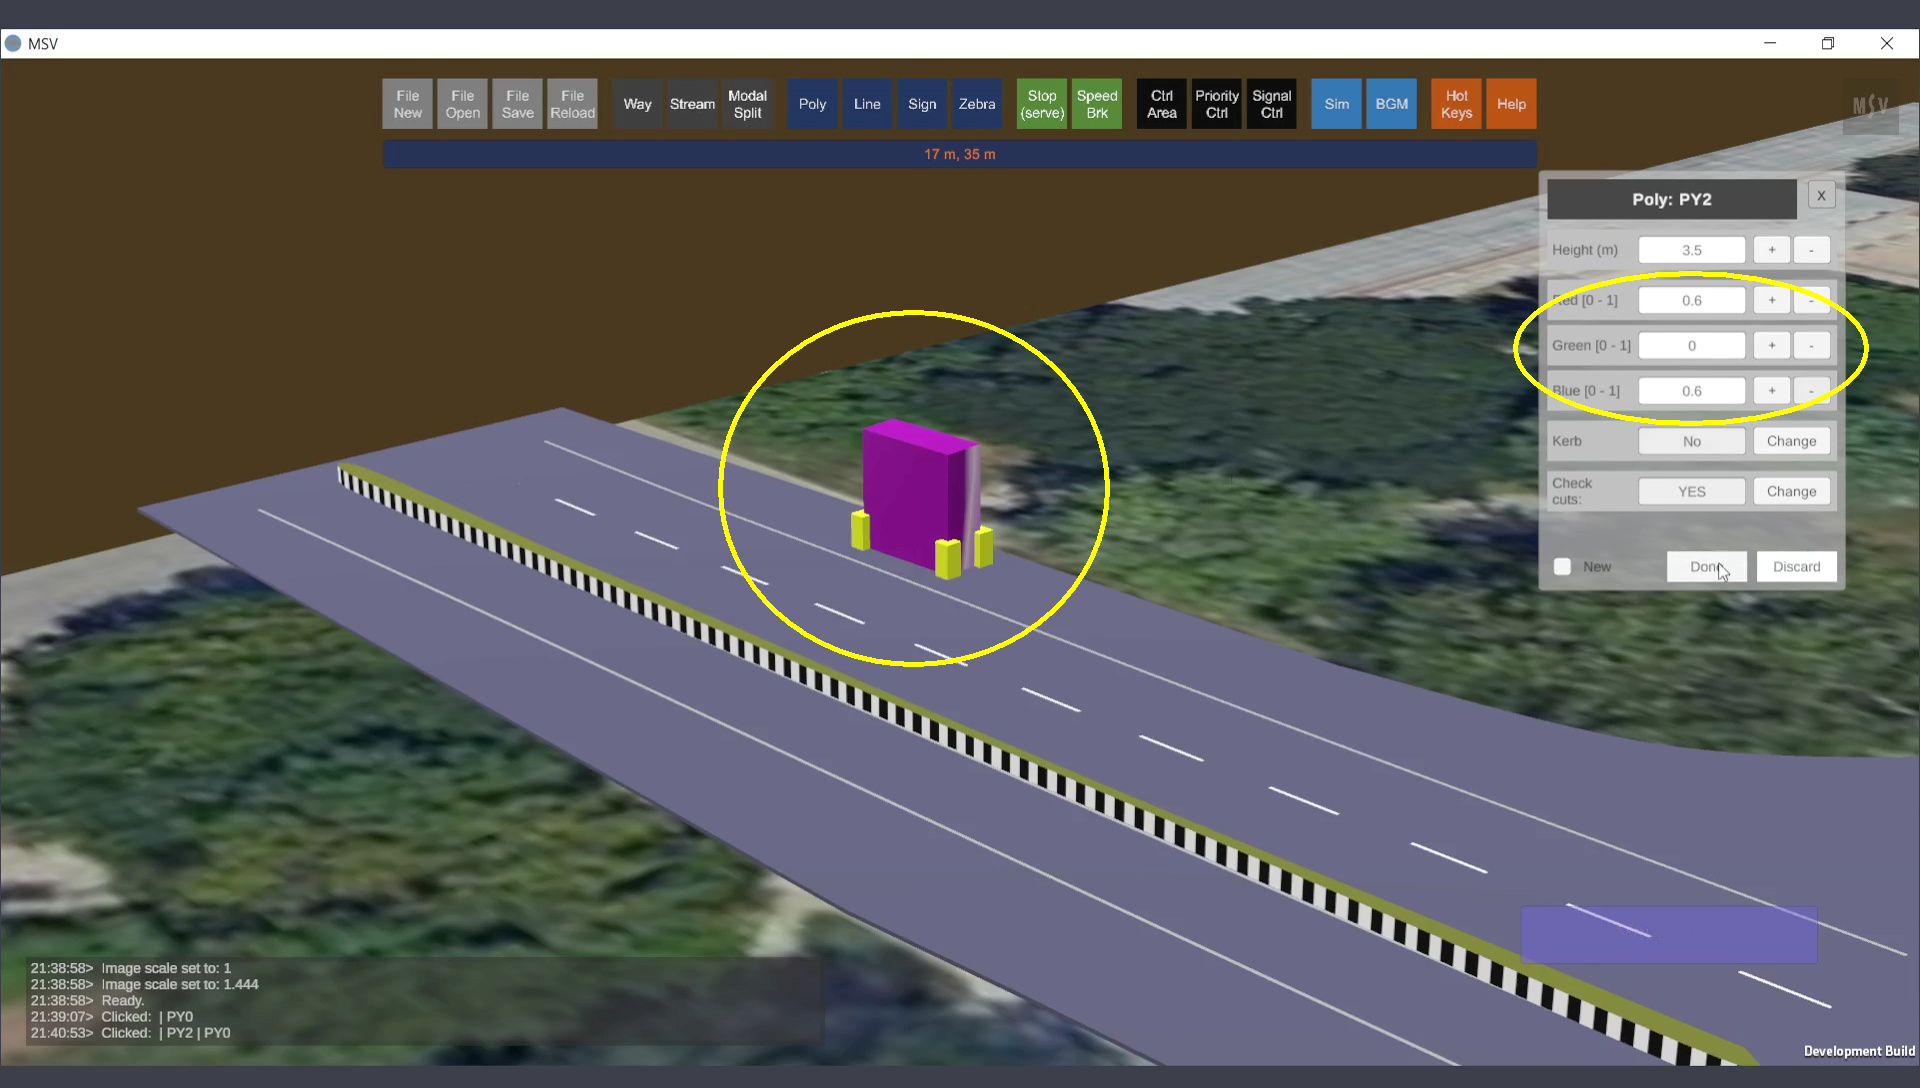
Color set for the column shape.
Press the Done button, close the editor, save, and reload. Open the editor again to create new control points around the column, as shown below:
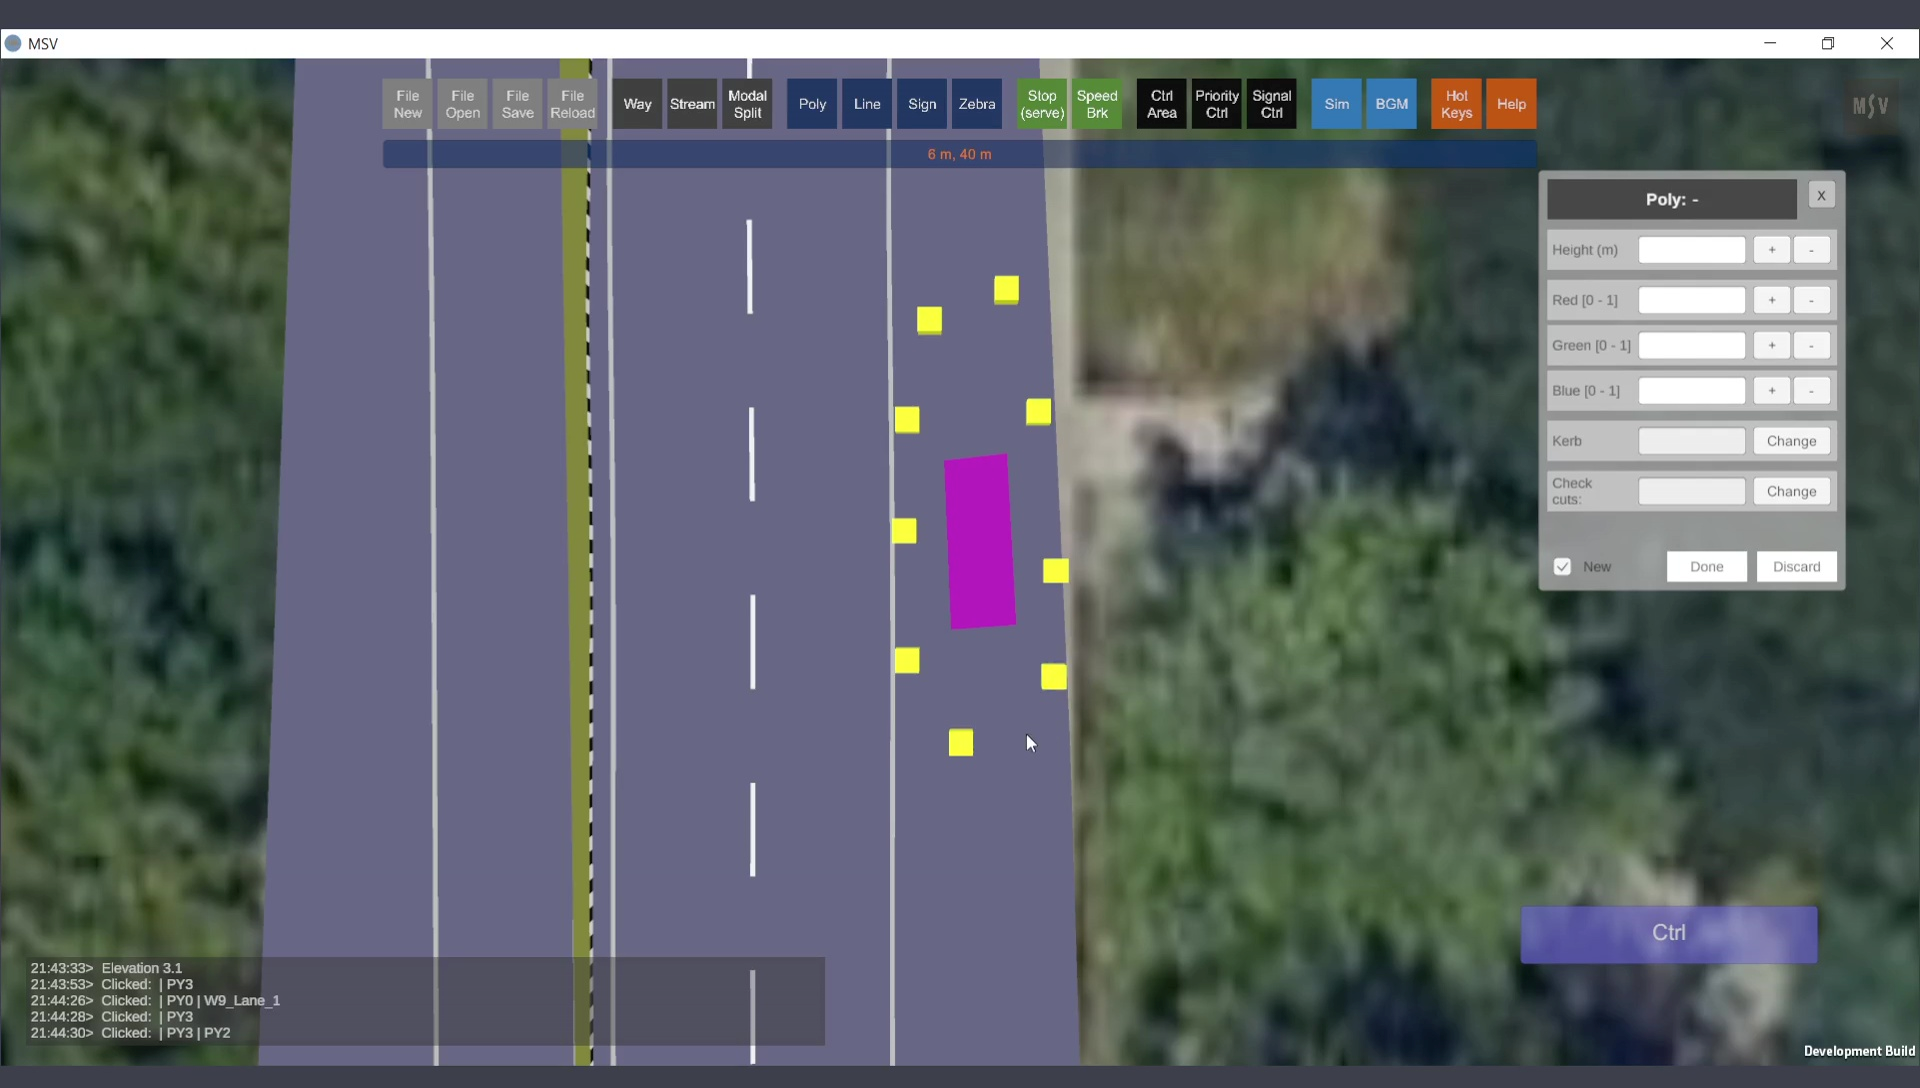
Control points created for the slab shape around the column.
To set an elevation for the slab, leave the thickness unchanged but raise the shape to appear like a roof slab for a bus stand. Press Done, choose the shape again, and tilt the view to observe the elevation change, as shown below:
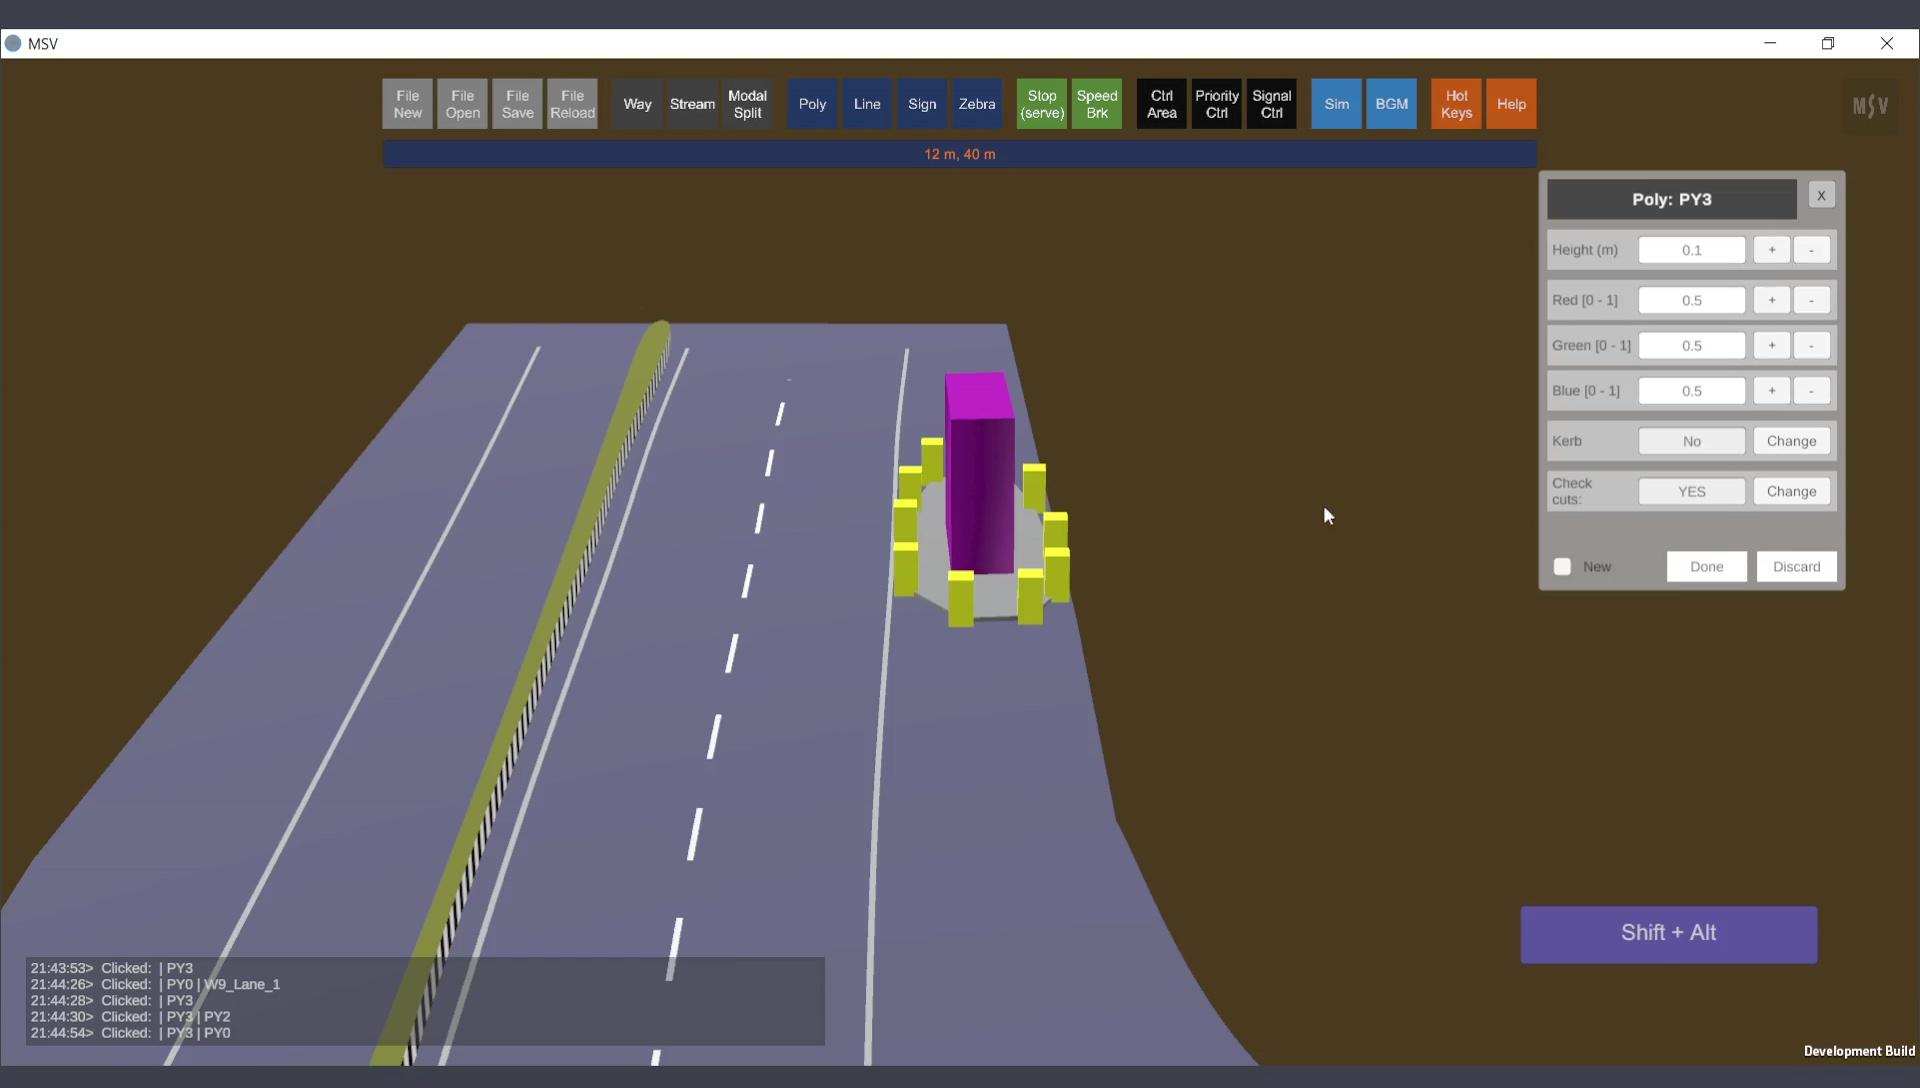
Control points of the slab ready to be raised in elevation.
Unlike Way objects, the elevation of individual control points cannot be changed for poly objects. Instead, the entire shape must be raised or lowered. To do this:
As the elevation changes, the overlay will display “Shift + Alt + +”, and the Reporter will indicate the current elevation. Note that elevation can only be adjusted via keyboard and mouse actions, as there is no input field for this in the editor.
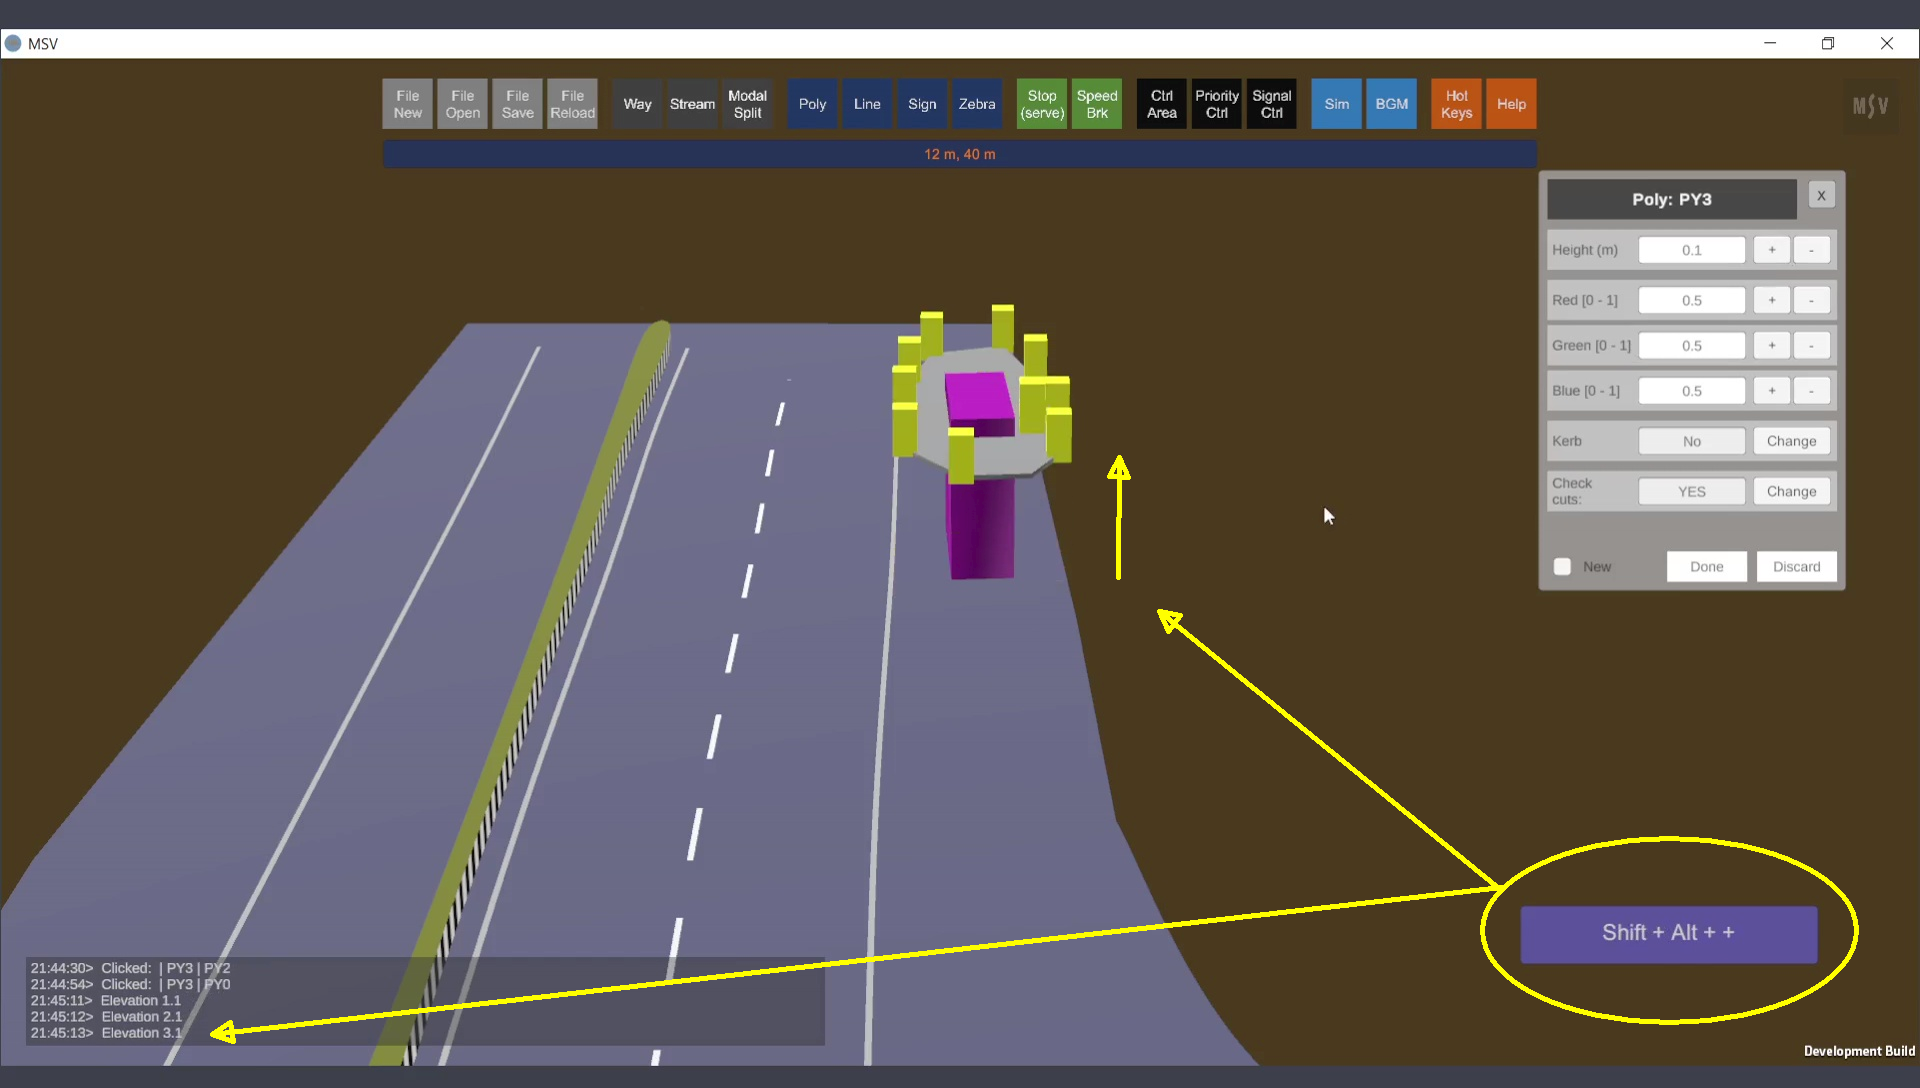
Elevation set for the slab shape.
The slab shape will initially have sharp edges. To smoothen the perimeter:
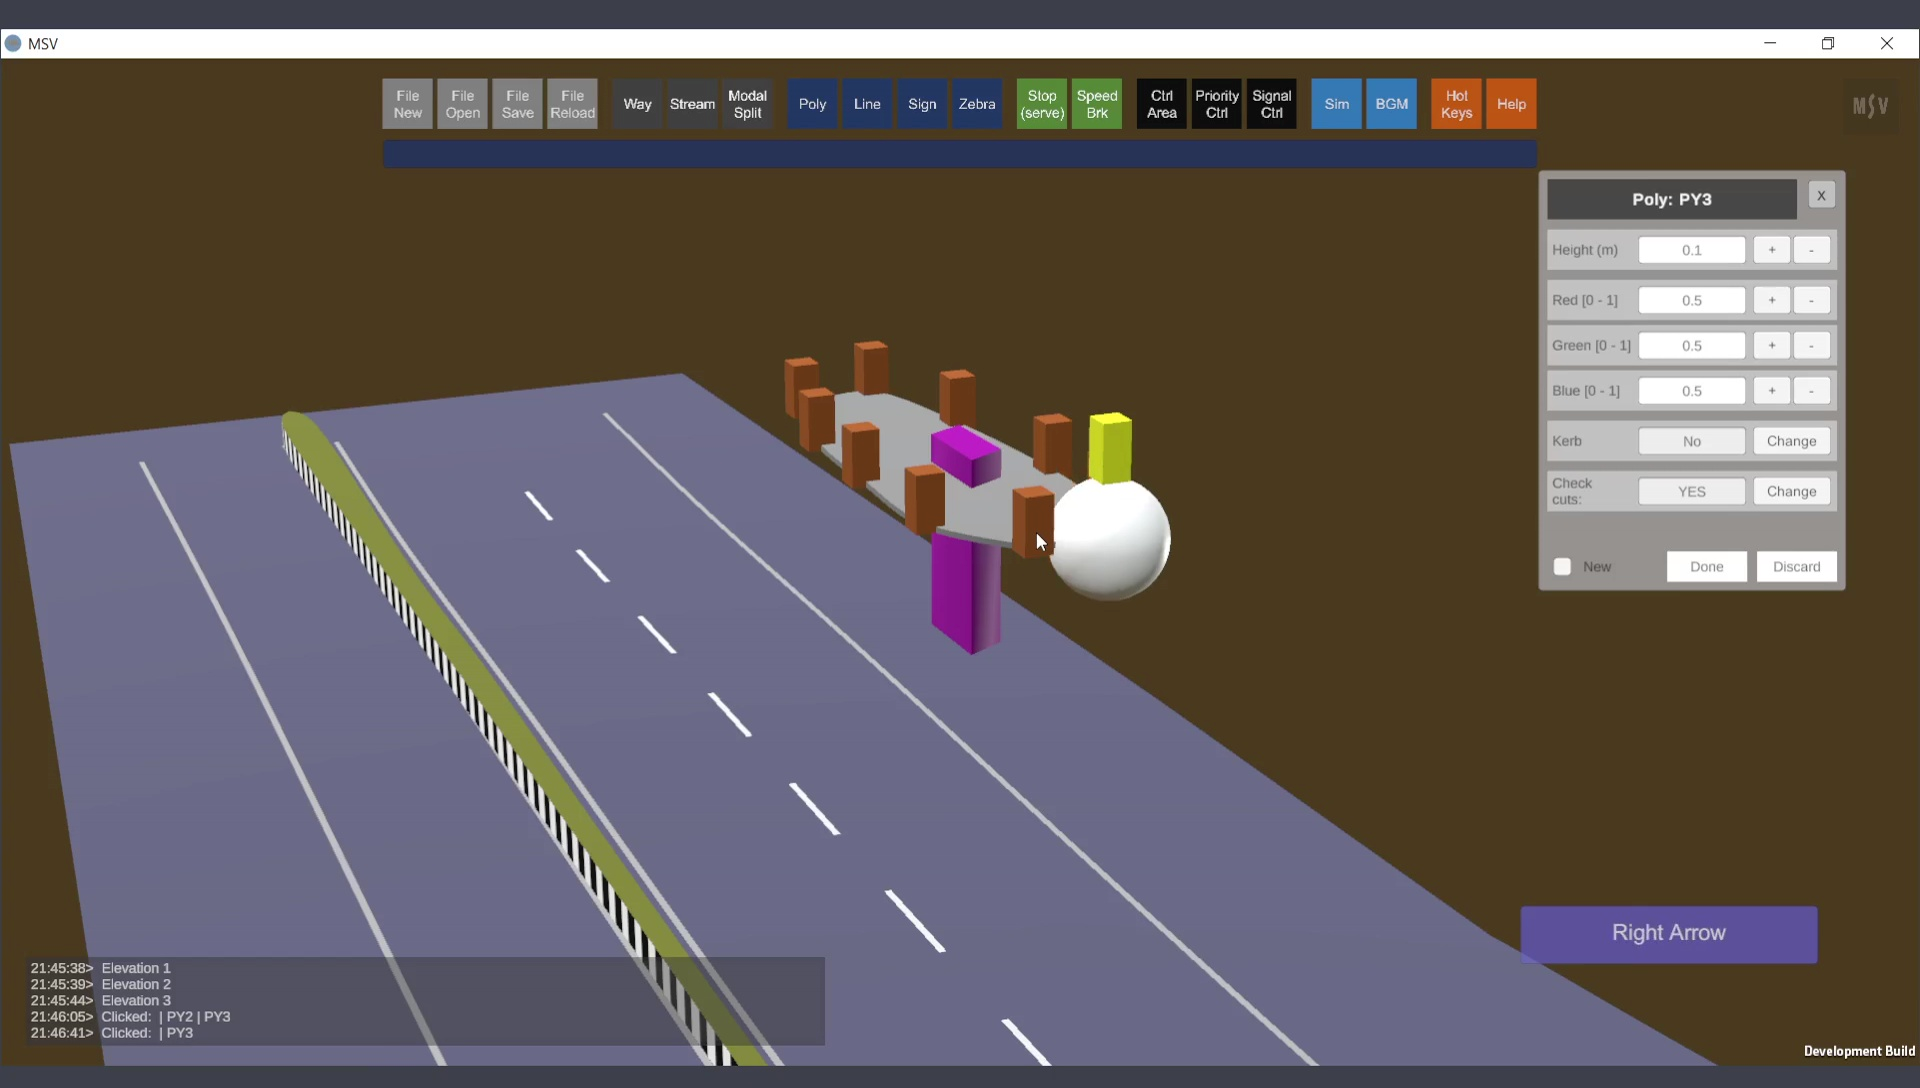
Making smooth edges for the slab.
The column can also be resized to suit the slab, as shown below:
Adjusting the column to fit the slab.
The completed column and slab poly objects appear as follows:
Both column and slab poly objects (created with random sizes and shapes) are completed.
This procedure demonstrates the use of the poly editor and creative possibilities. For typical columns and slabs, ensure meticulous application of dimensions and shapes. It is crucial to verify that streams of vehicles do not cut through or pass through the objects. However, create actual-scaled columns and blocks only if it adds value to the simulation presentation or serves a layout design purpose.