Simple lines, whether straight or curved, often add visual value to the simulation model. Lines can be used to demarcate areas or serve as visual markers for dividing traffic, such as median lines (though streams carry traffic irrespective of where lines are drawn).
Open the Line Editor by clicking on the ‘Line’ button in the top row of buttons. The editor will open with four input fields: a width value and RGB color specifications.
To create a line:
After the line is created, select it again and set the width as required. If the width is too wide or the line does not appear as intended, consider creating a polygon shape instead.
Individual control points can be repositioned as follows:
To move the entire line, use Shift + Alt + Arrow keys. To elevate the line up or down, use Shift + PageUp or Shift + PageDown.
To delete a line, select it first and press Ctrl + Delete. Note that there is no undo function for this action. If you want the line back, reload the model without saving. However, unsaved operations elsewhere in the model may be lost.
Let us create a few straight-line shapes and a curved line. The site below shows line markings on the approach road to a junction:
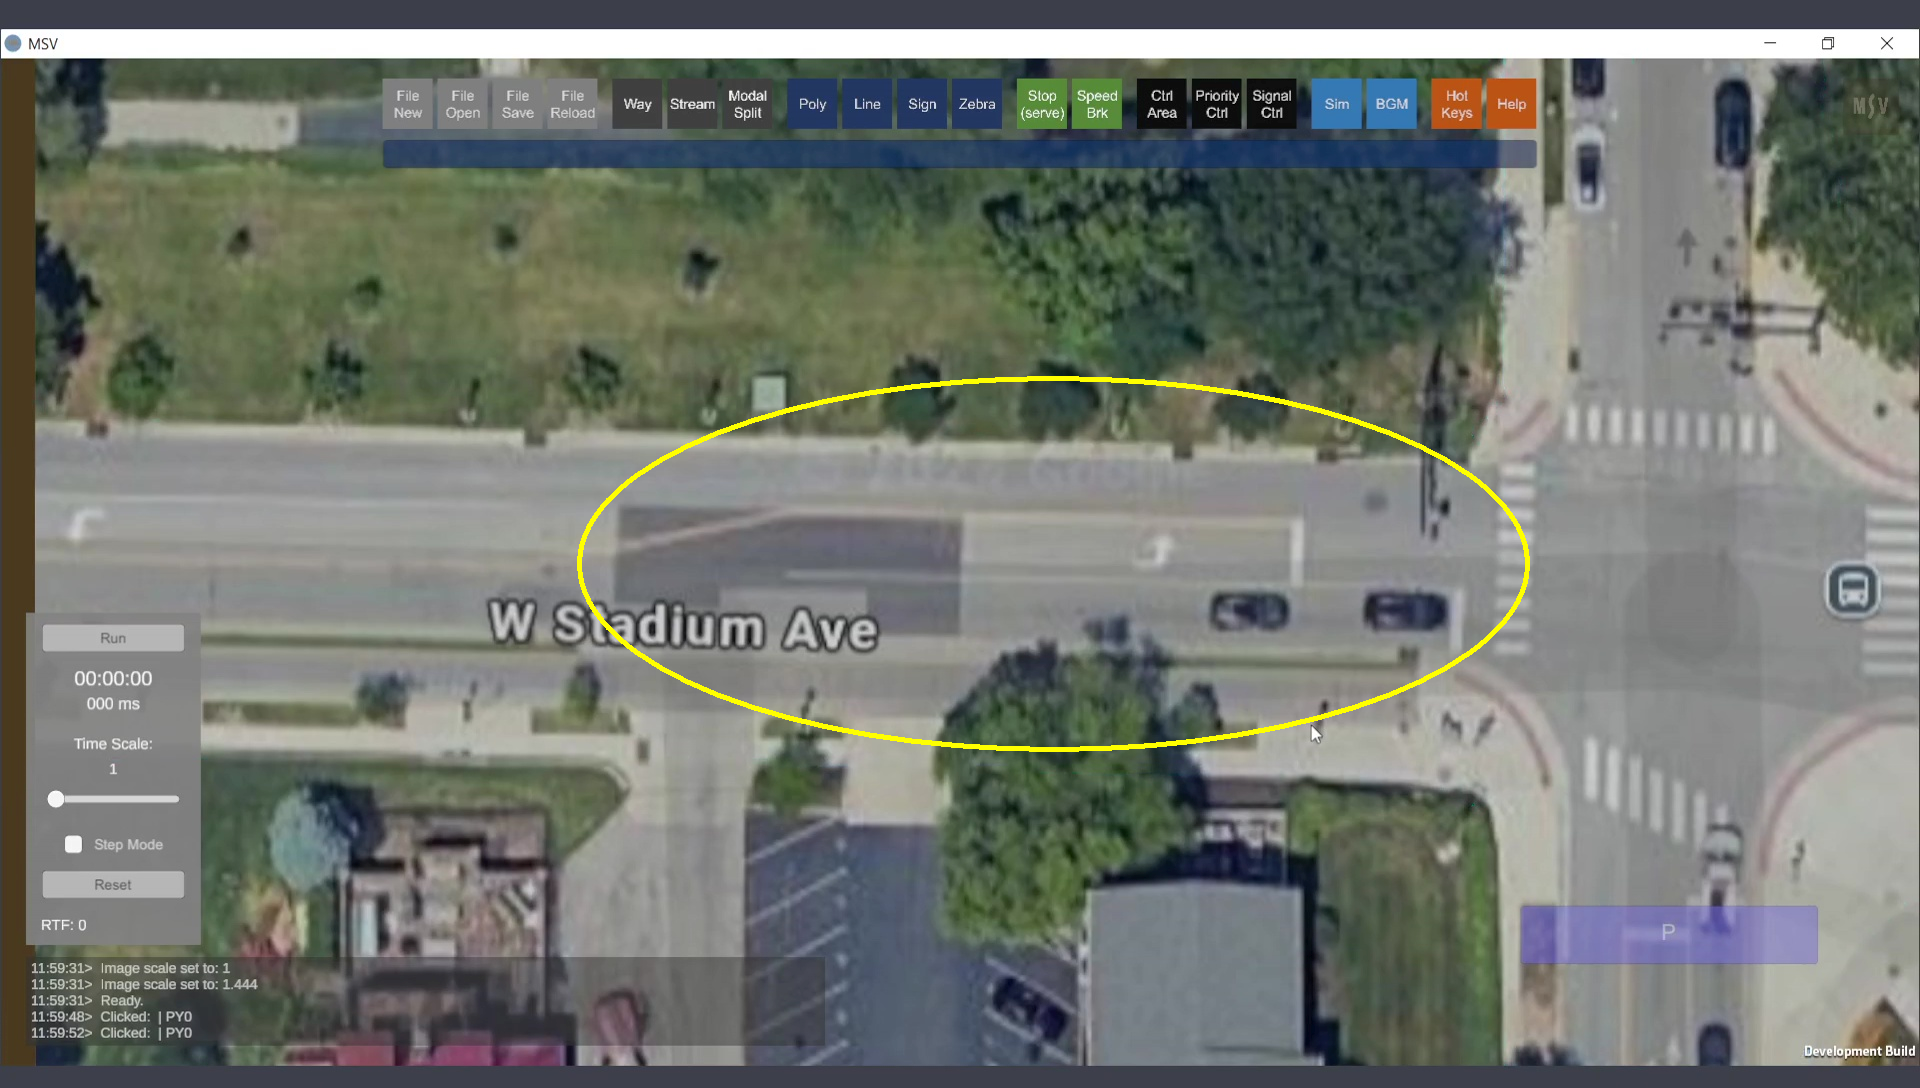
Lines to draw.
The first Ctrl-Click spot is the starting point of a reserved lane with a slant line leading to the junction, followed by a line parallel to the road:
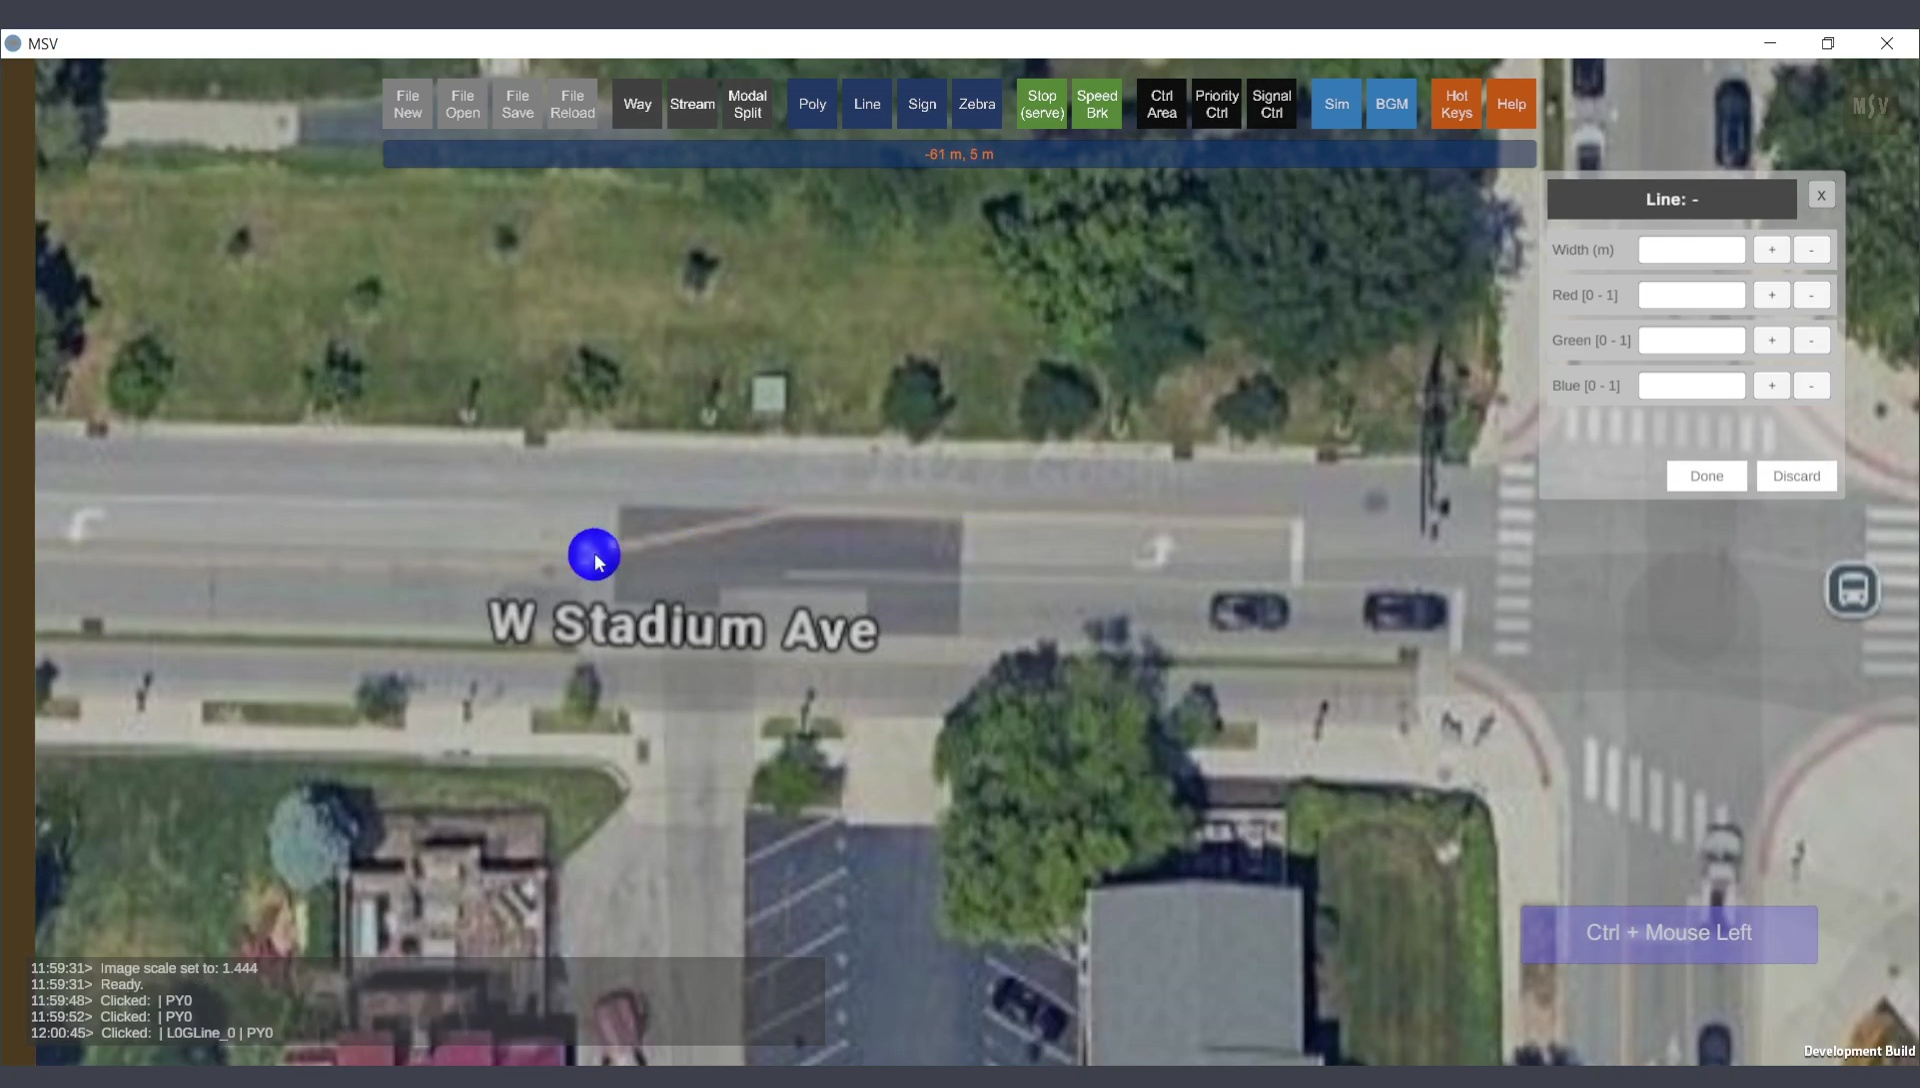
The starting point of the line shape.
Series of Ctrl-Clicks are made along the line:
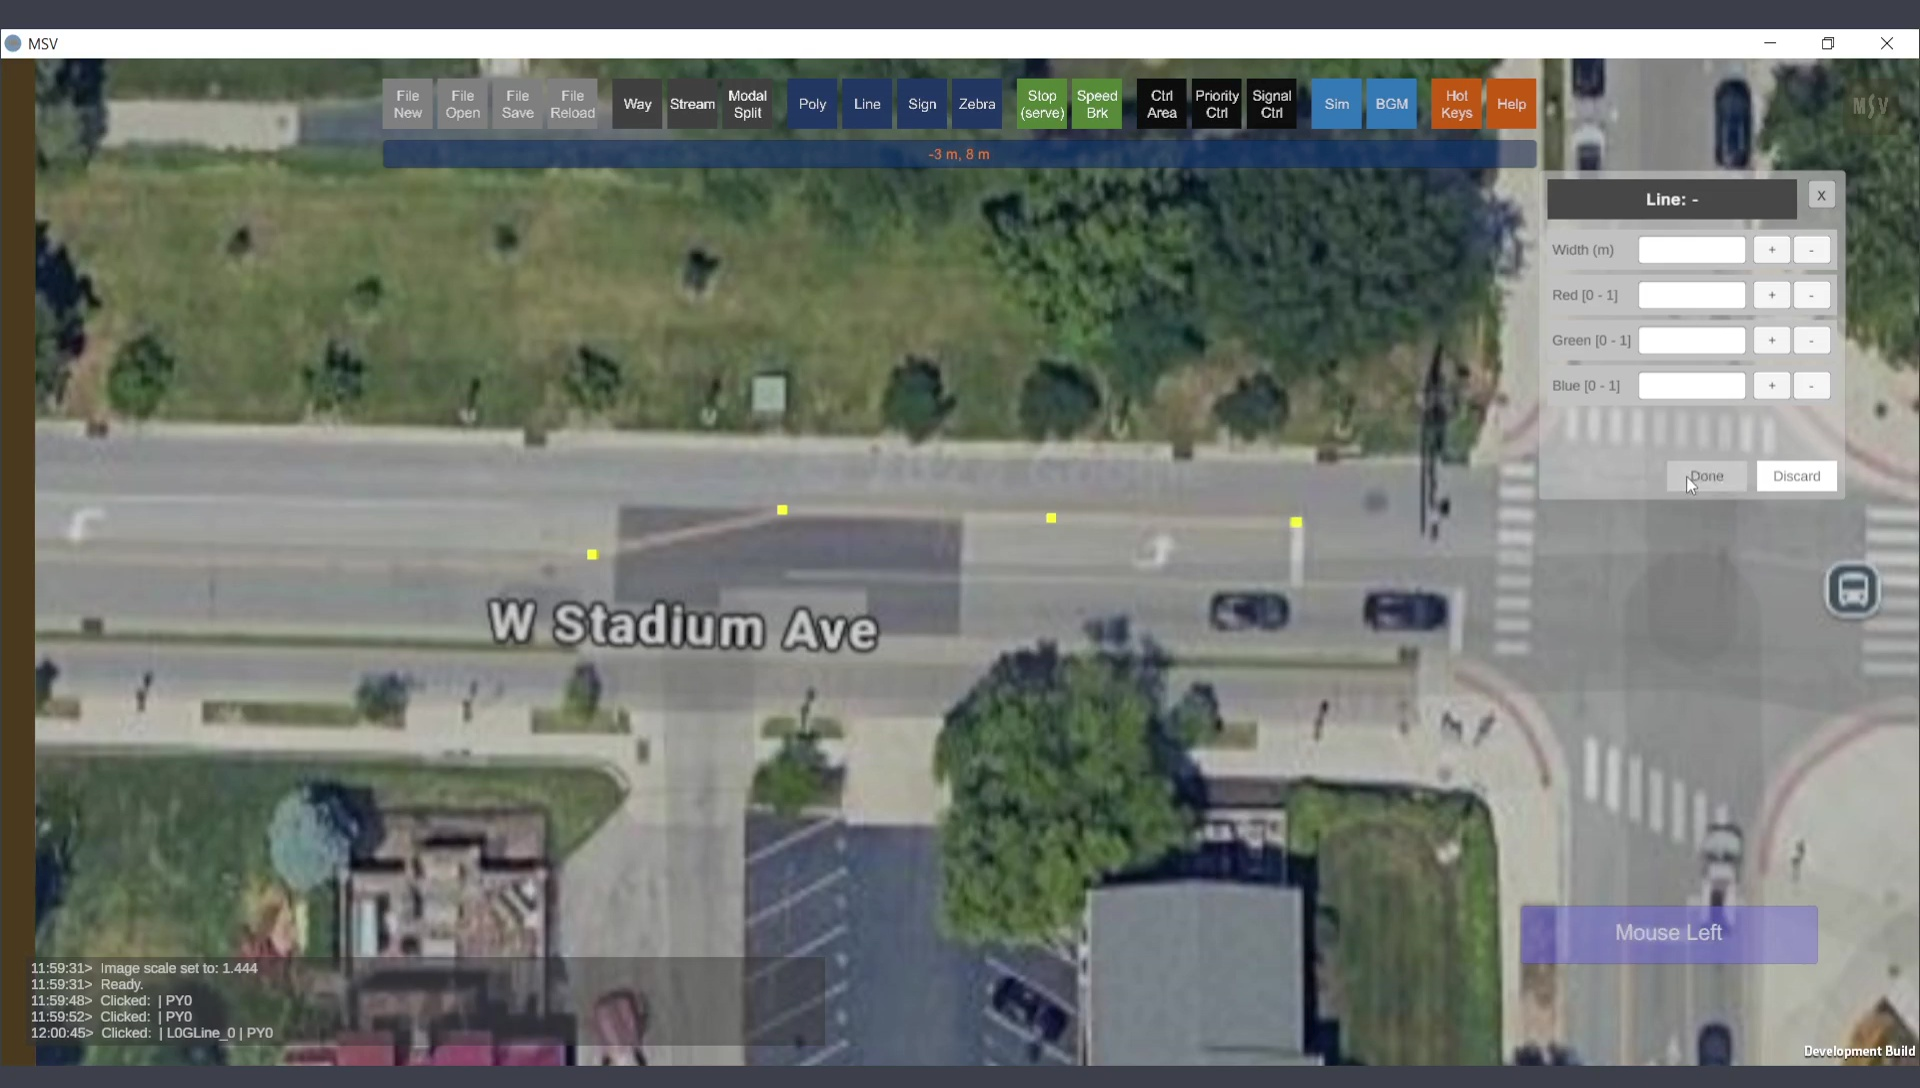
Two points are sufficient to draw a line, but four are used here to cover two line portions.
After creating the control points, press Done. A white line will appear connecting the points:
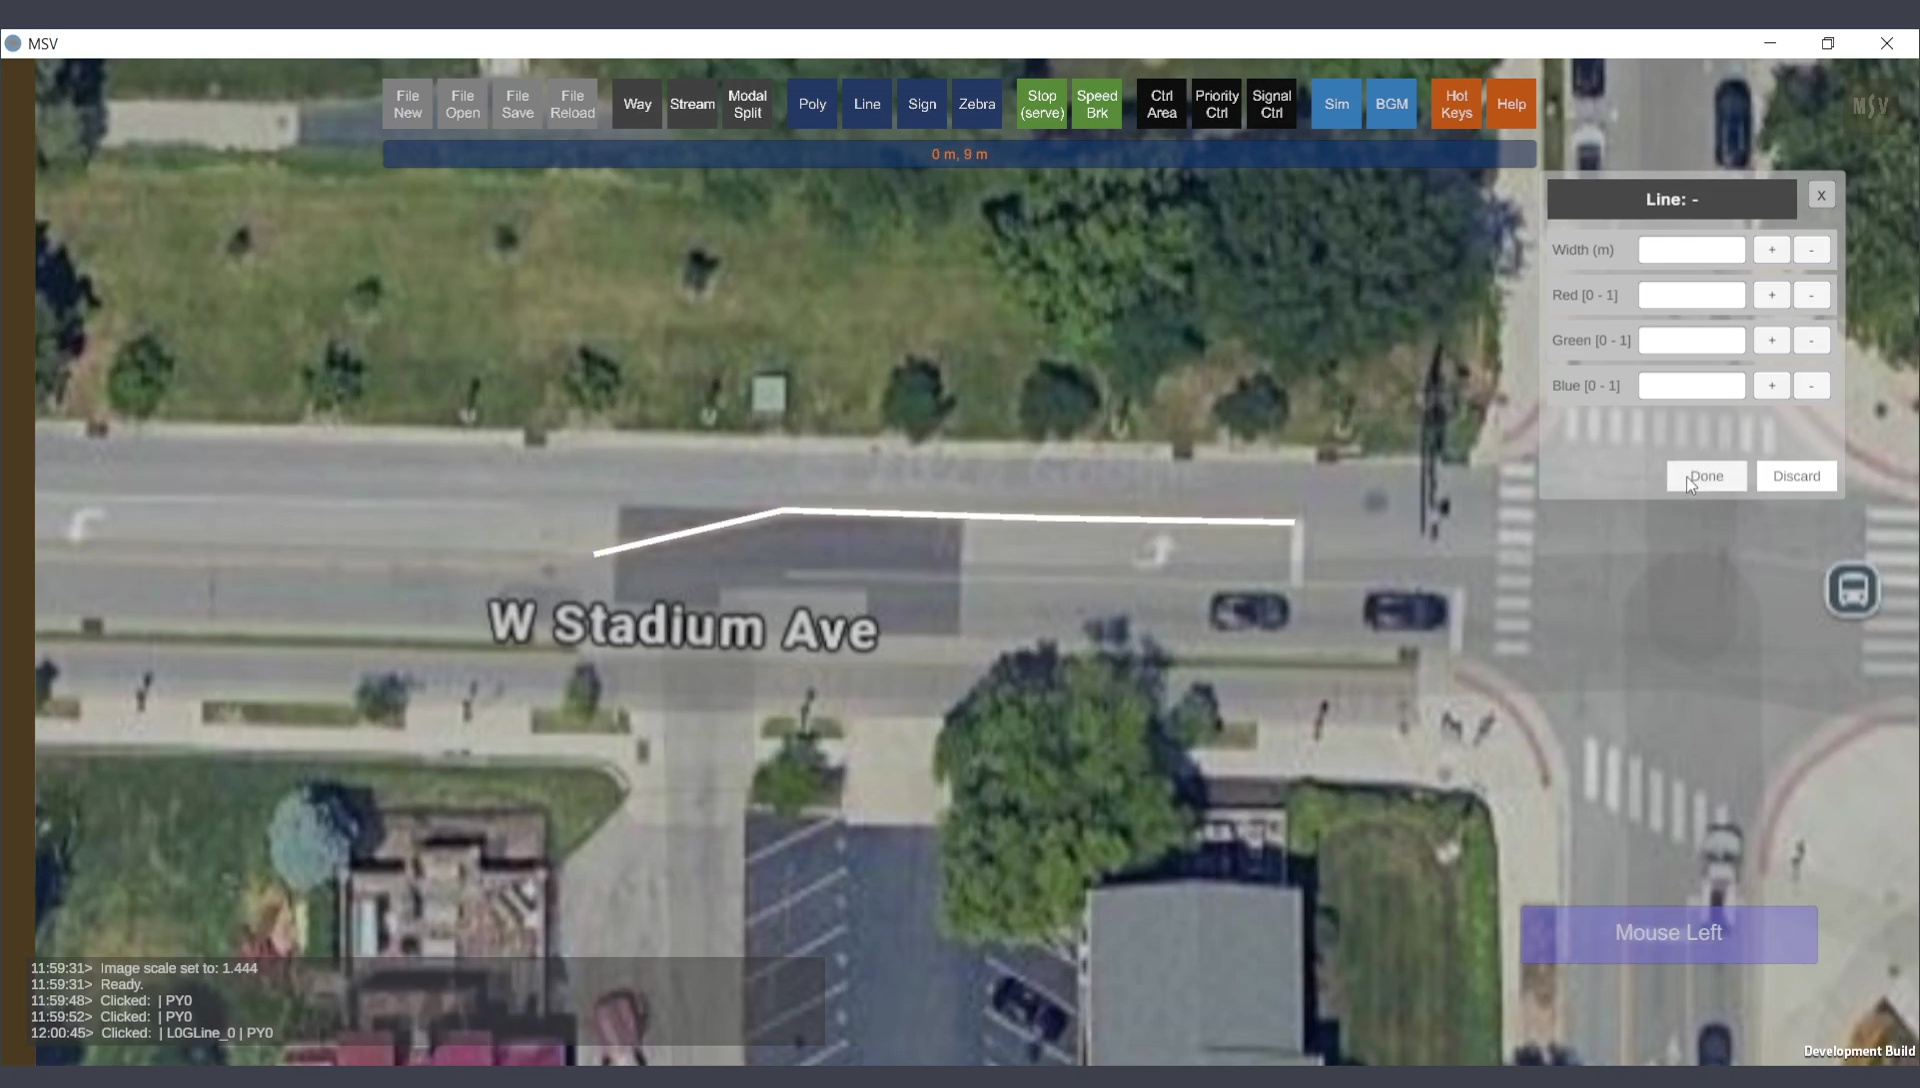
Line appears along the control points after pressing Done.
A few additional lines, including two stop lines and a lane divider, are drawn:
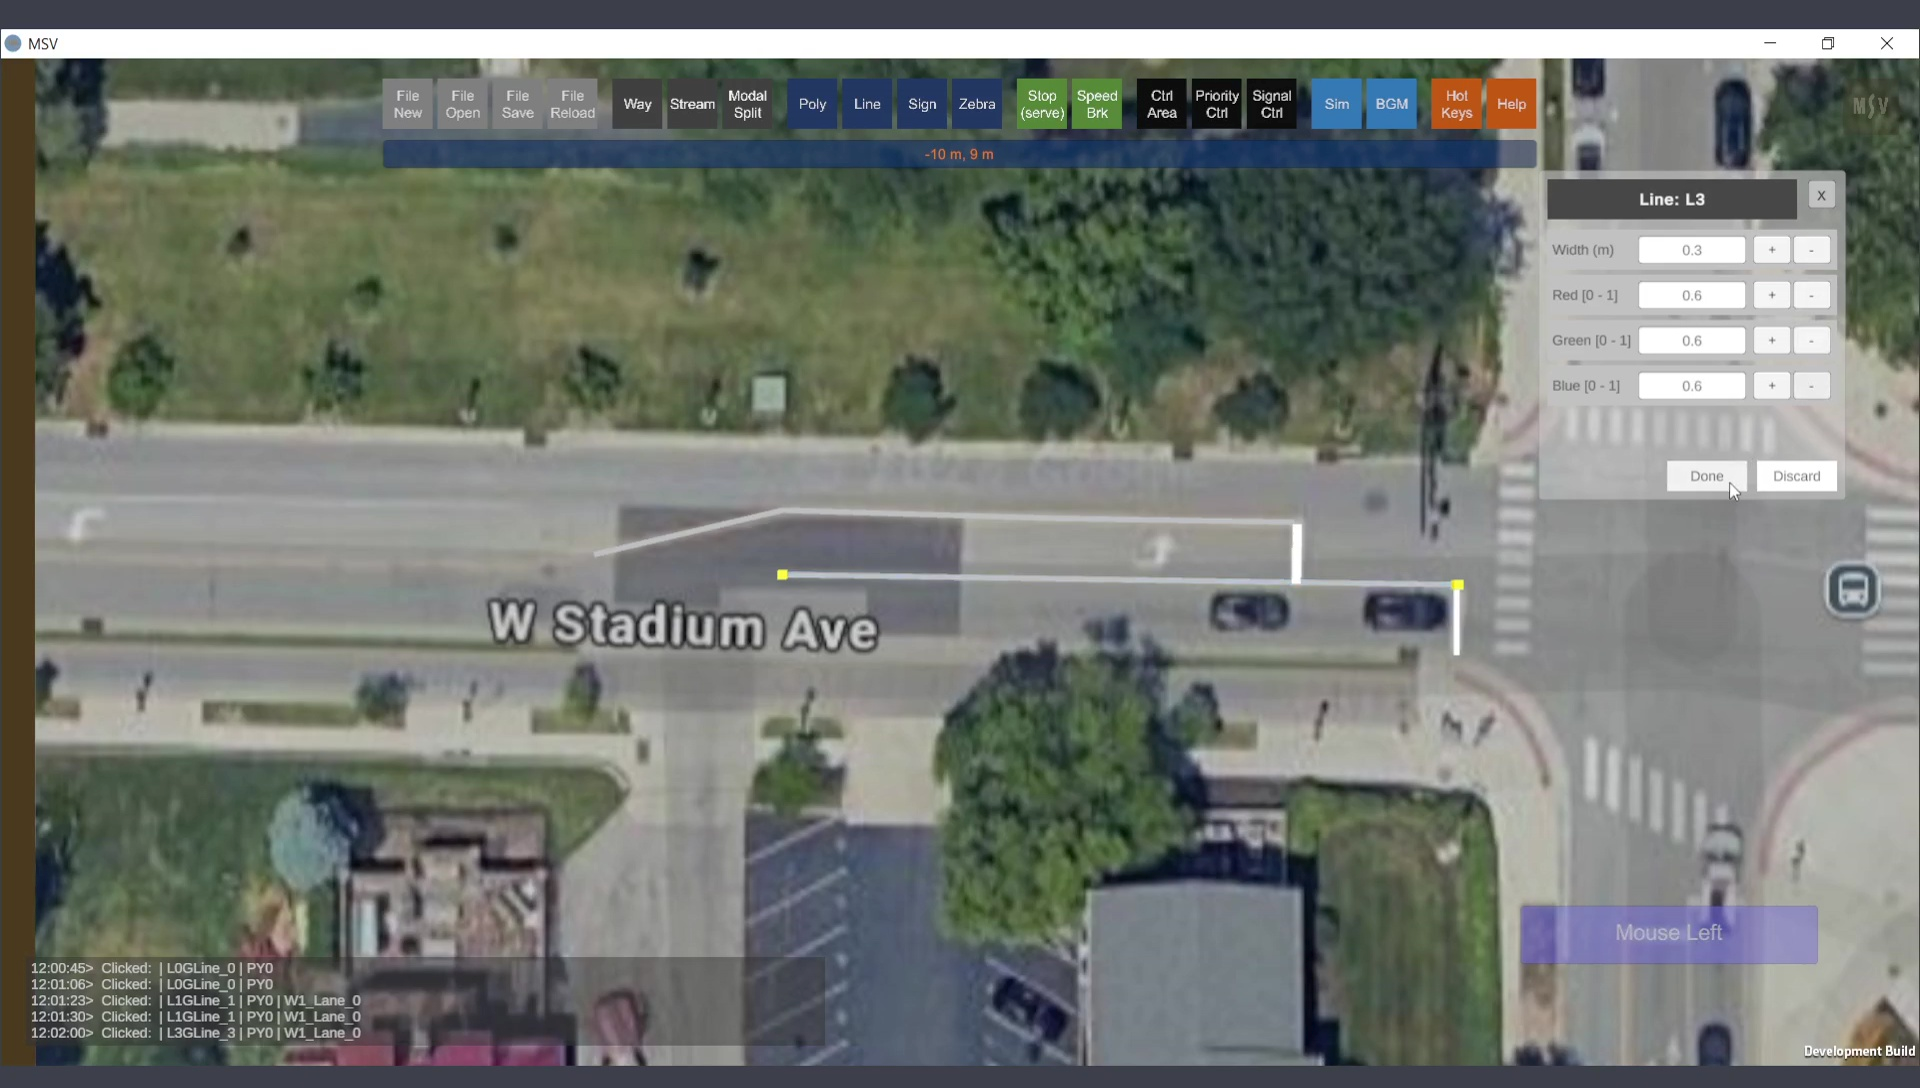
Additional lines drawn.
A curved line is created by Ctrl-Clicking along the desired path. Individual control points can be adjusted as needed:
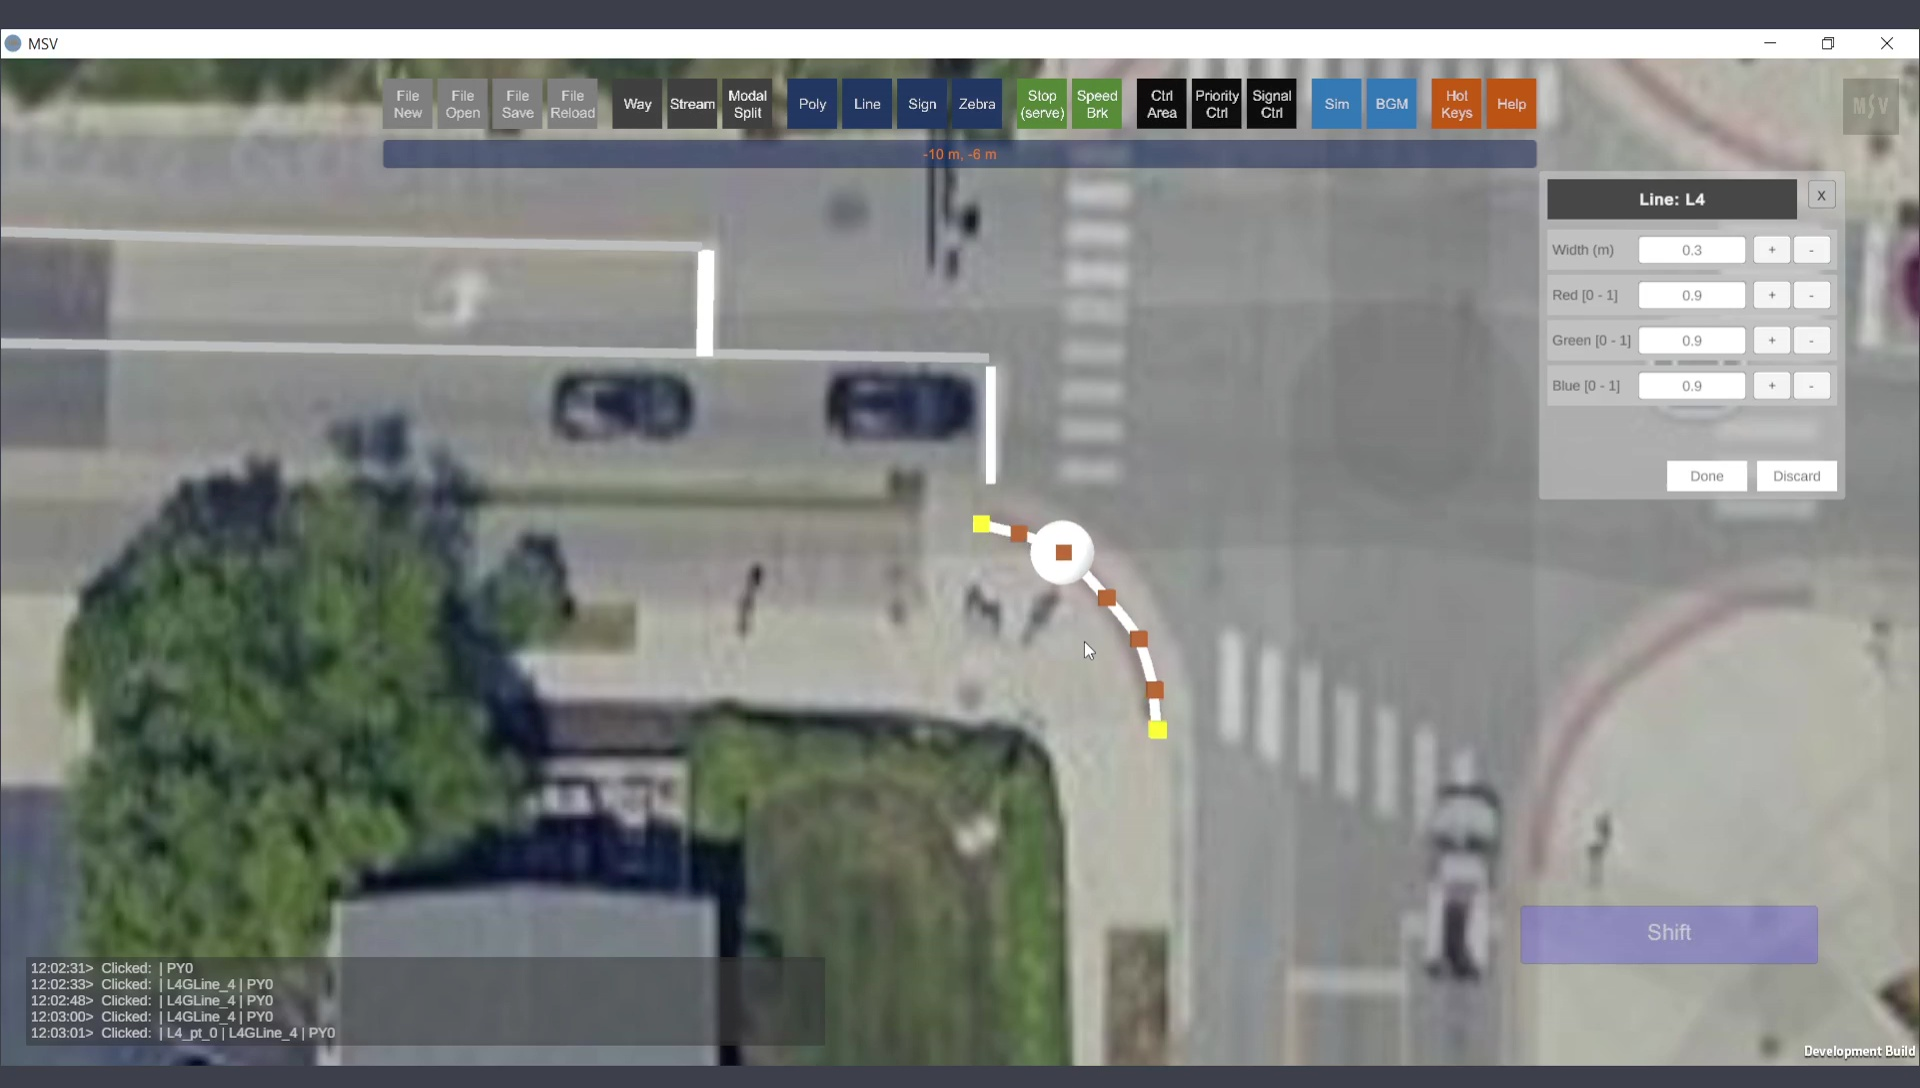
Adding a curved line and adjusting its points.
The lines drawn so far, along with the Ways (which have their own lines), are shown below. Way lines can be hidden if required:
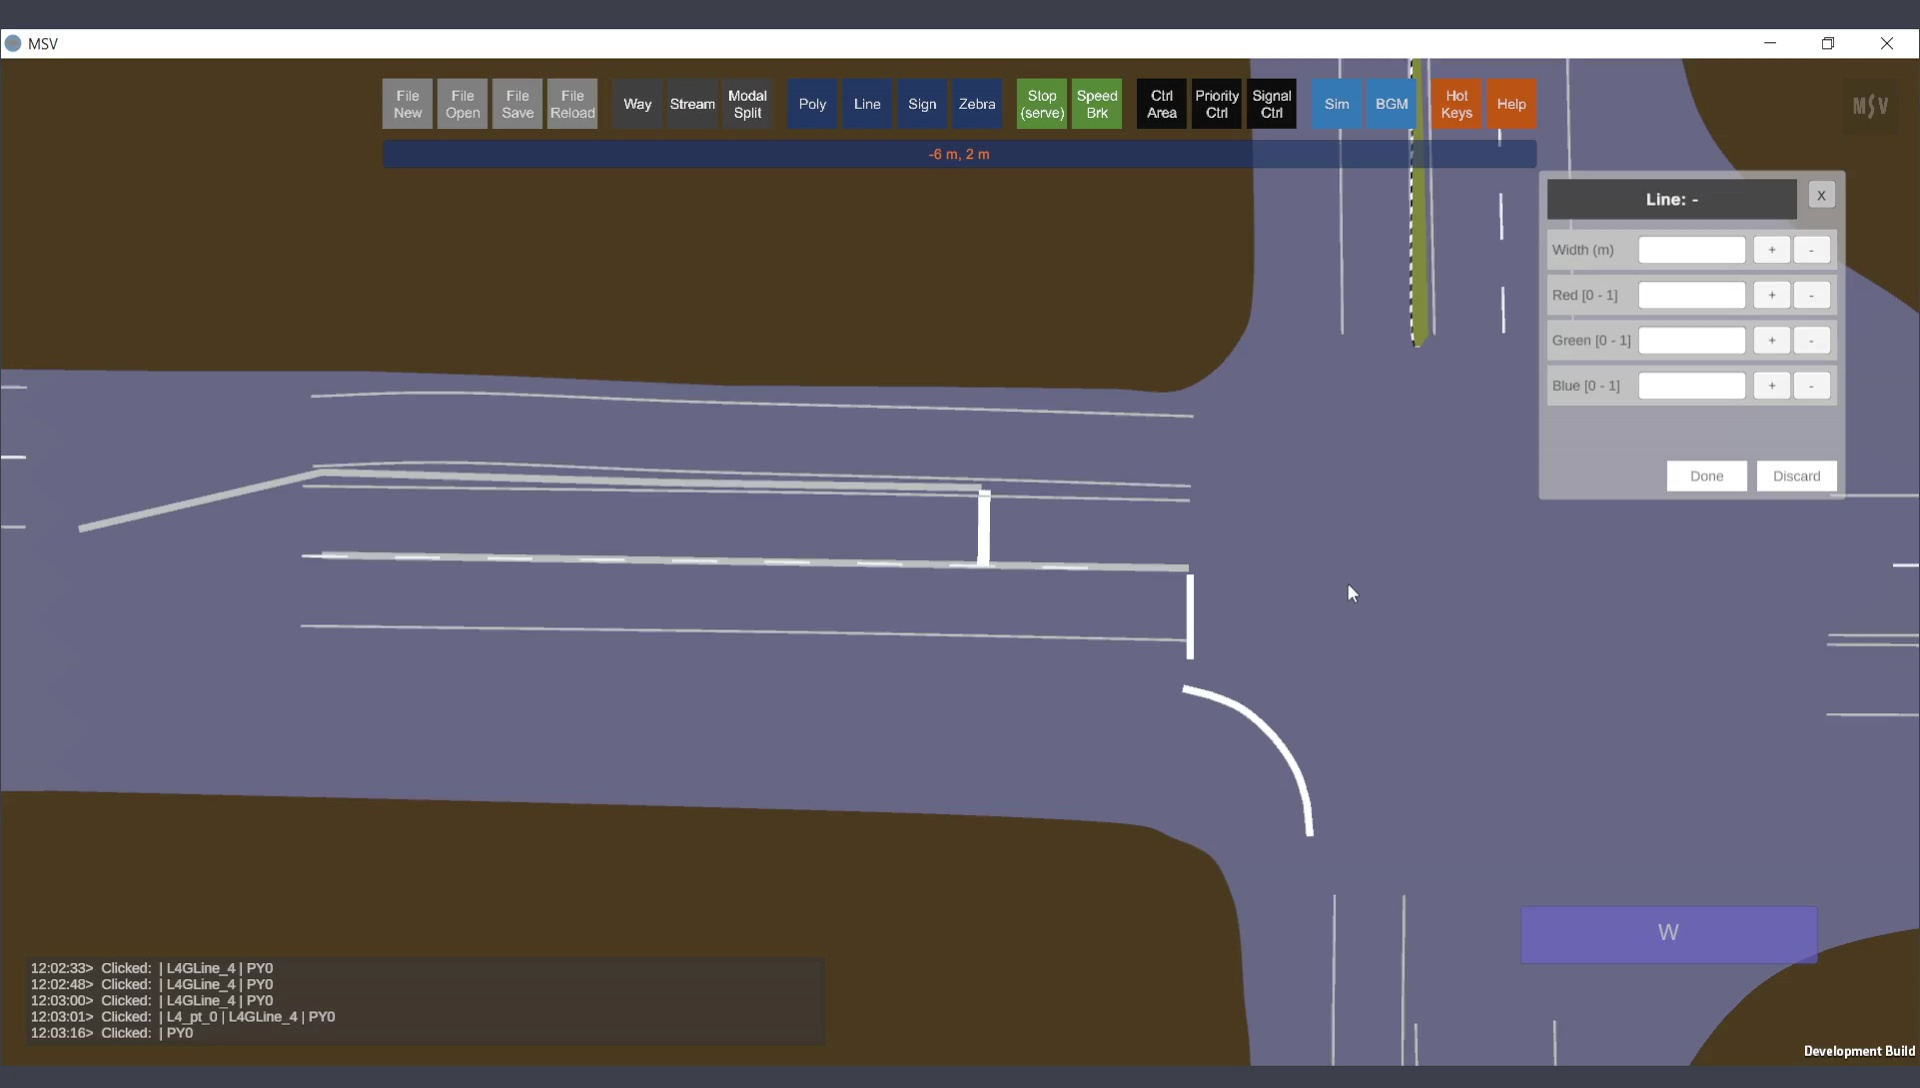
Completed lines in the scene.
Lines are distinct from other objects with line-like features:
The image below illustrates the difference between line shapes and other objects with lines:

Line shapes compared with other objects that include lines.